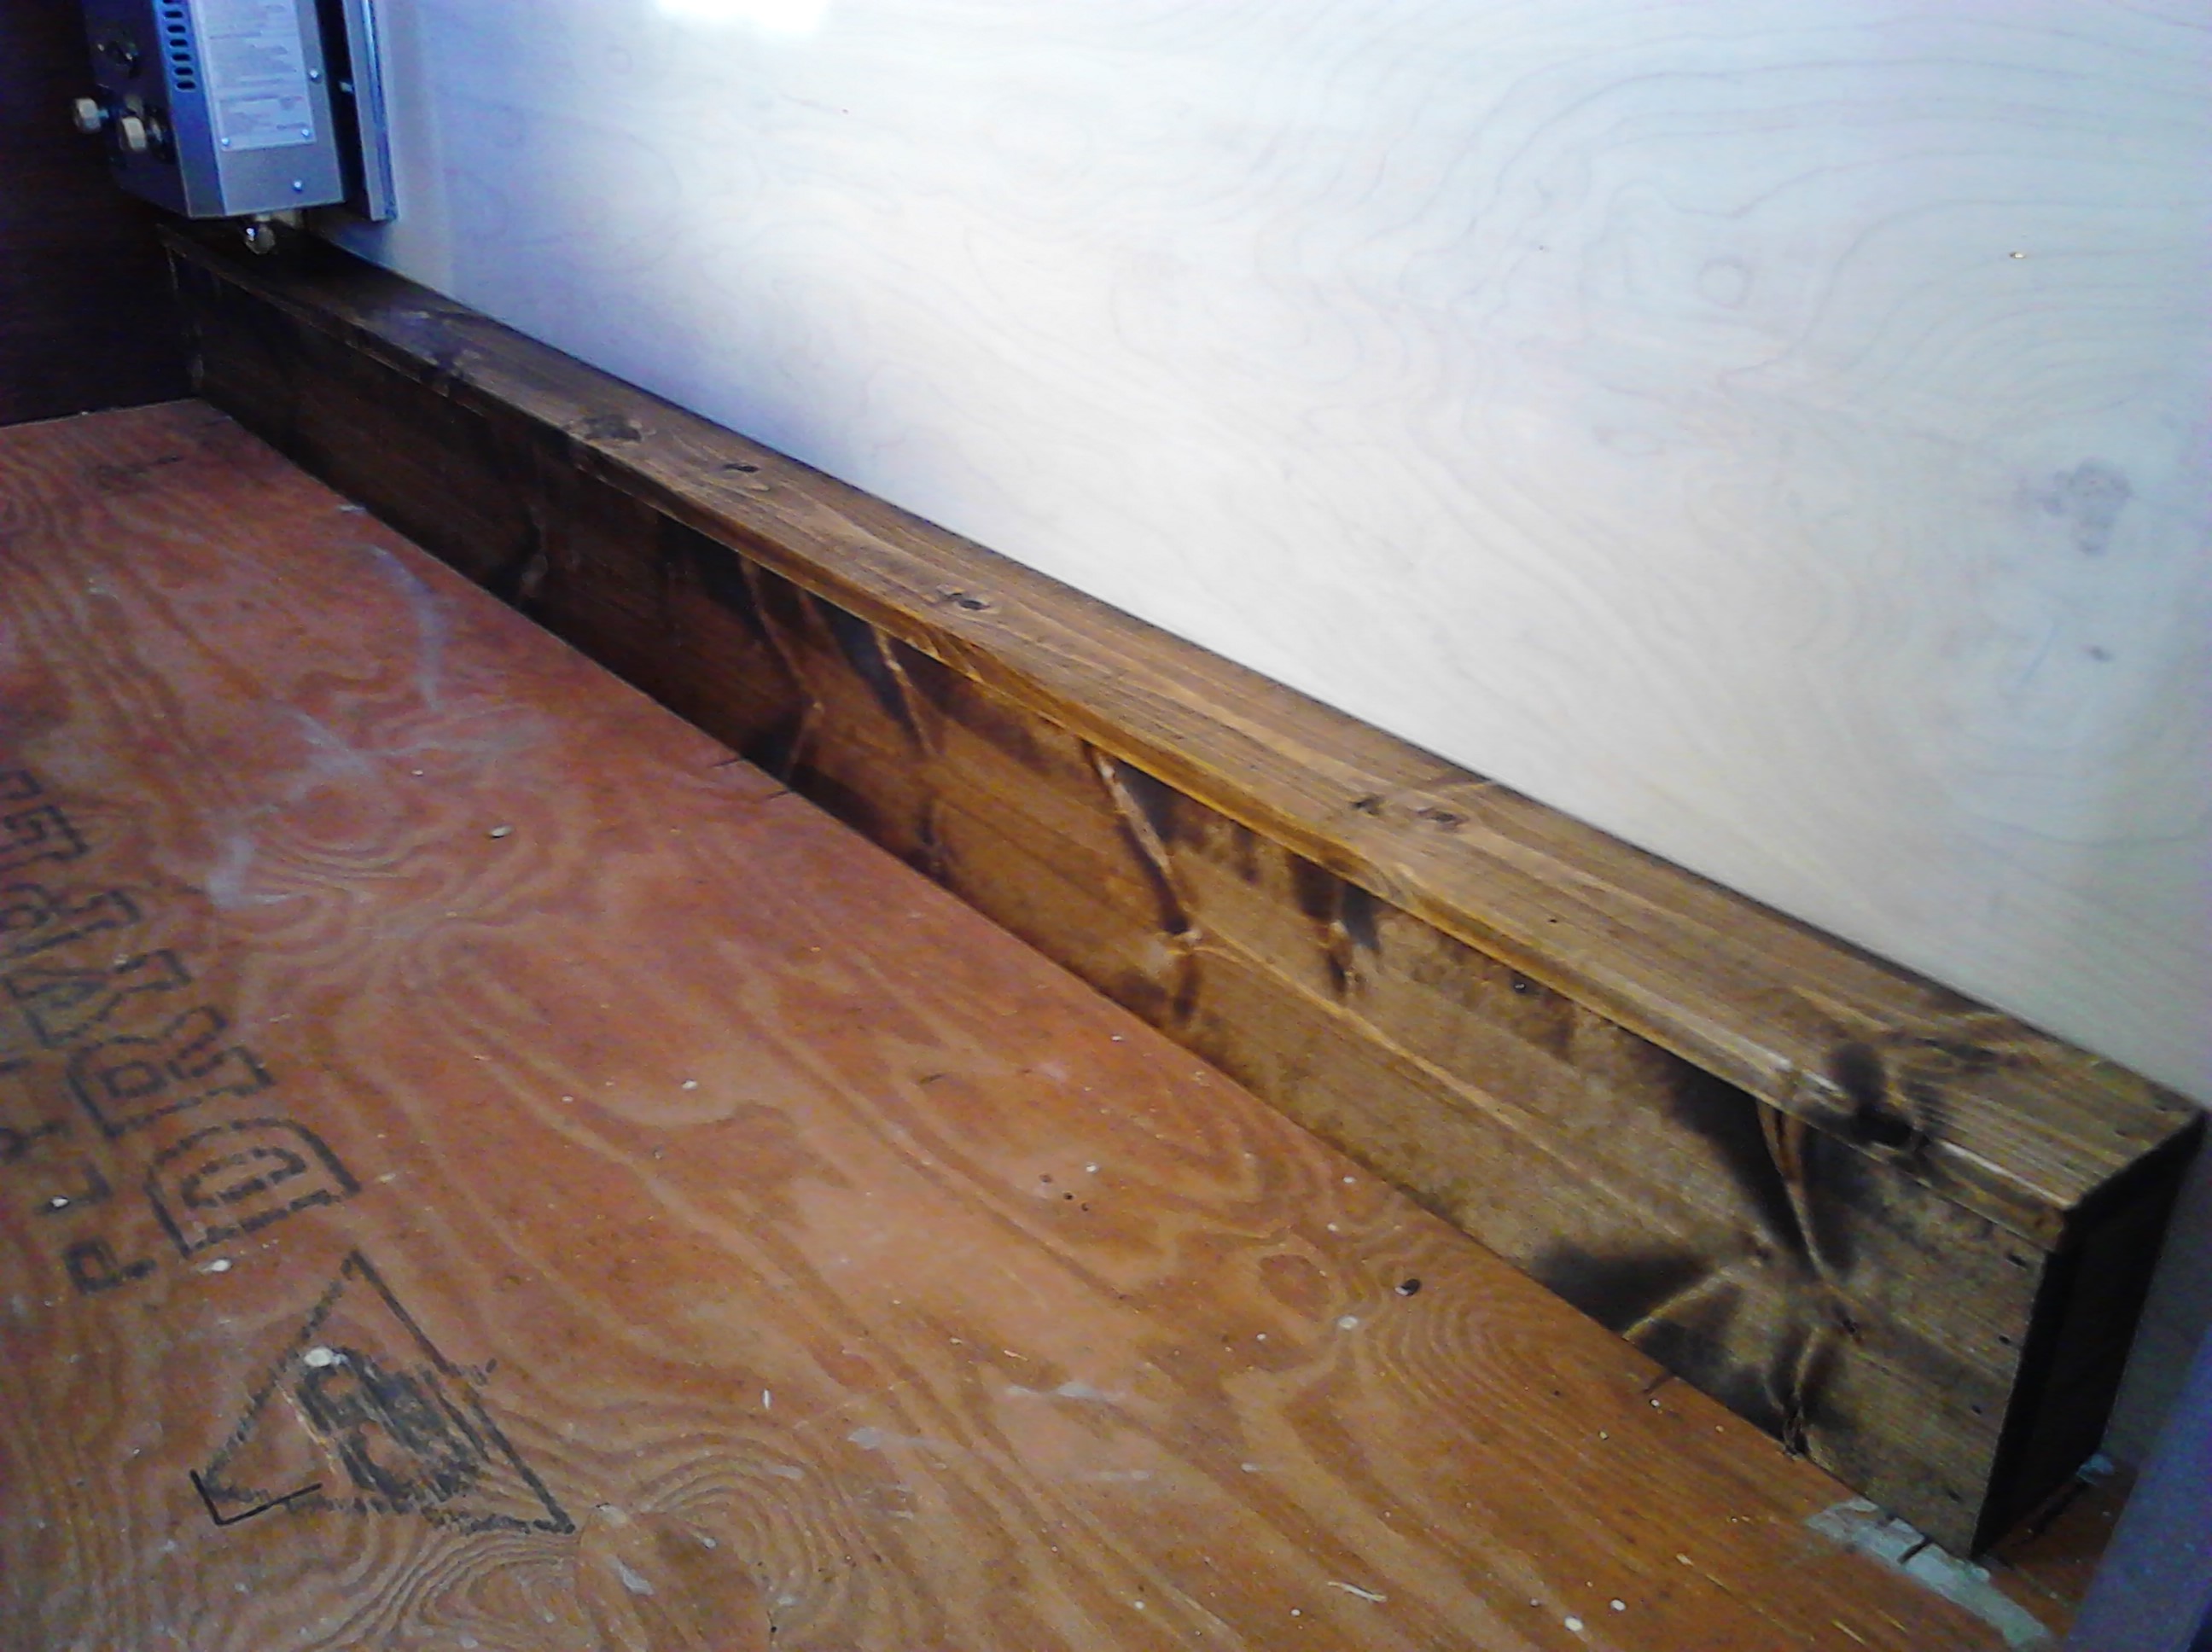
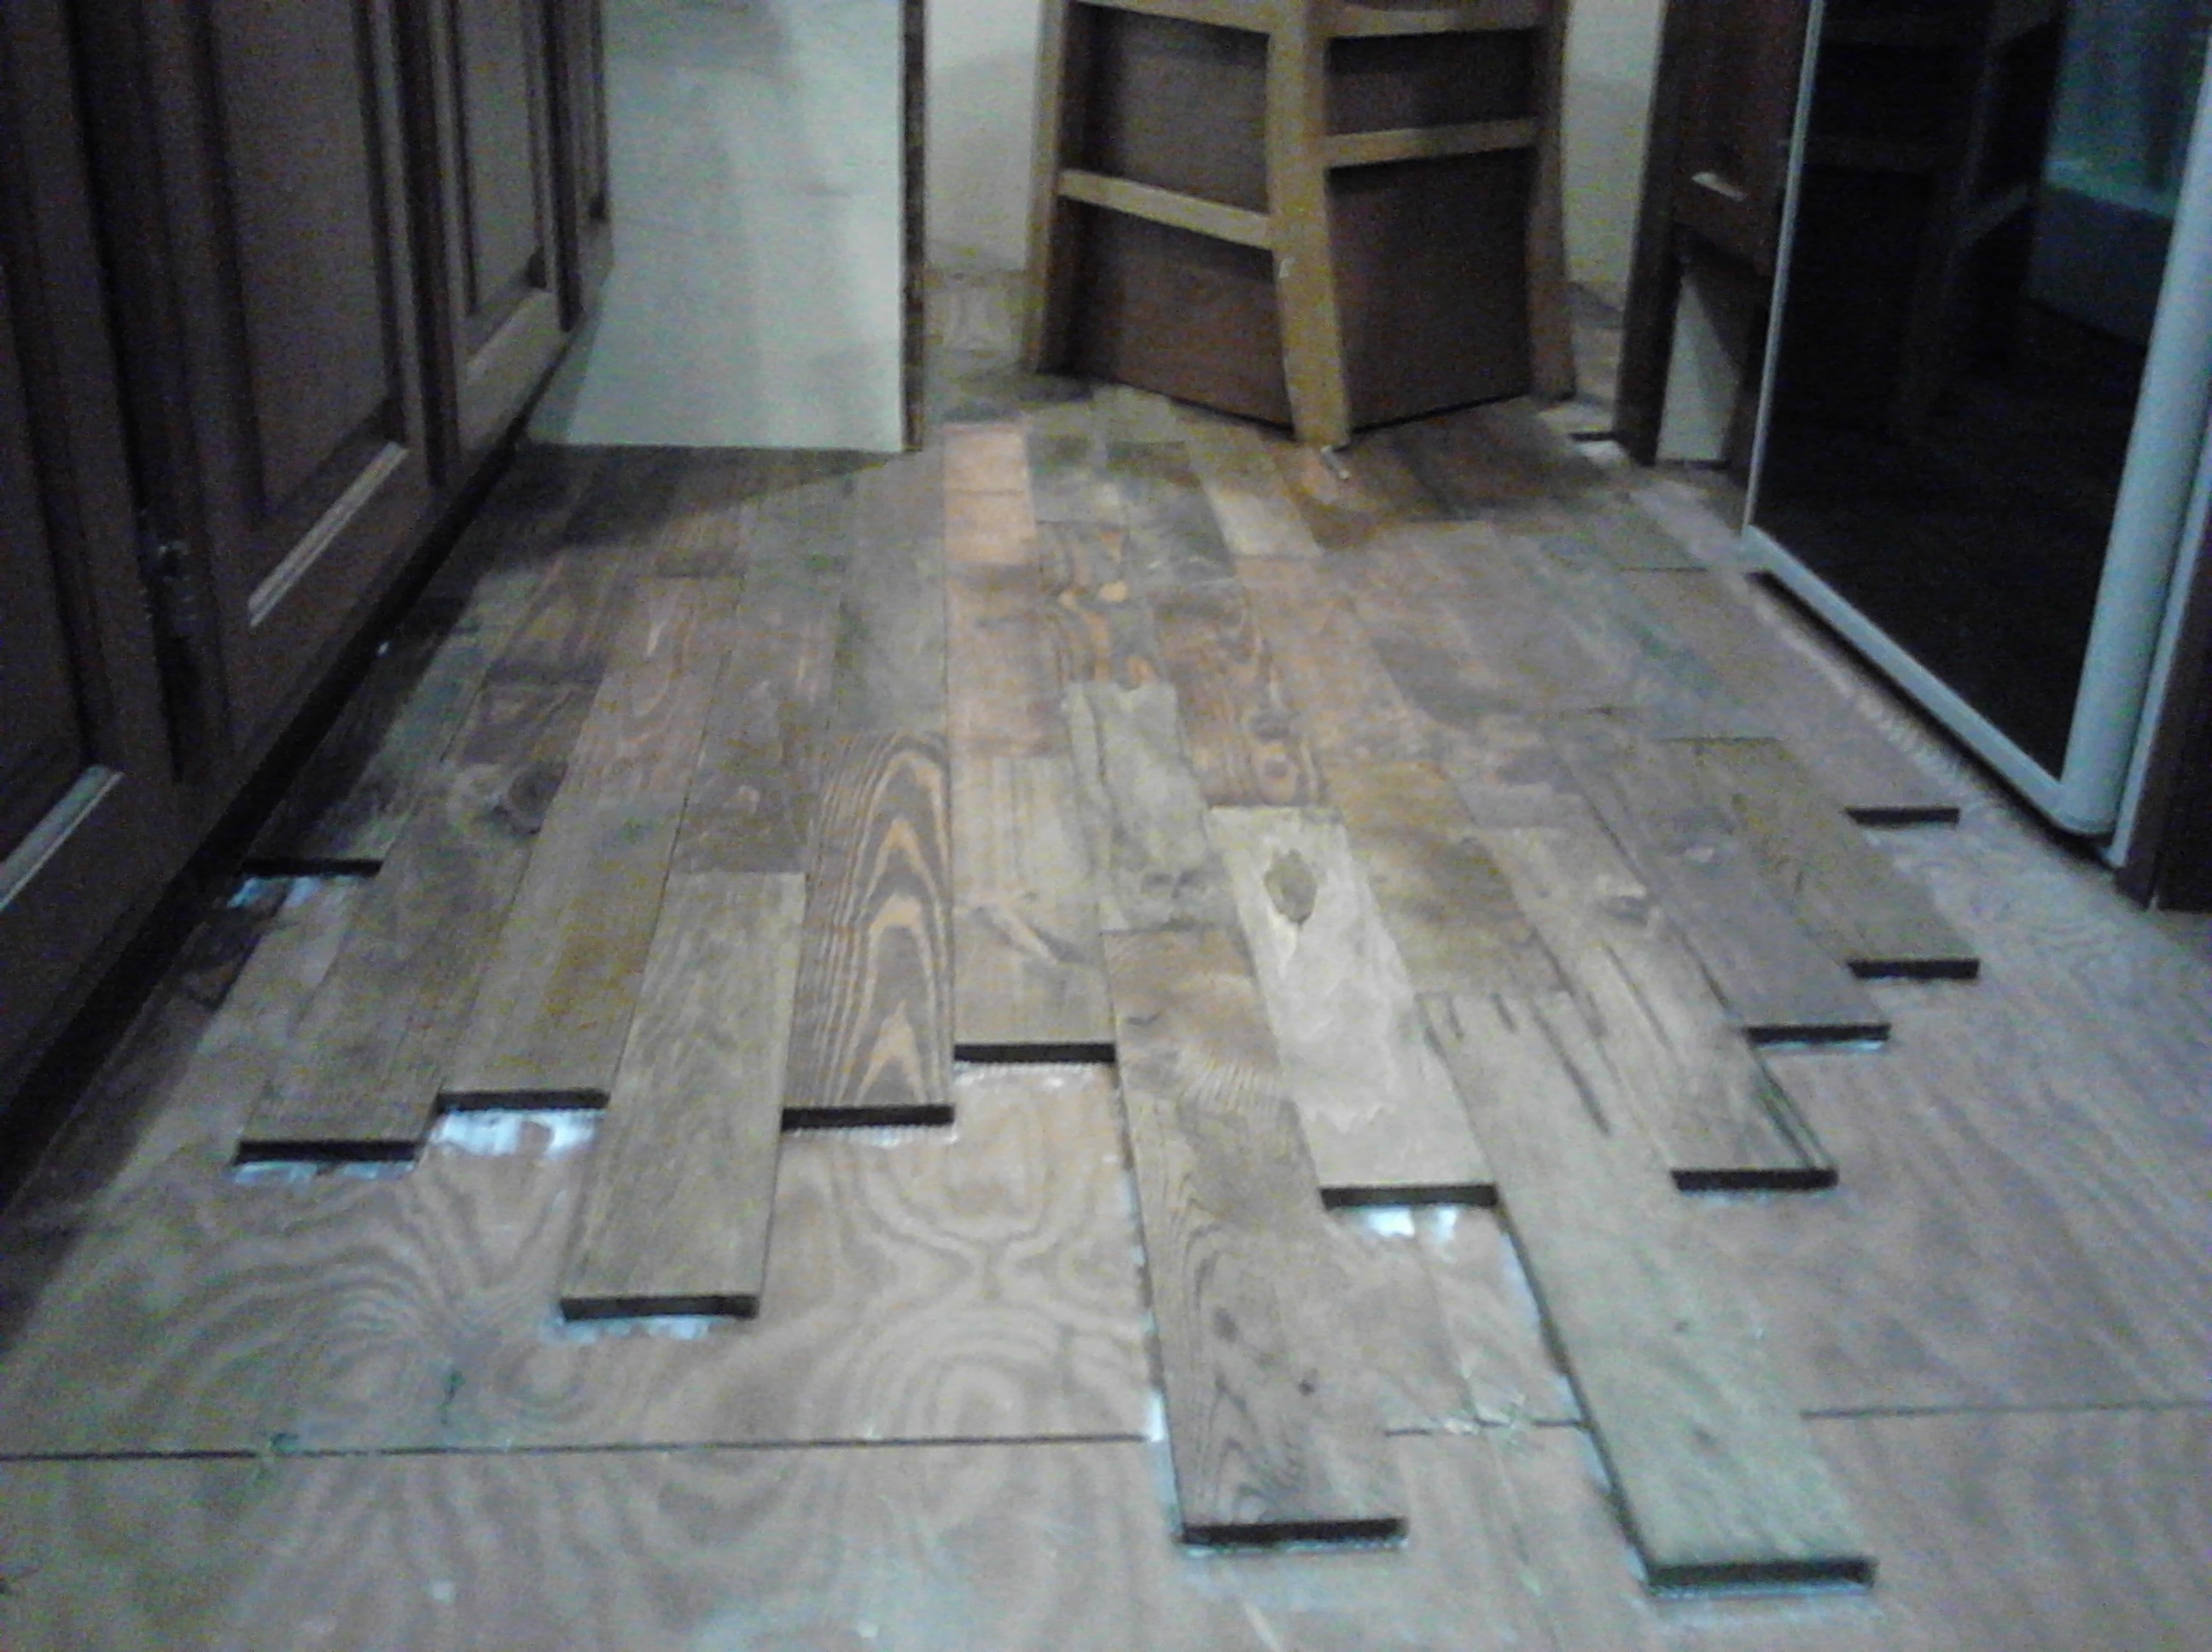
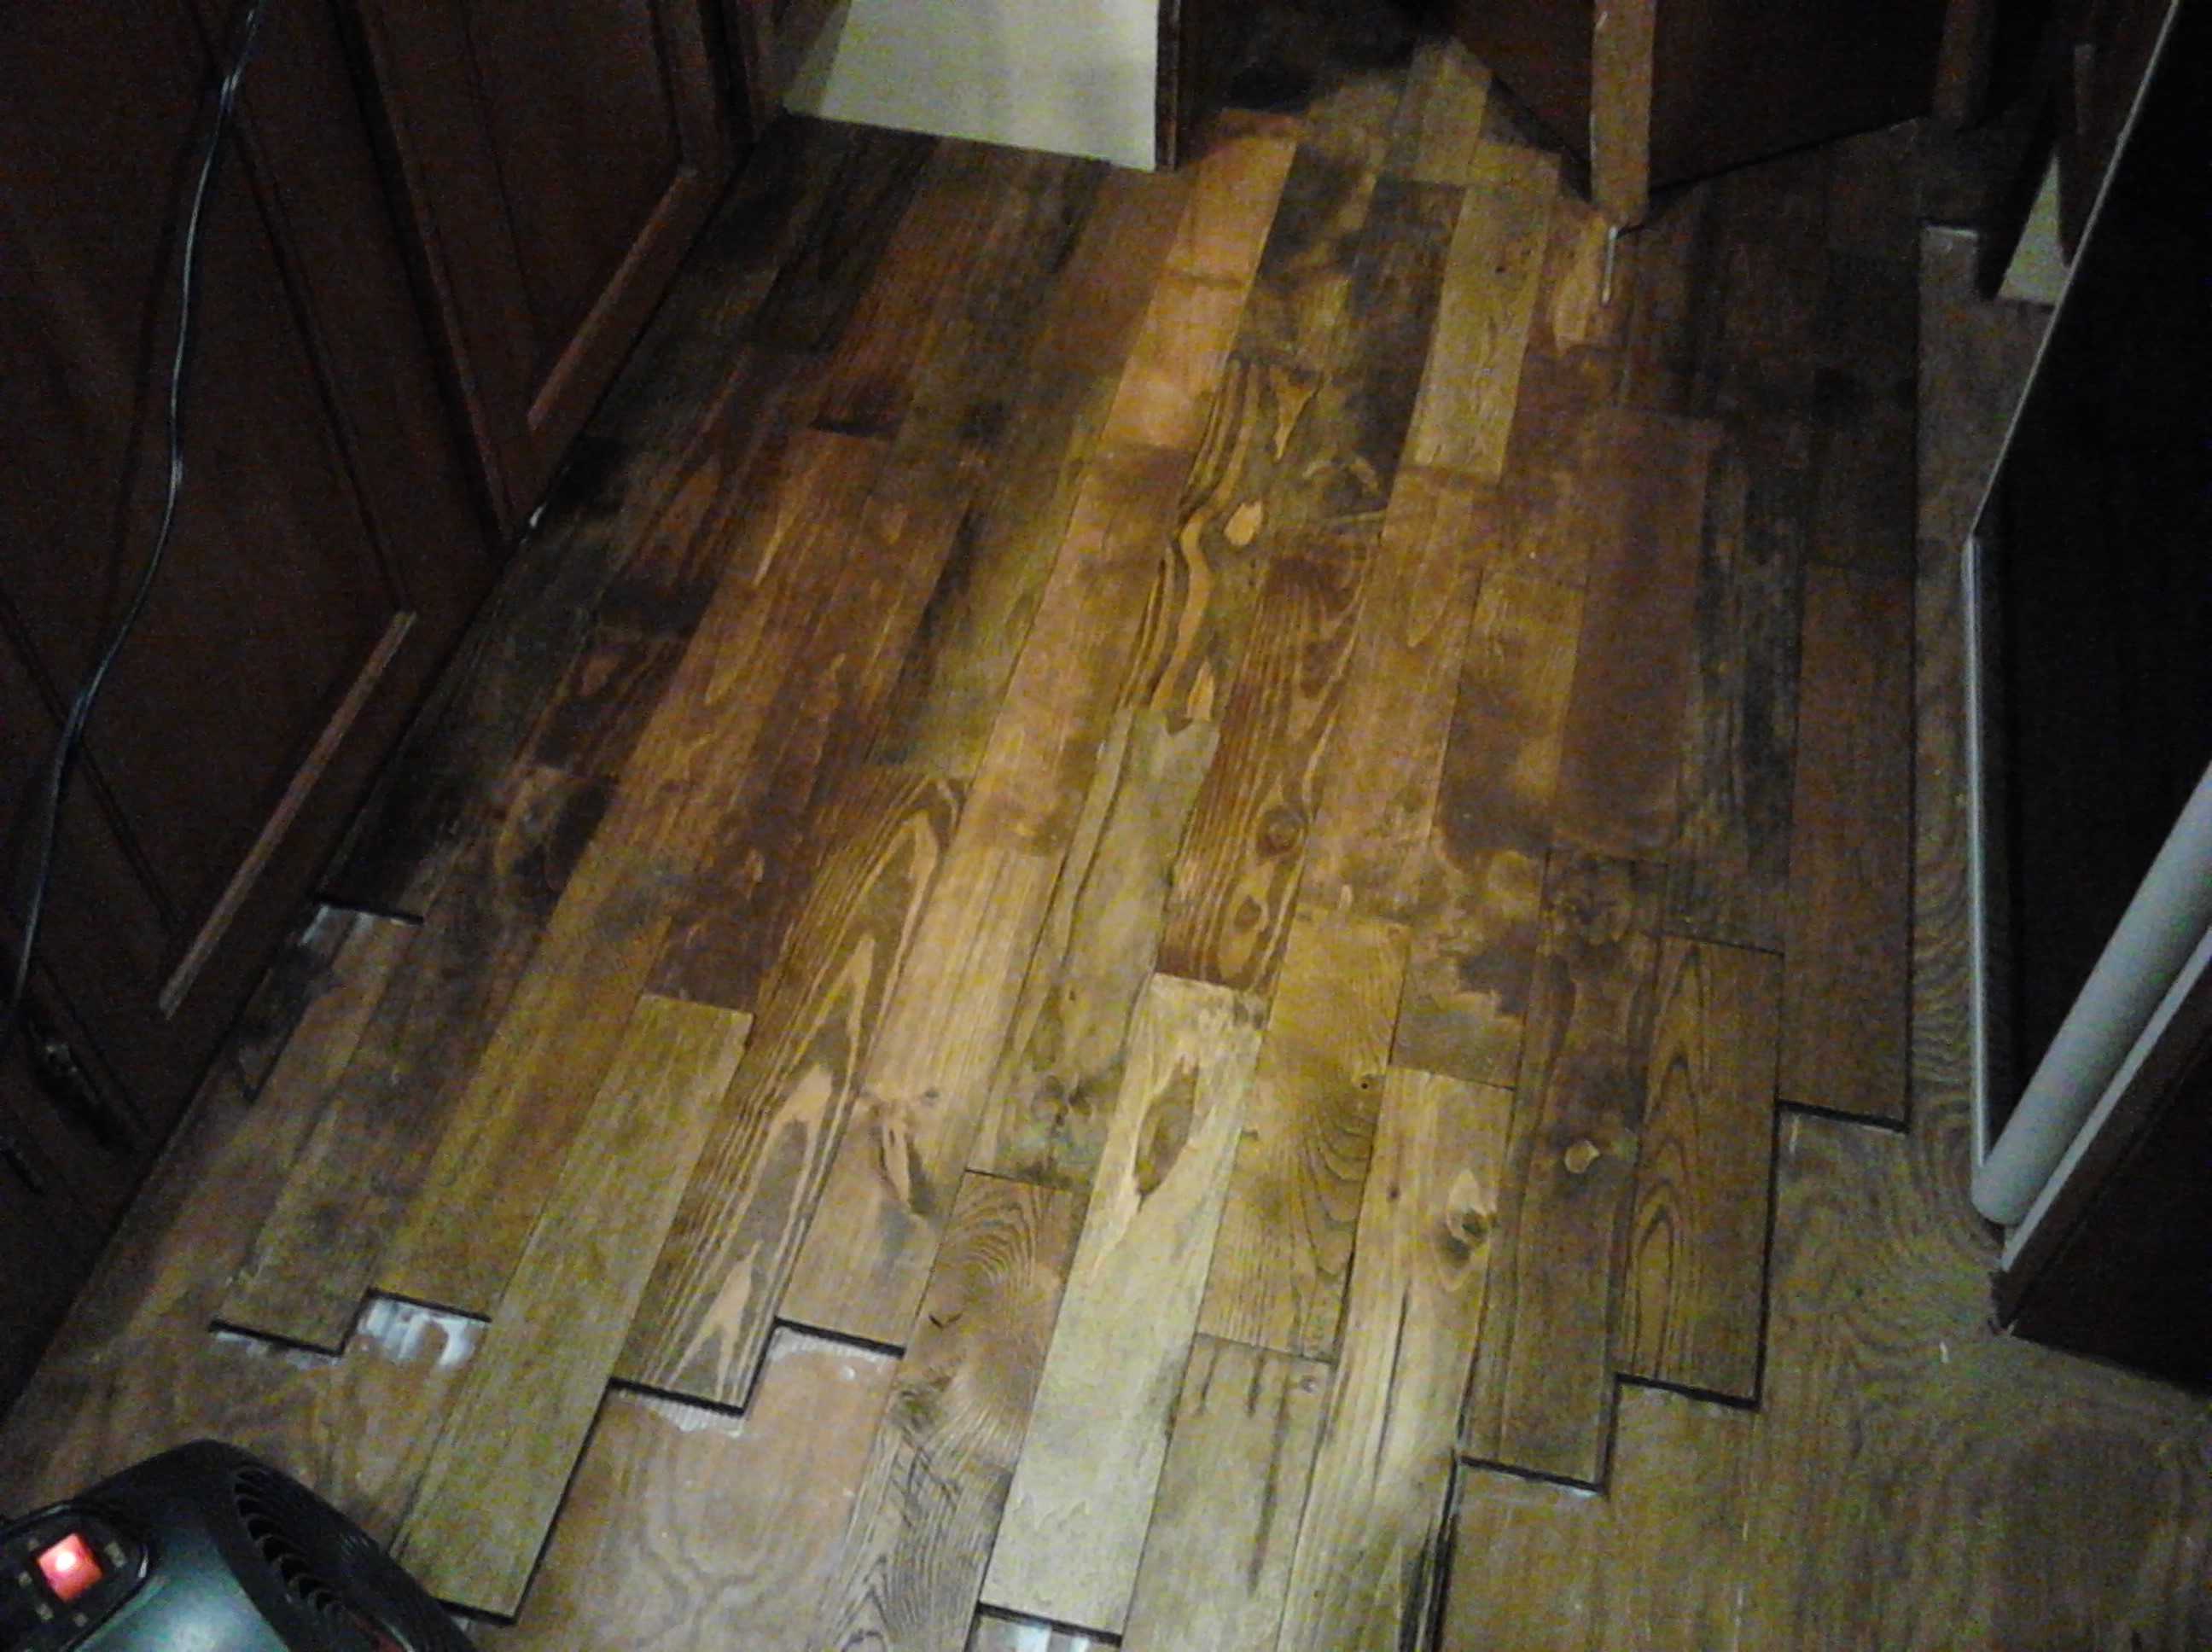
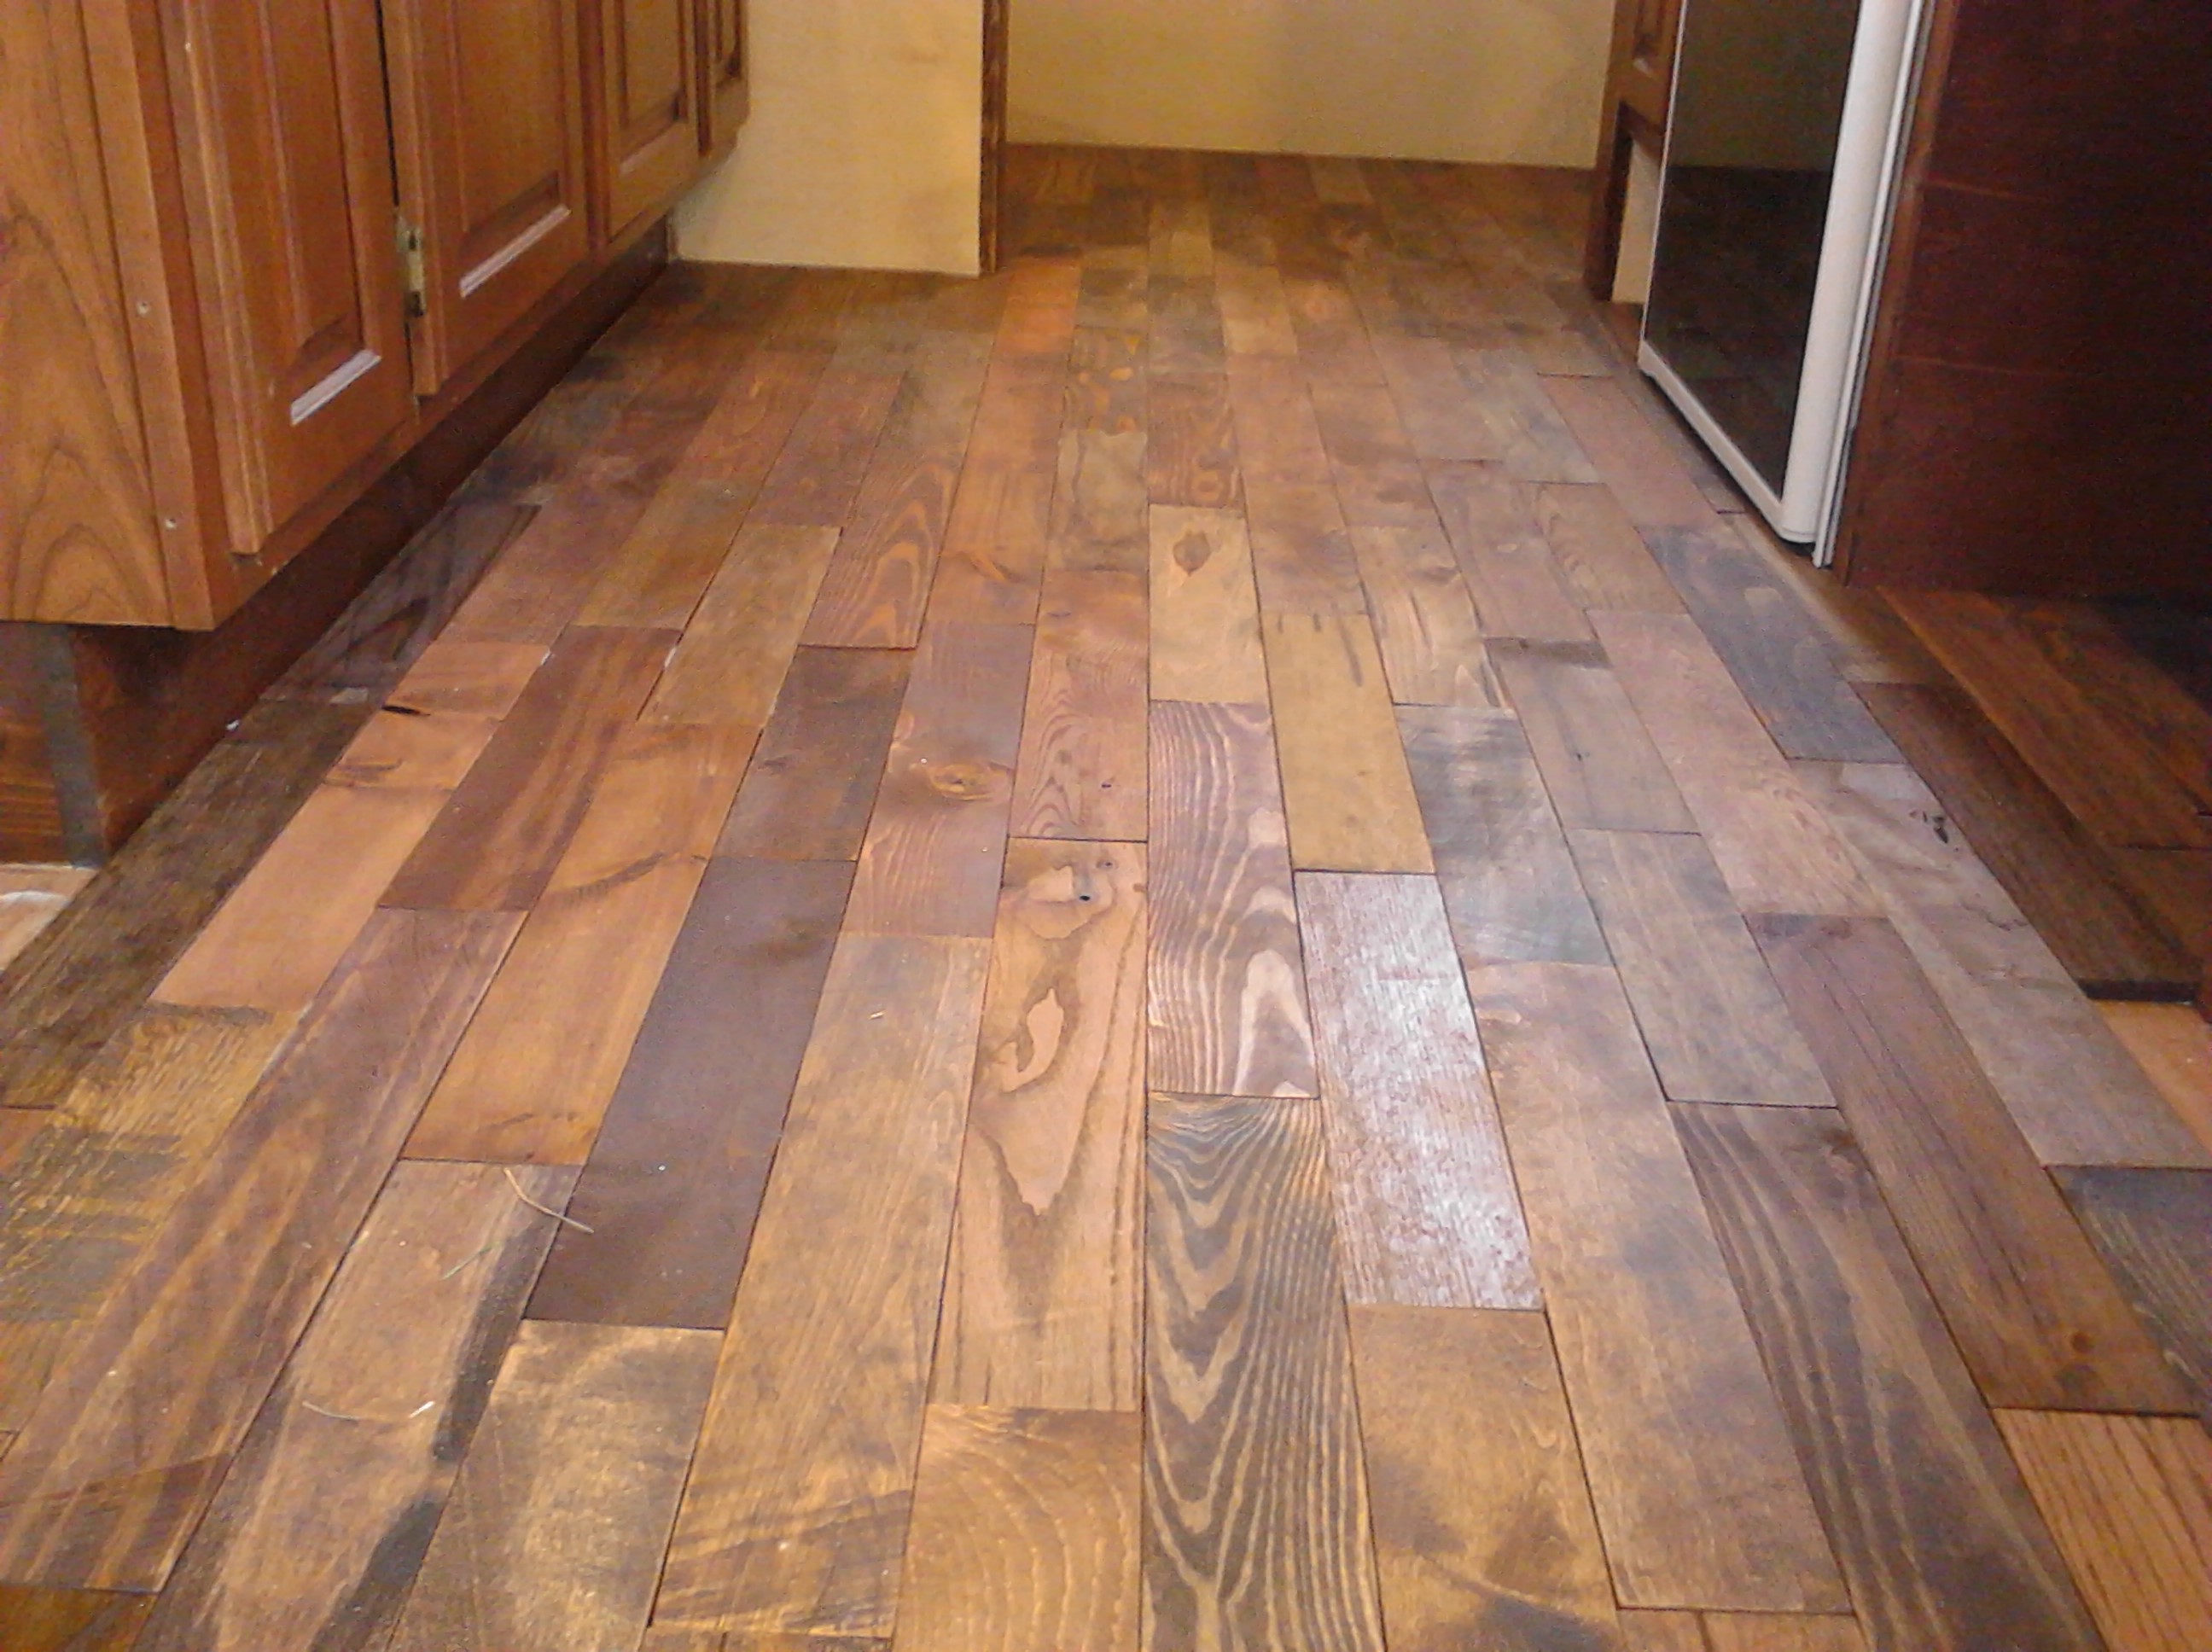
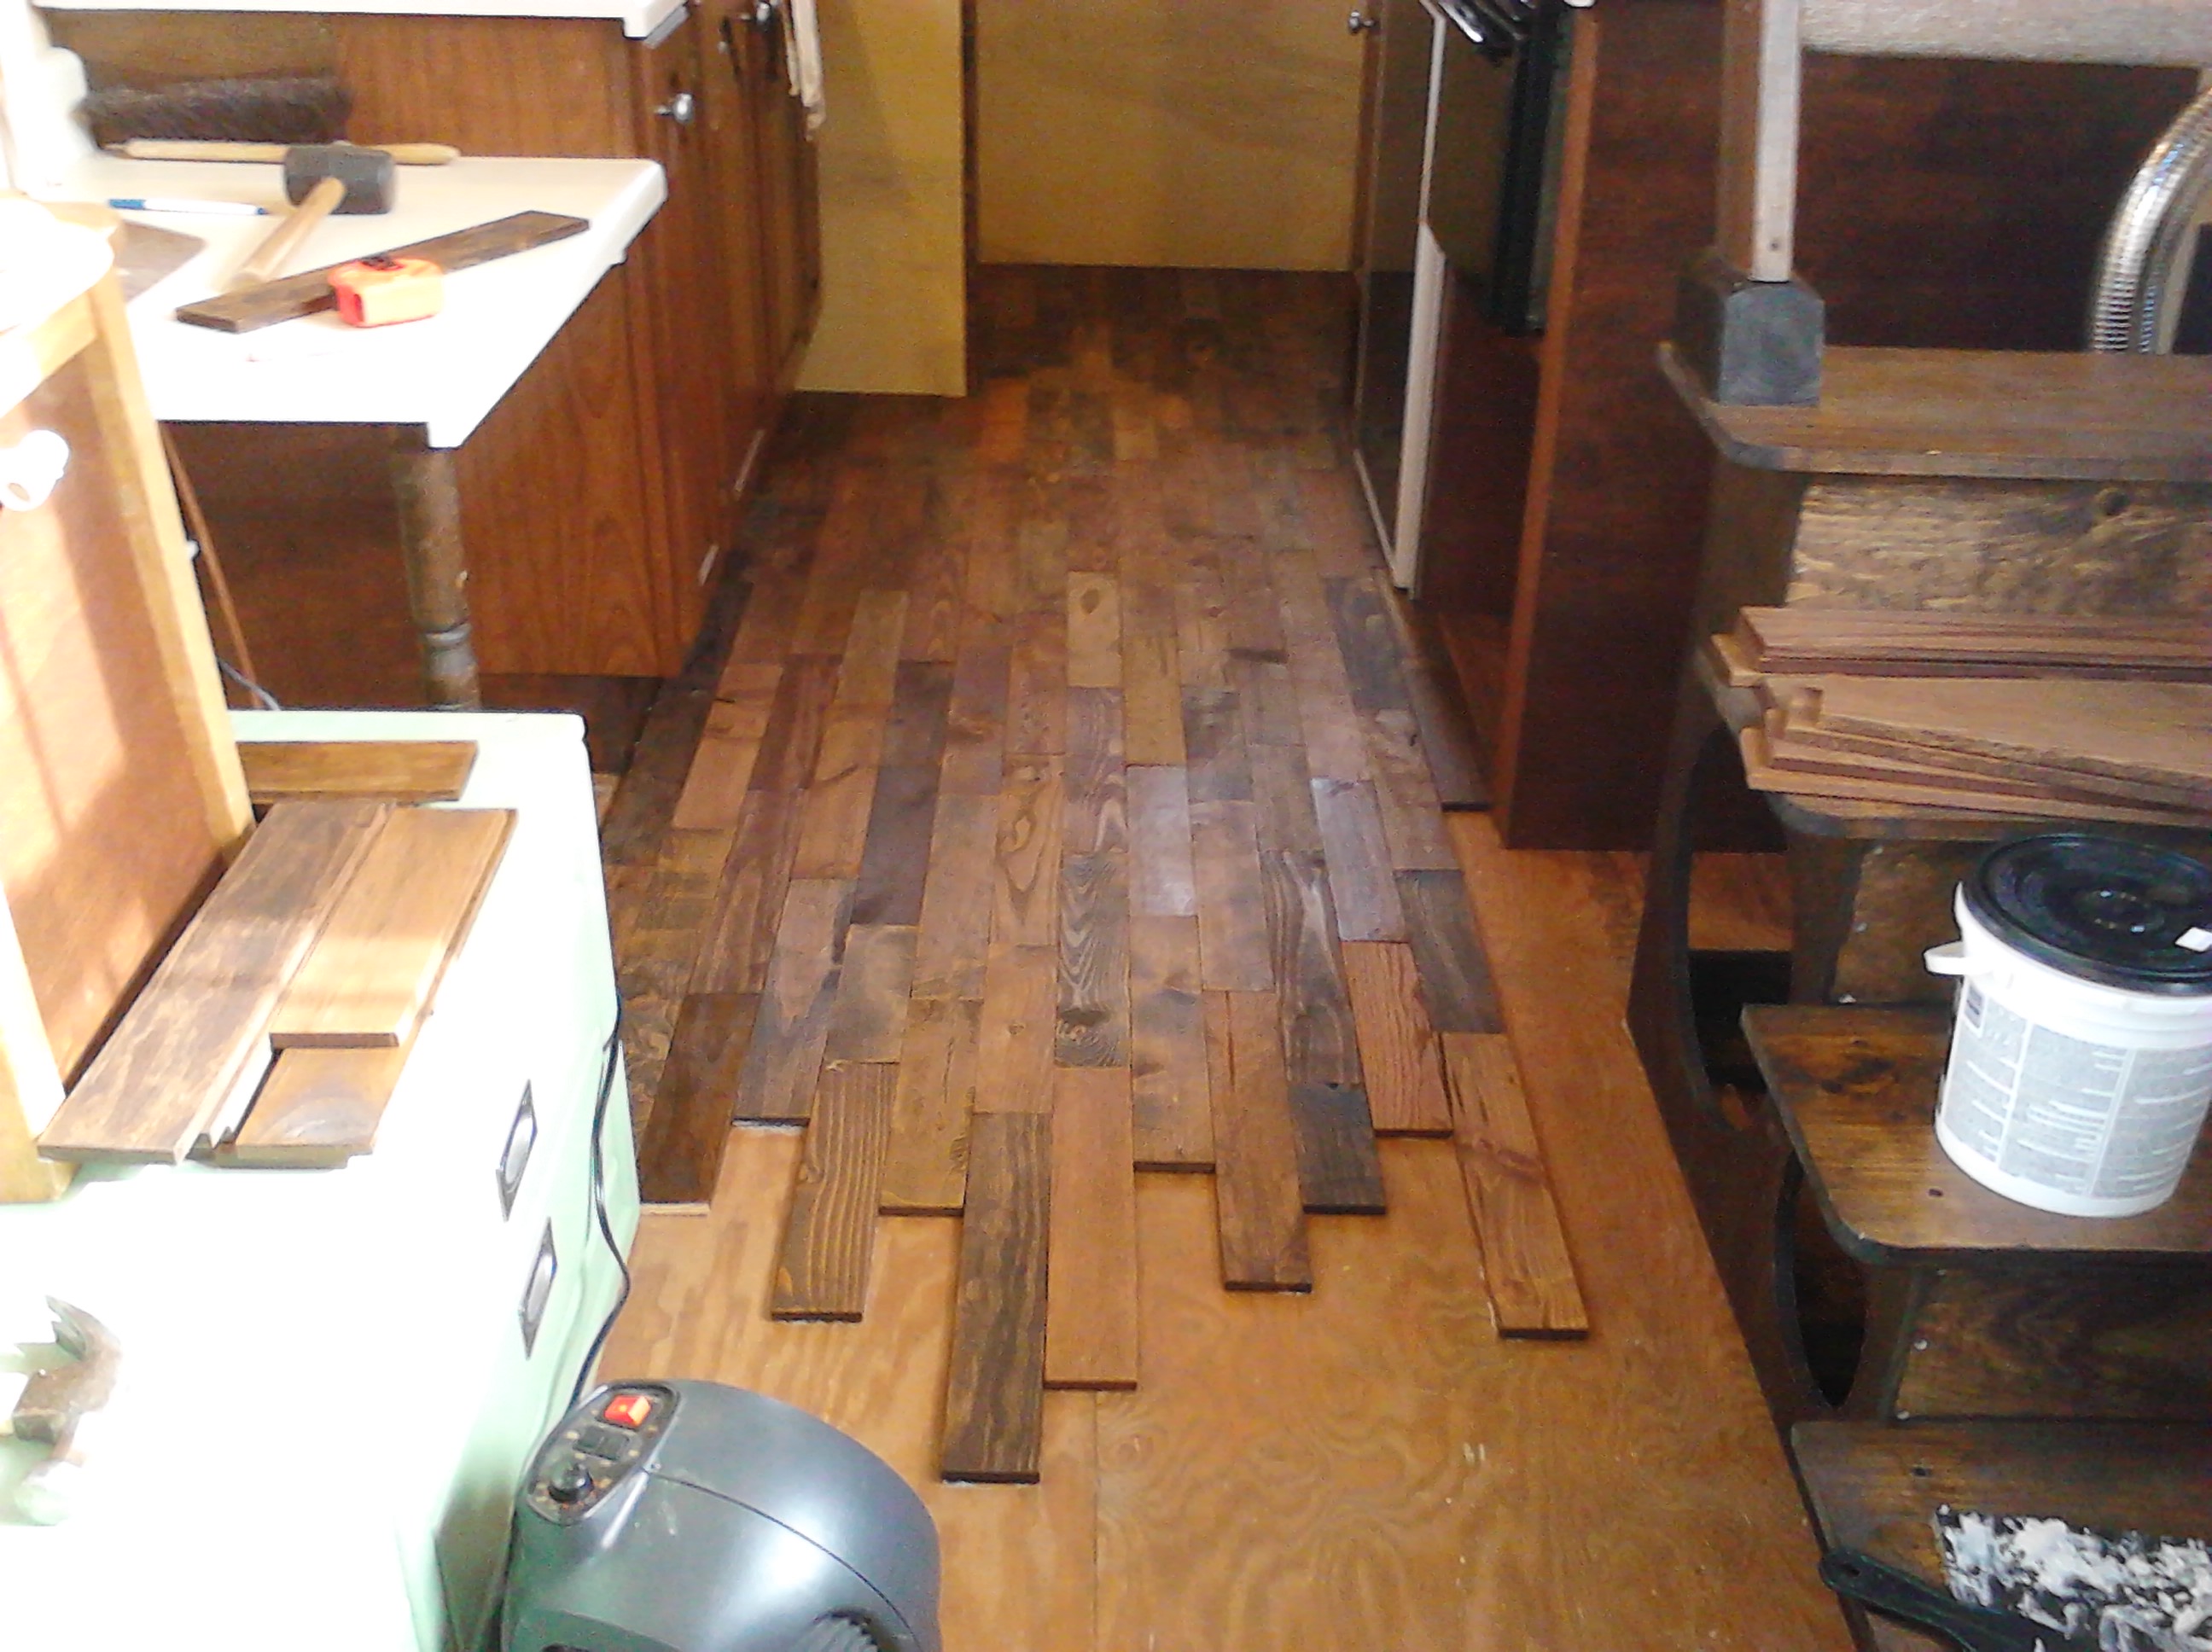
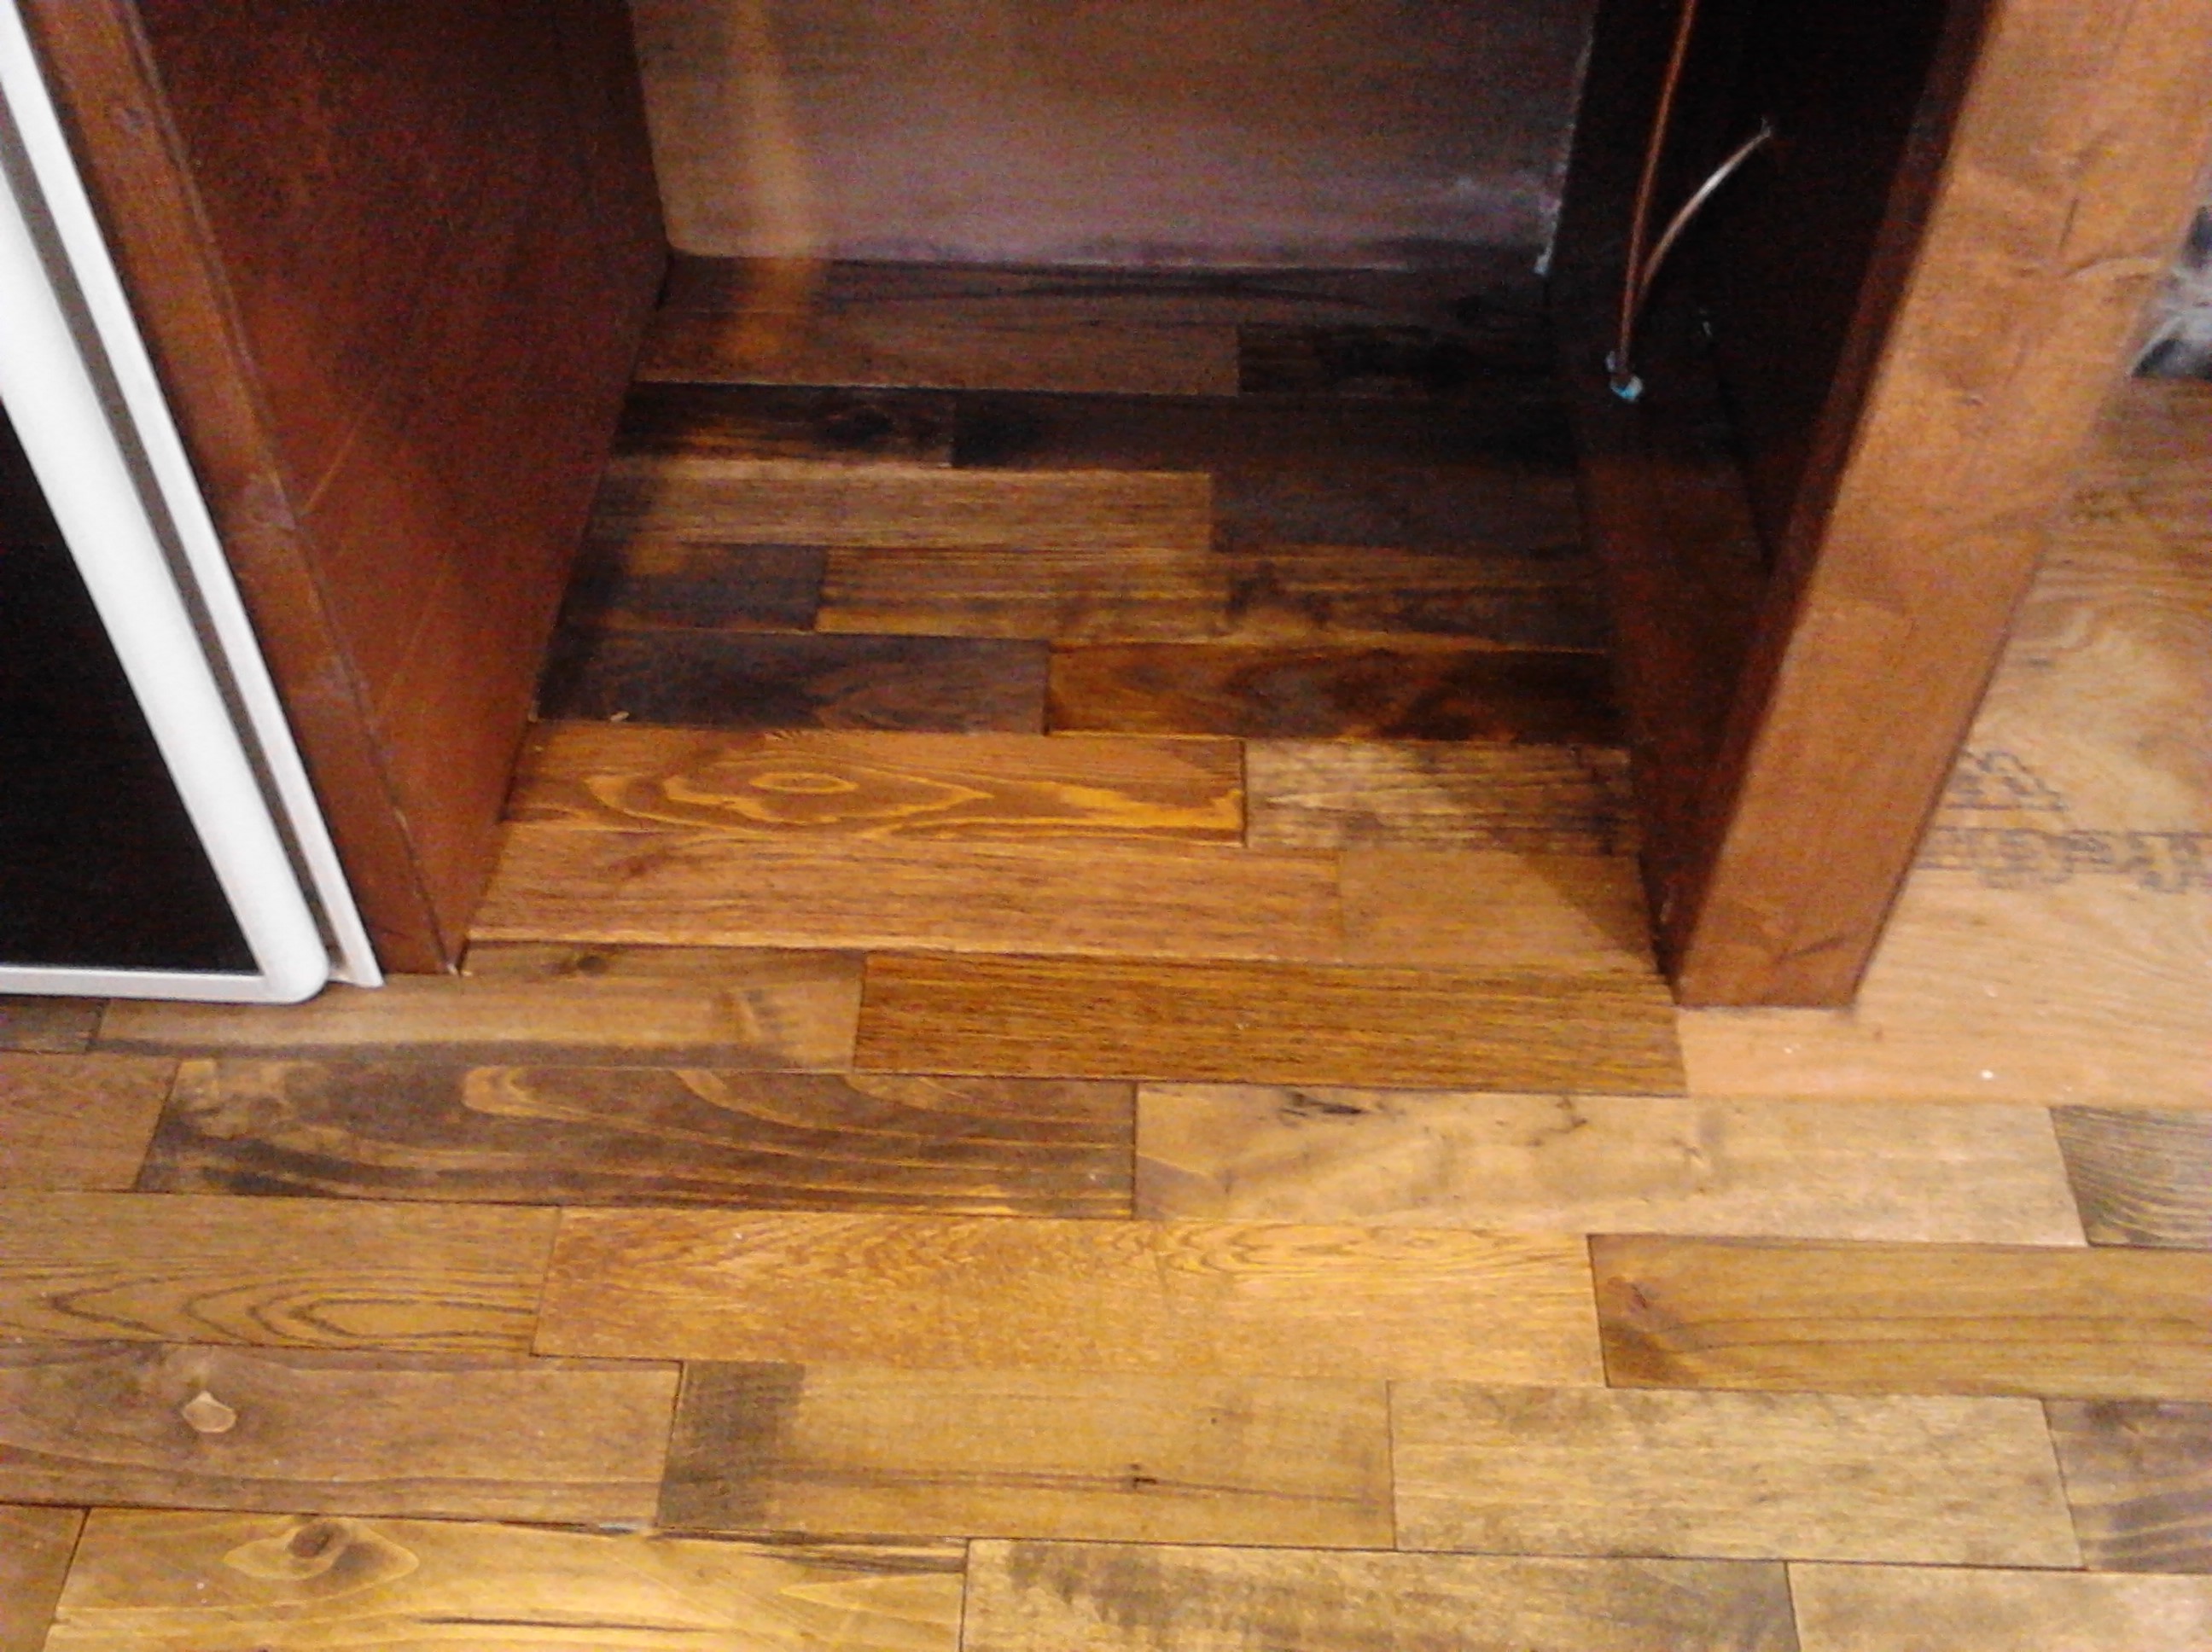
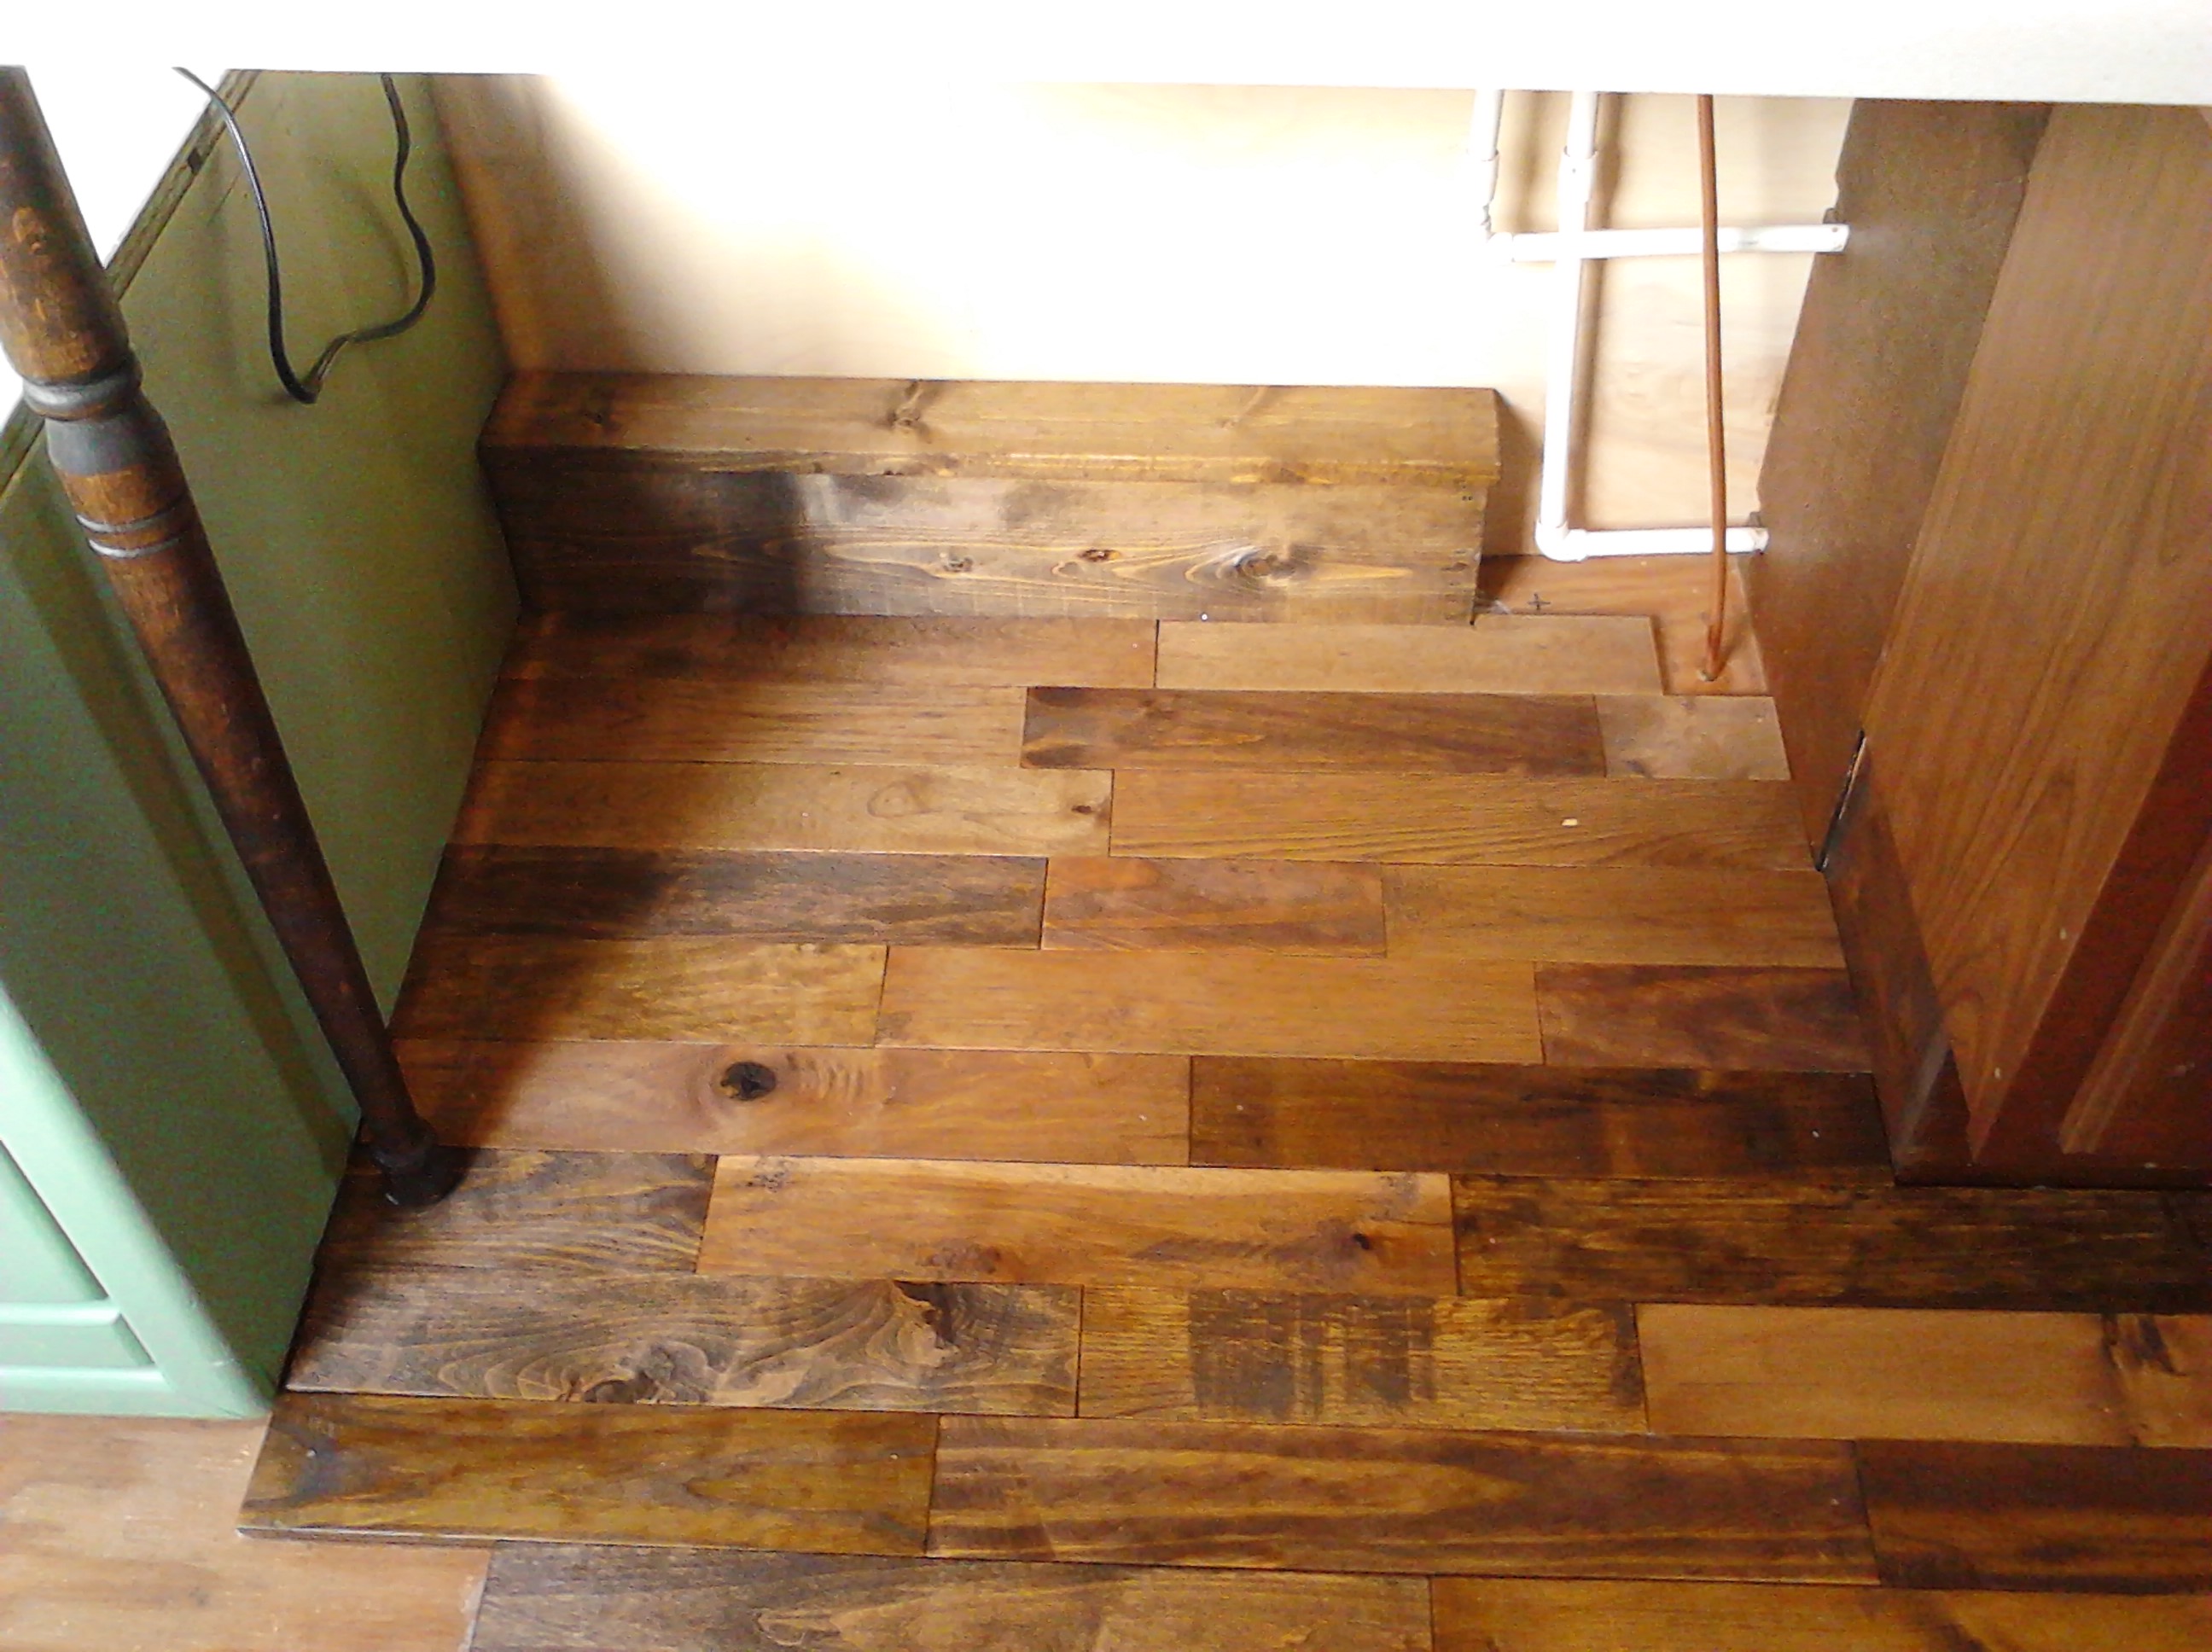
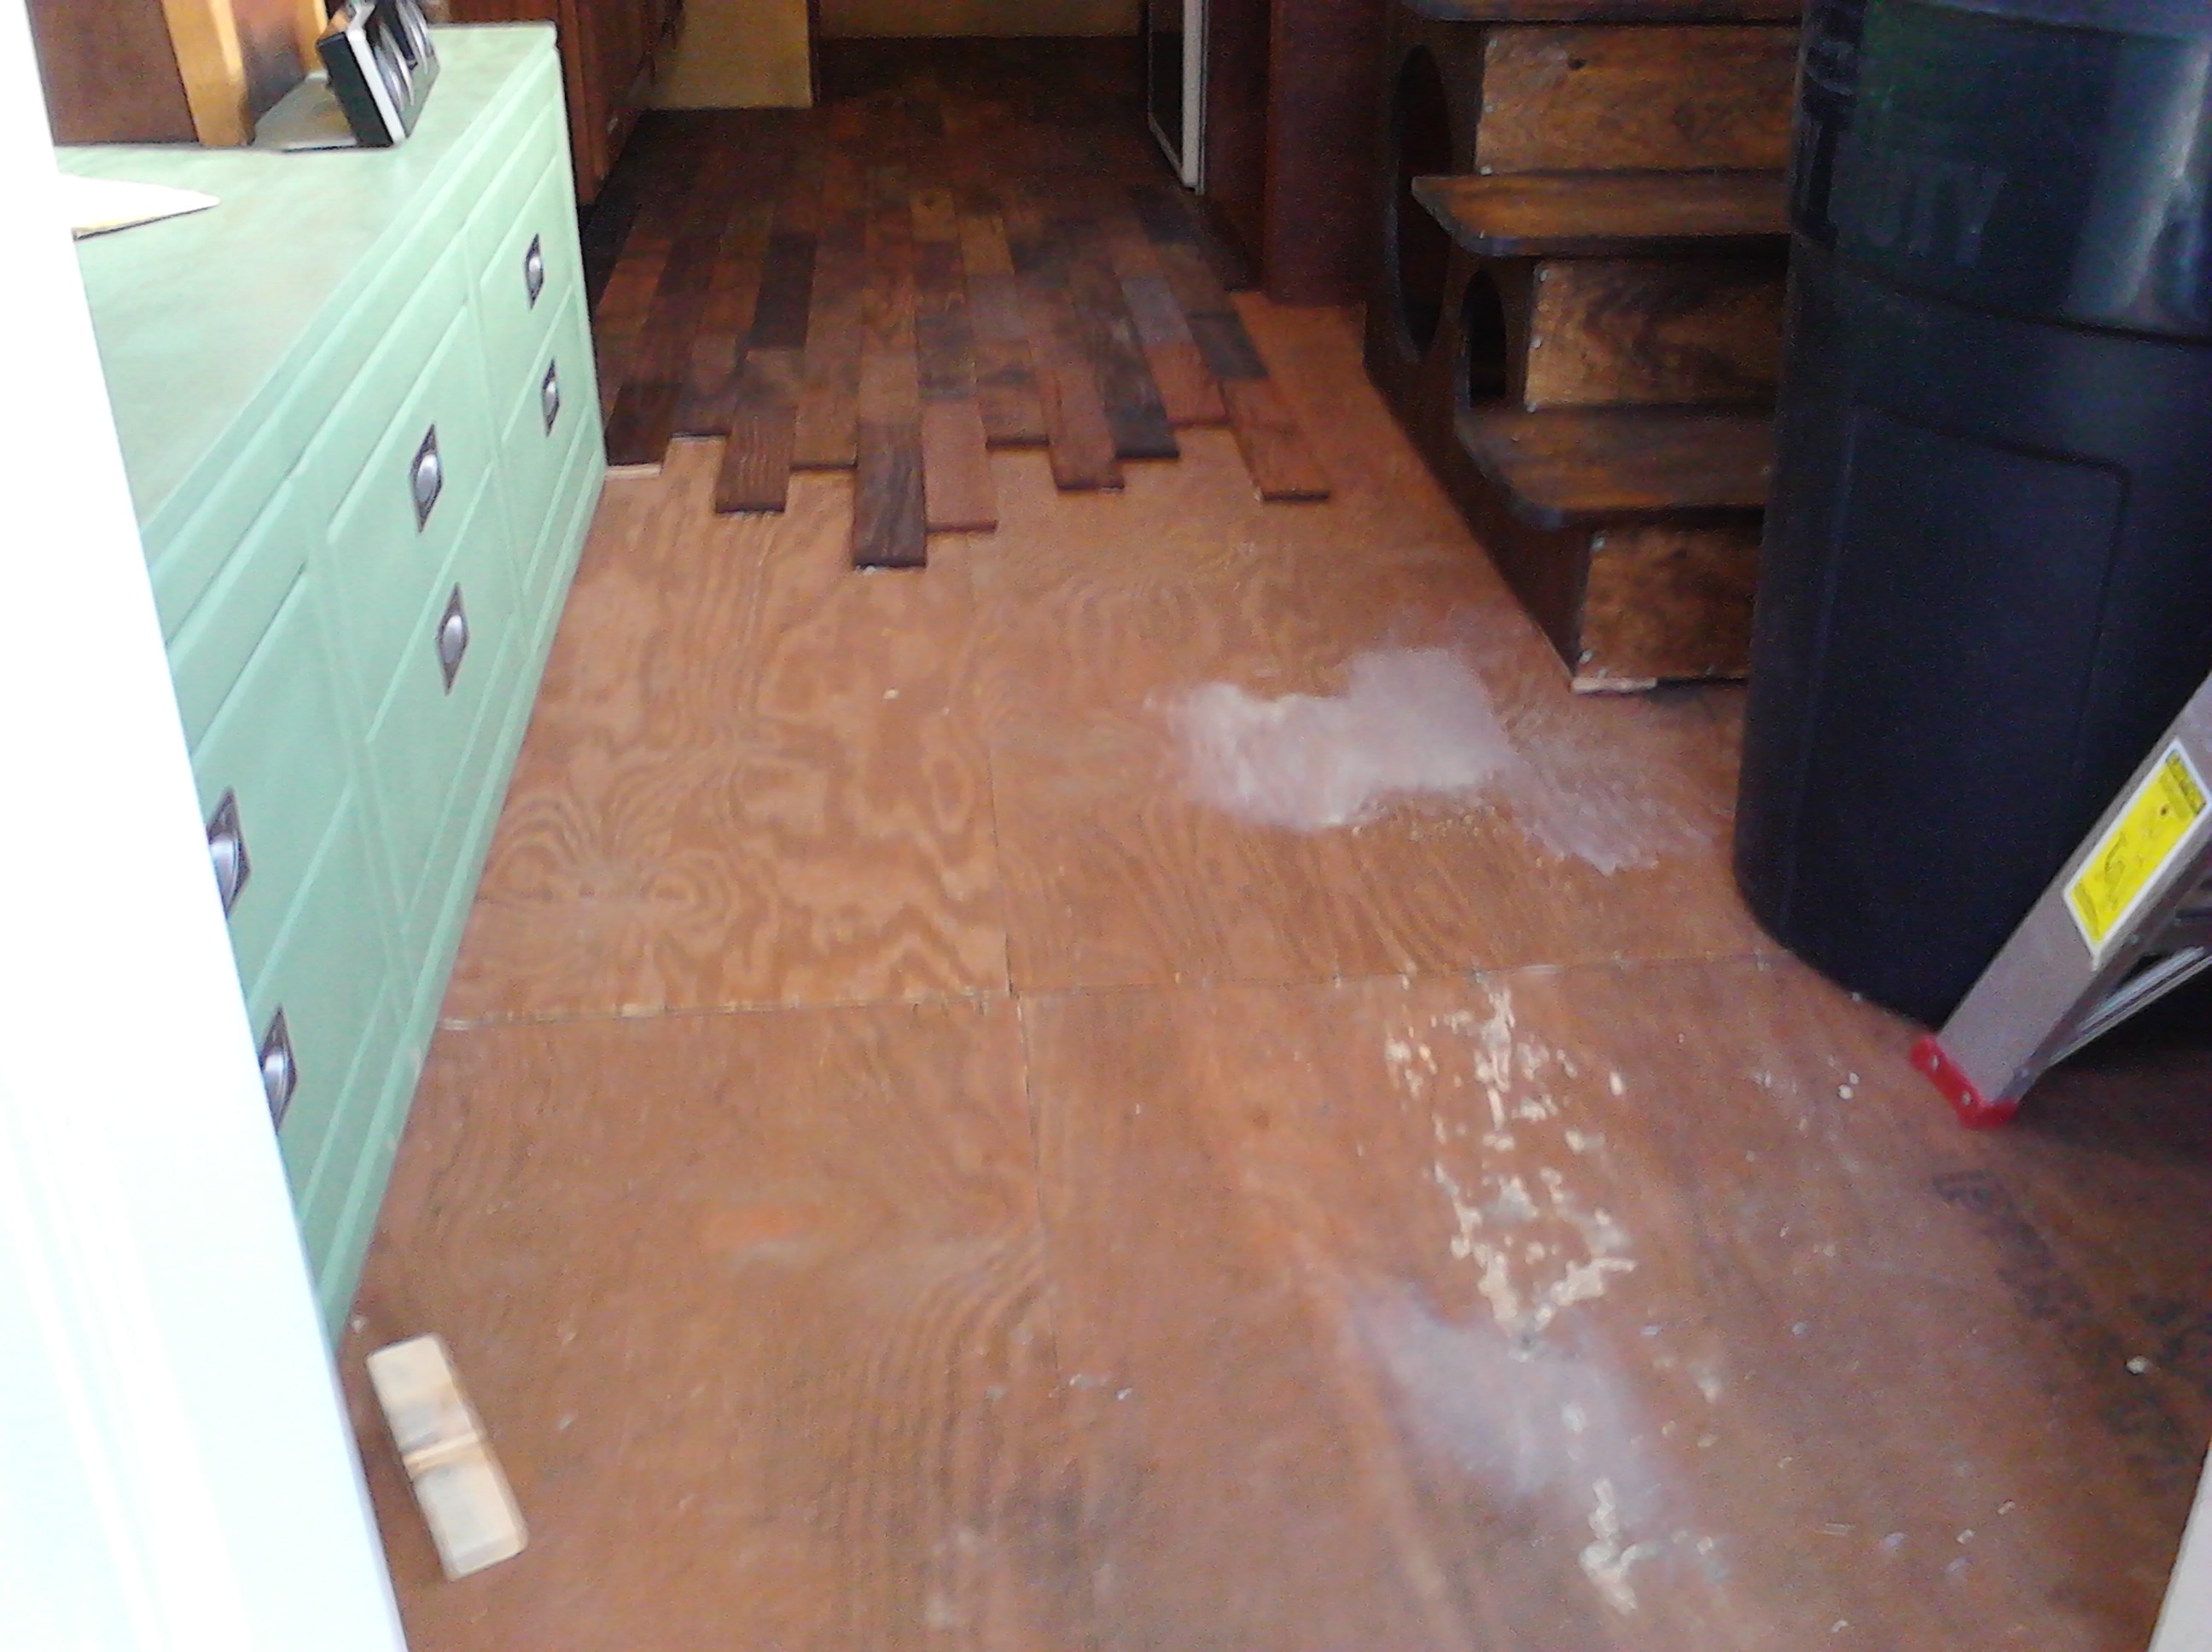
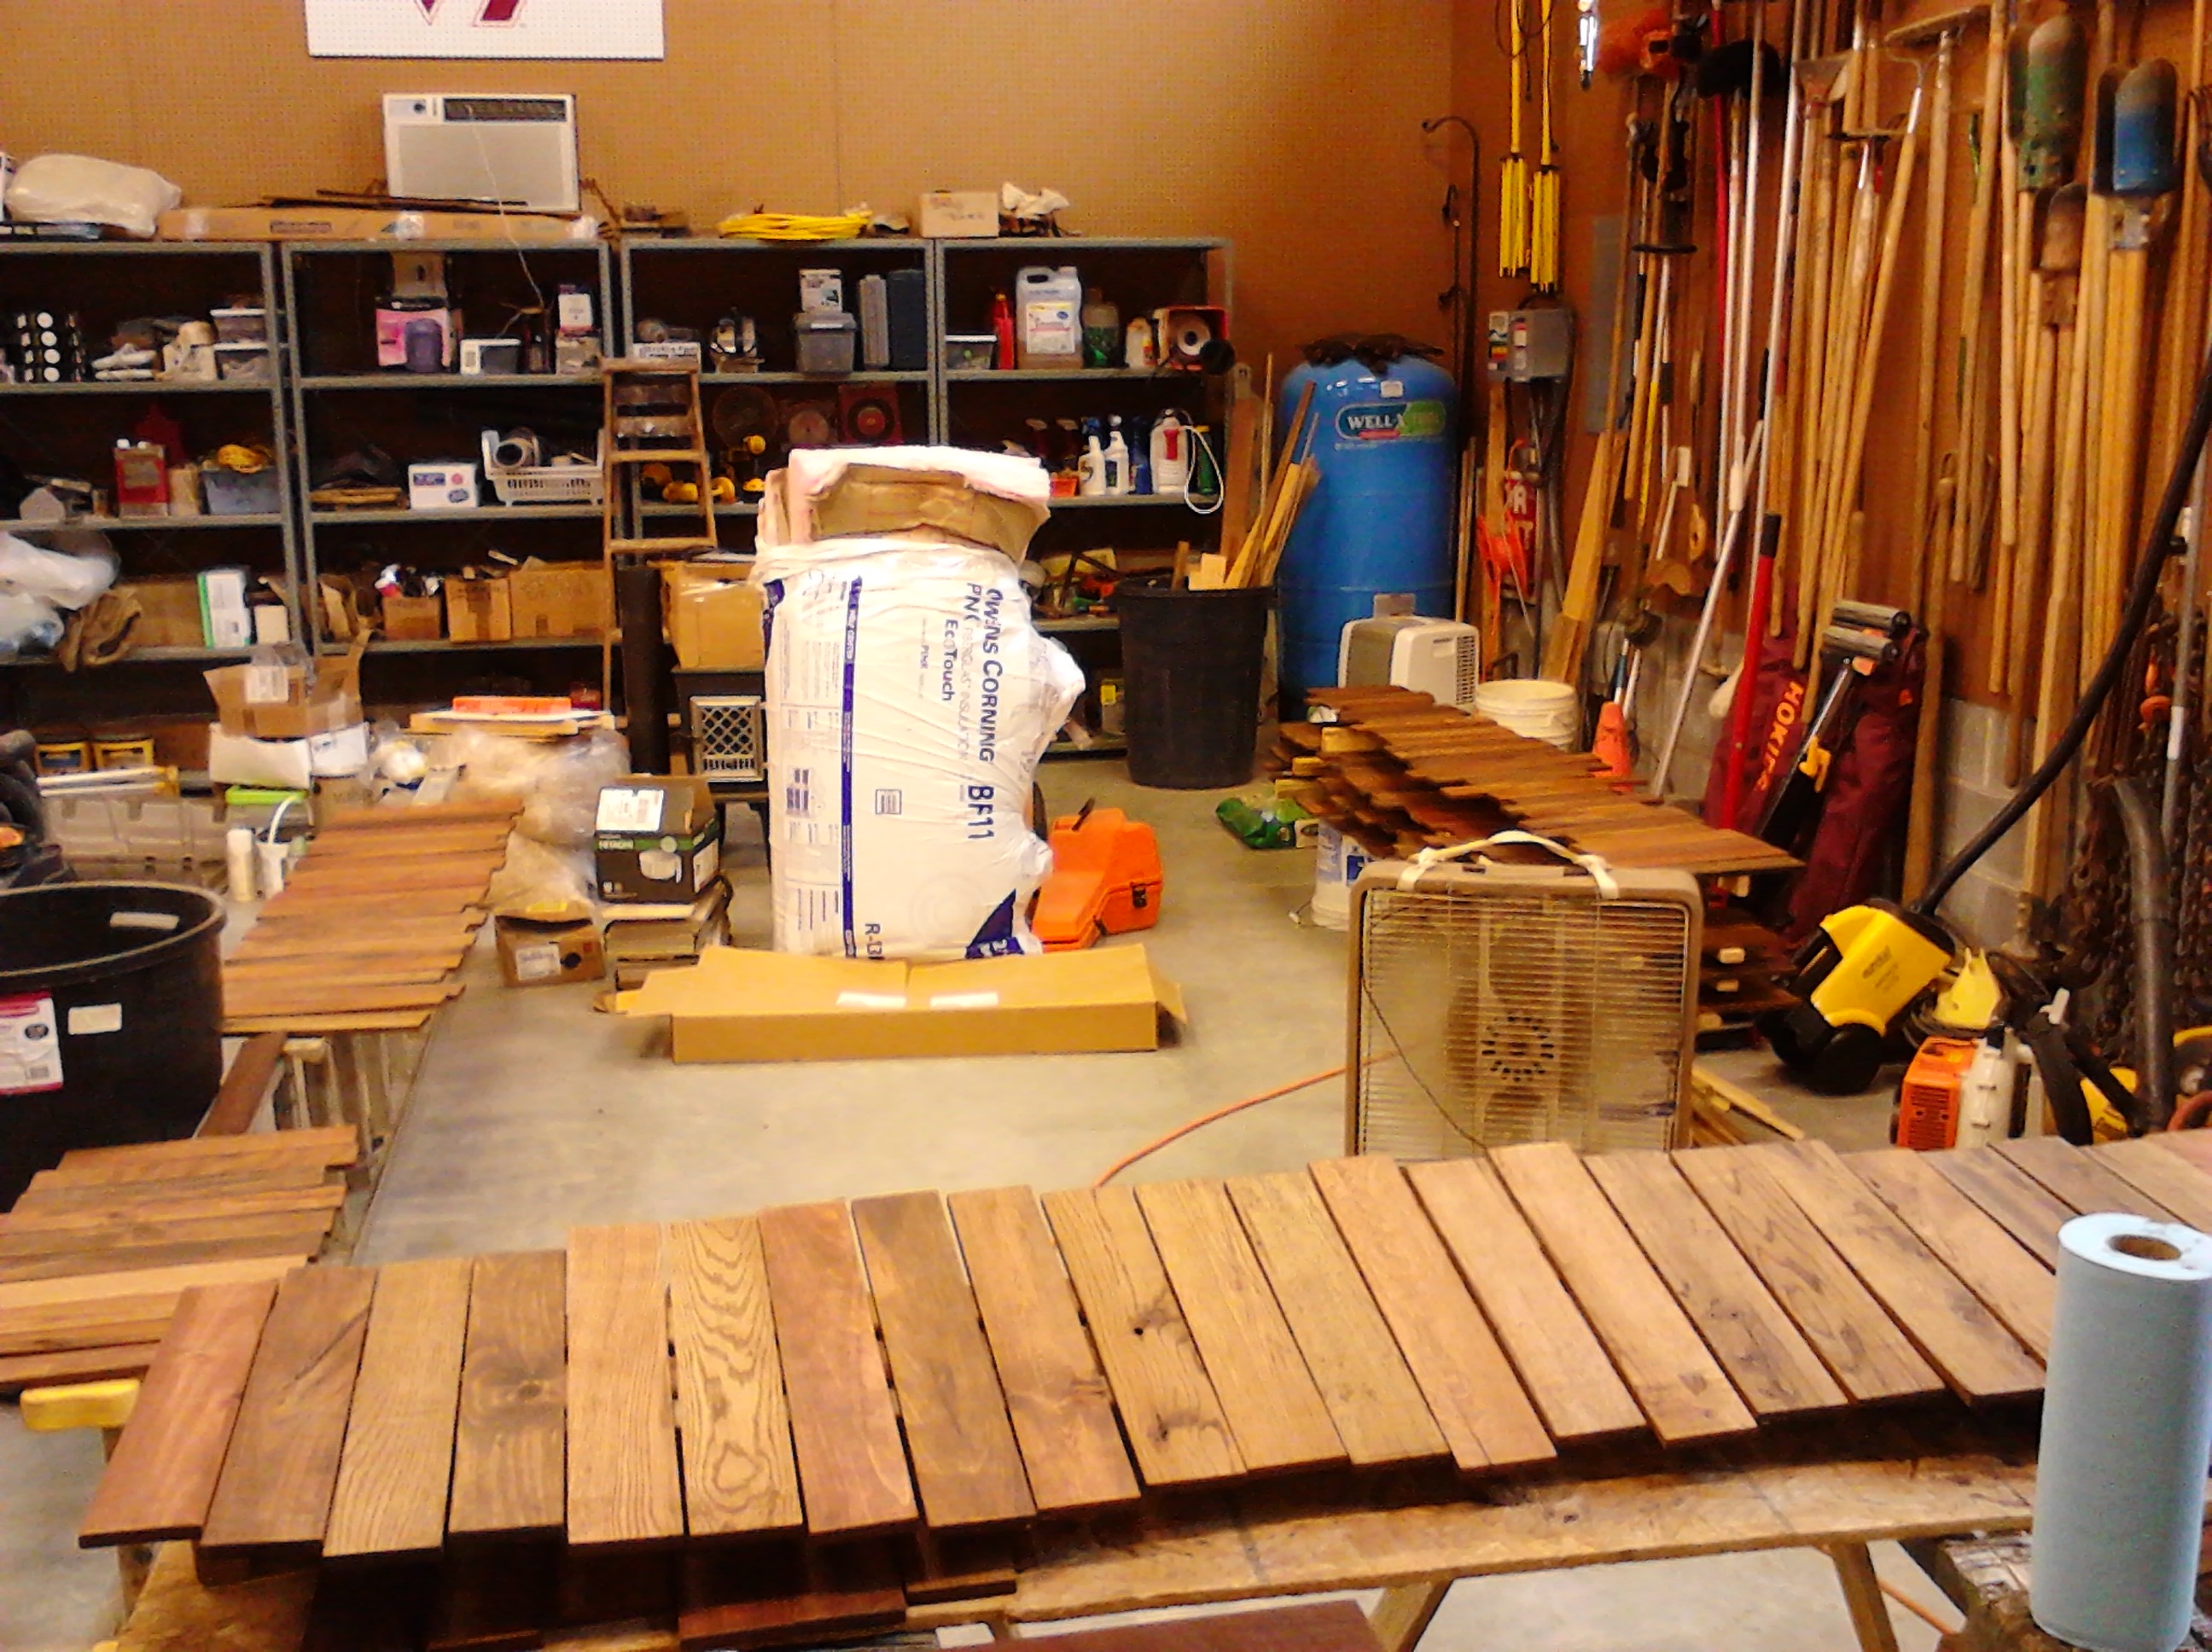
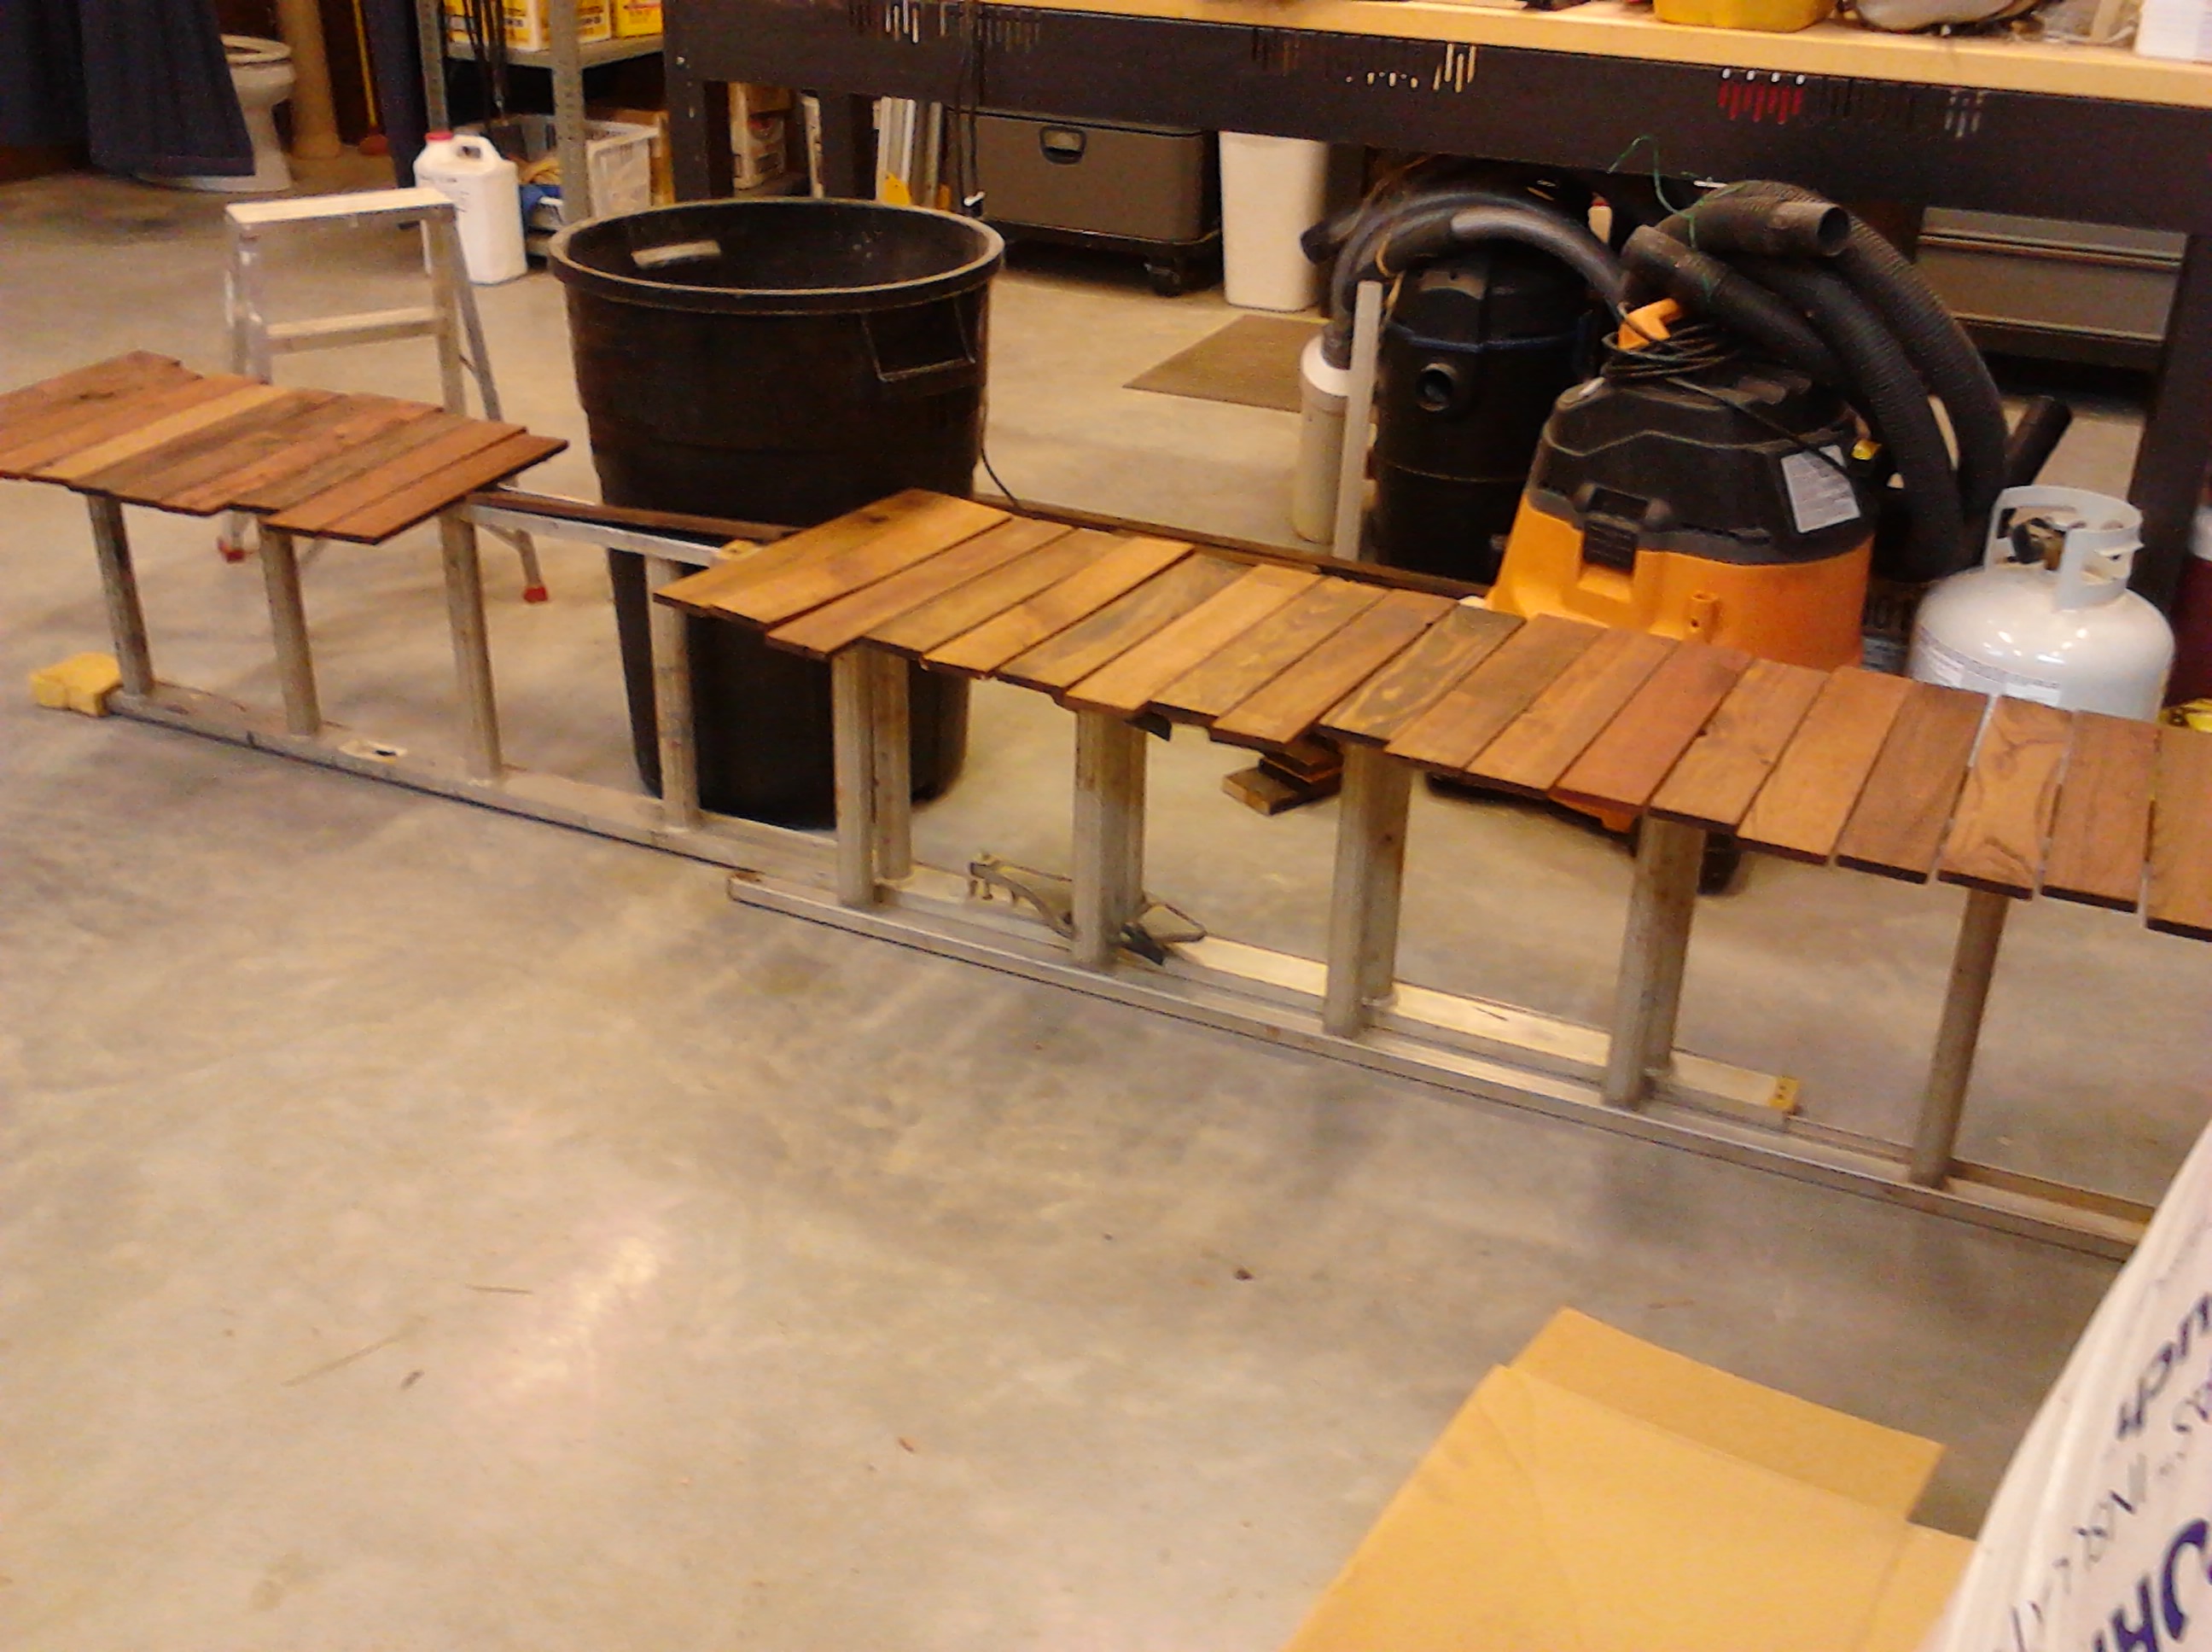
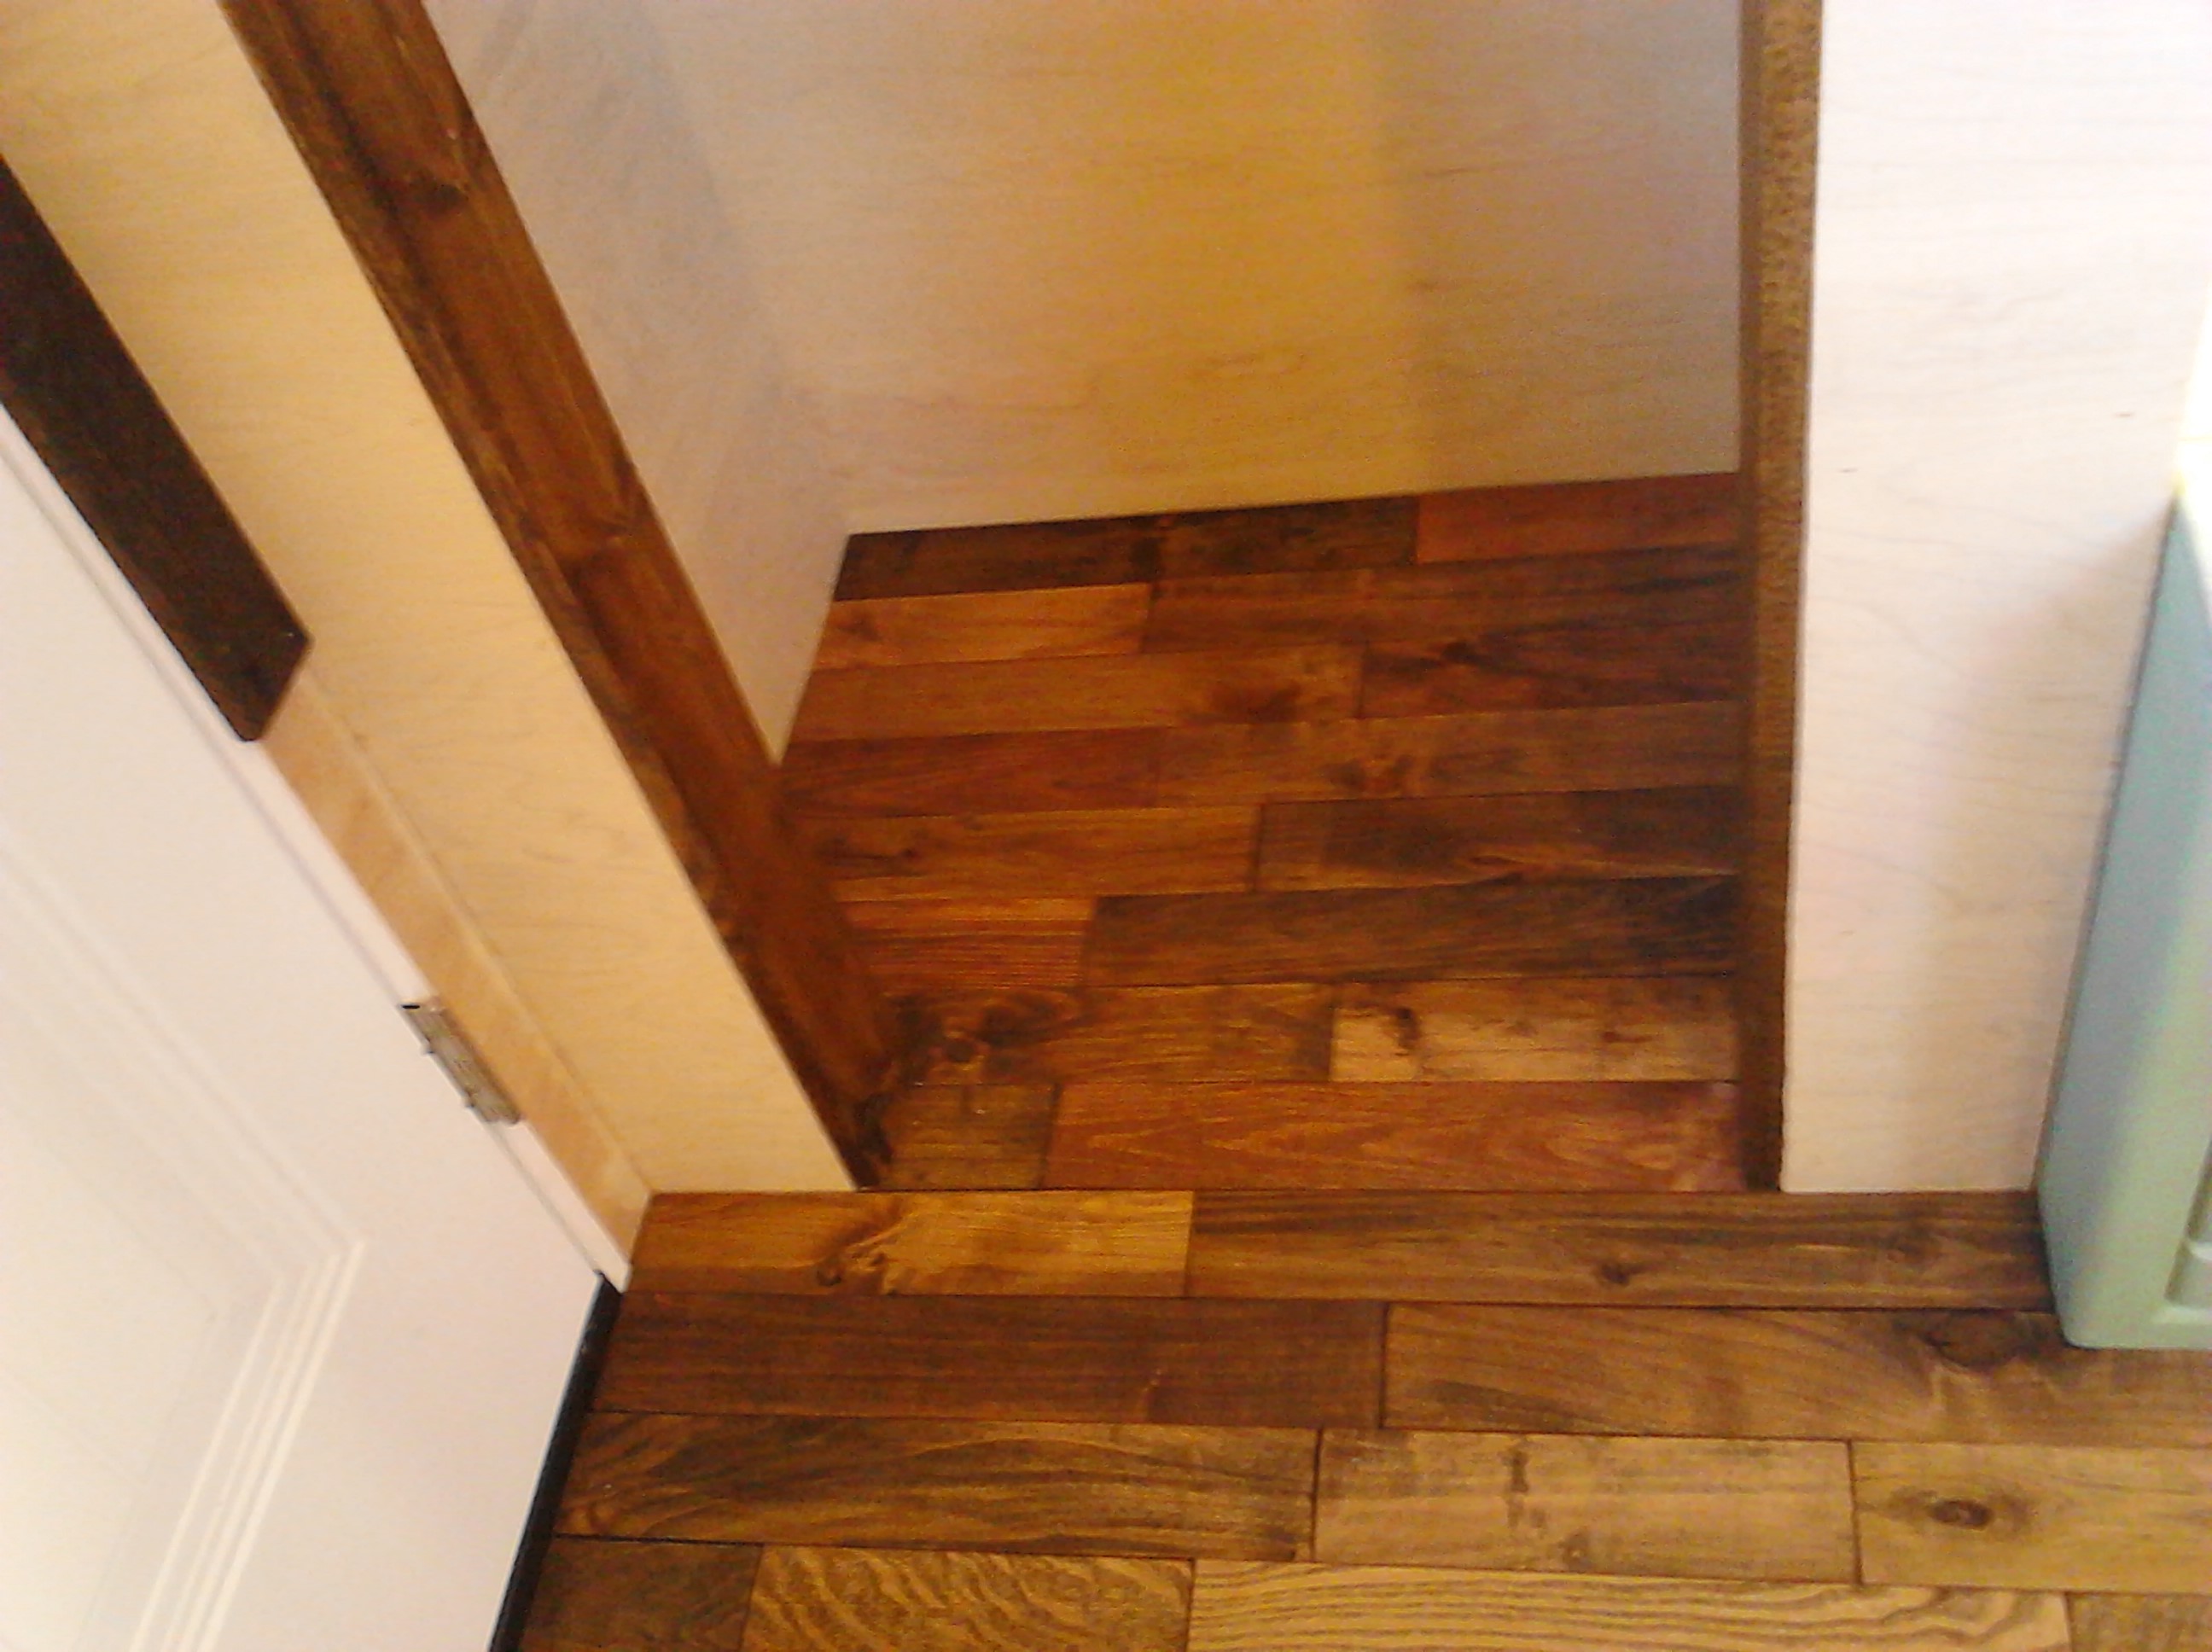
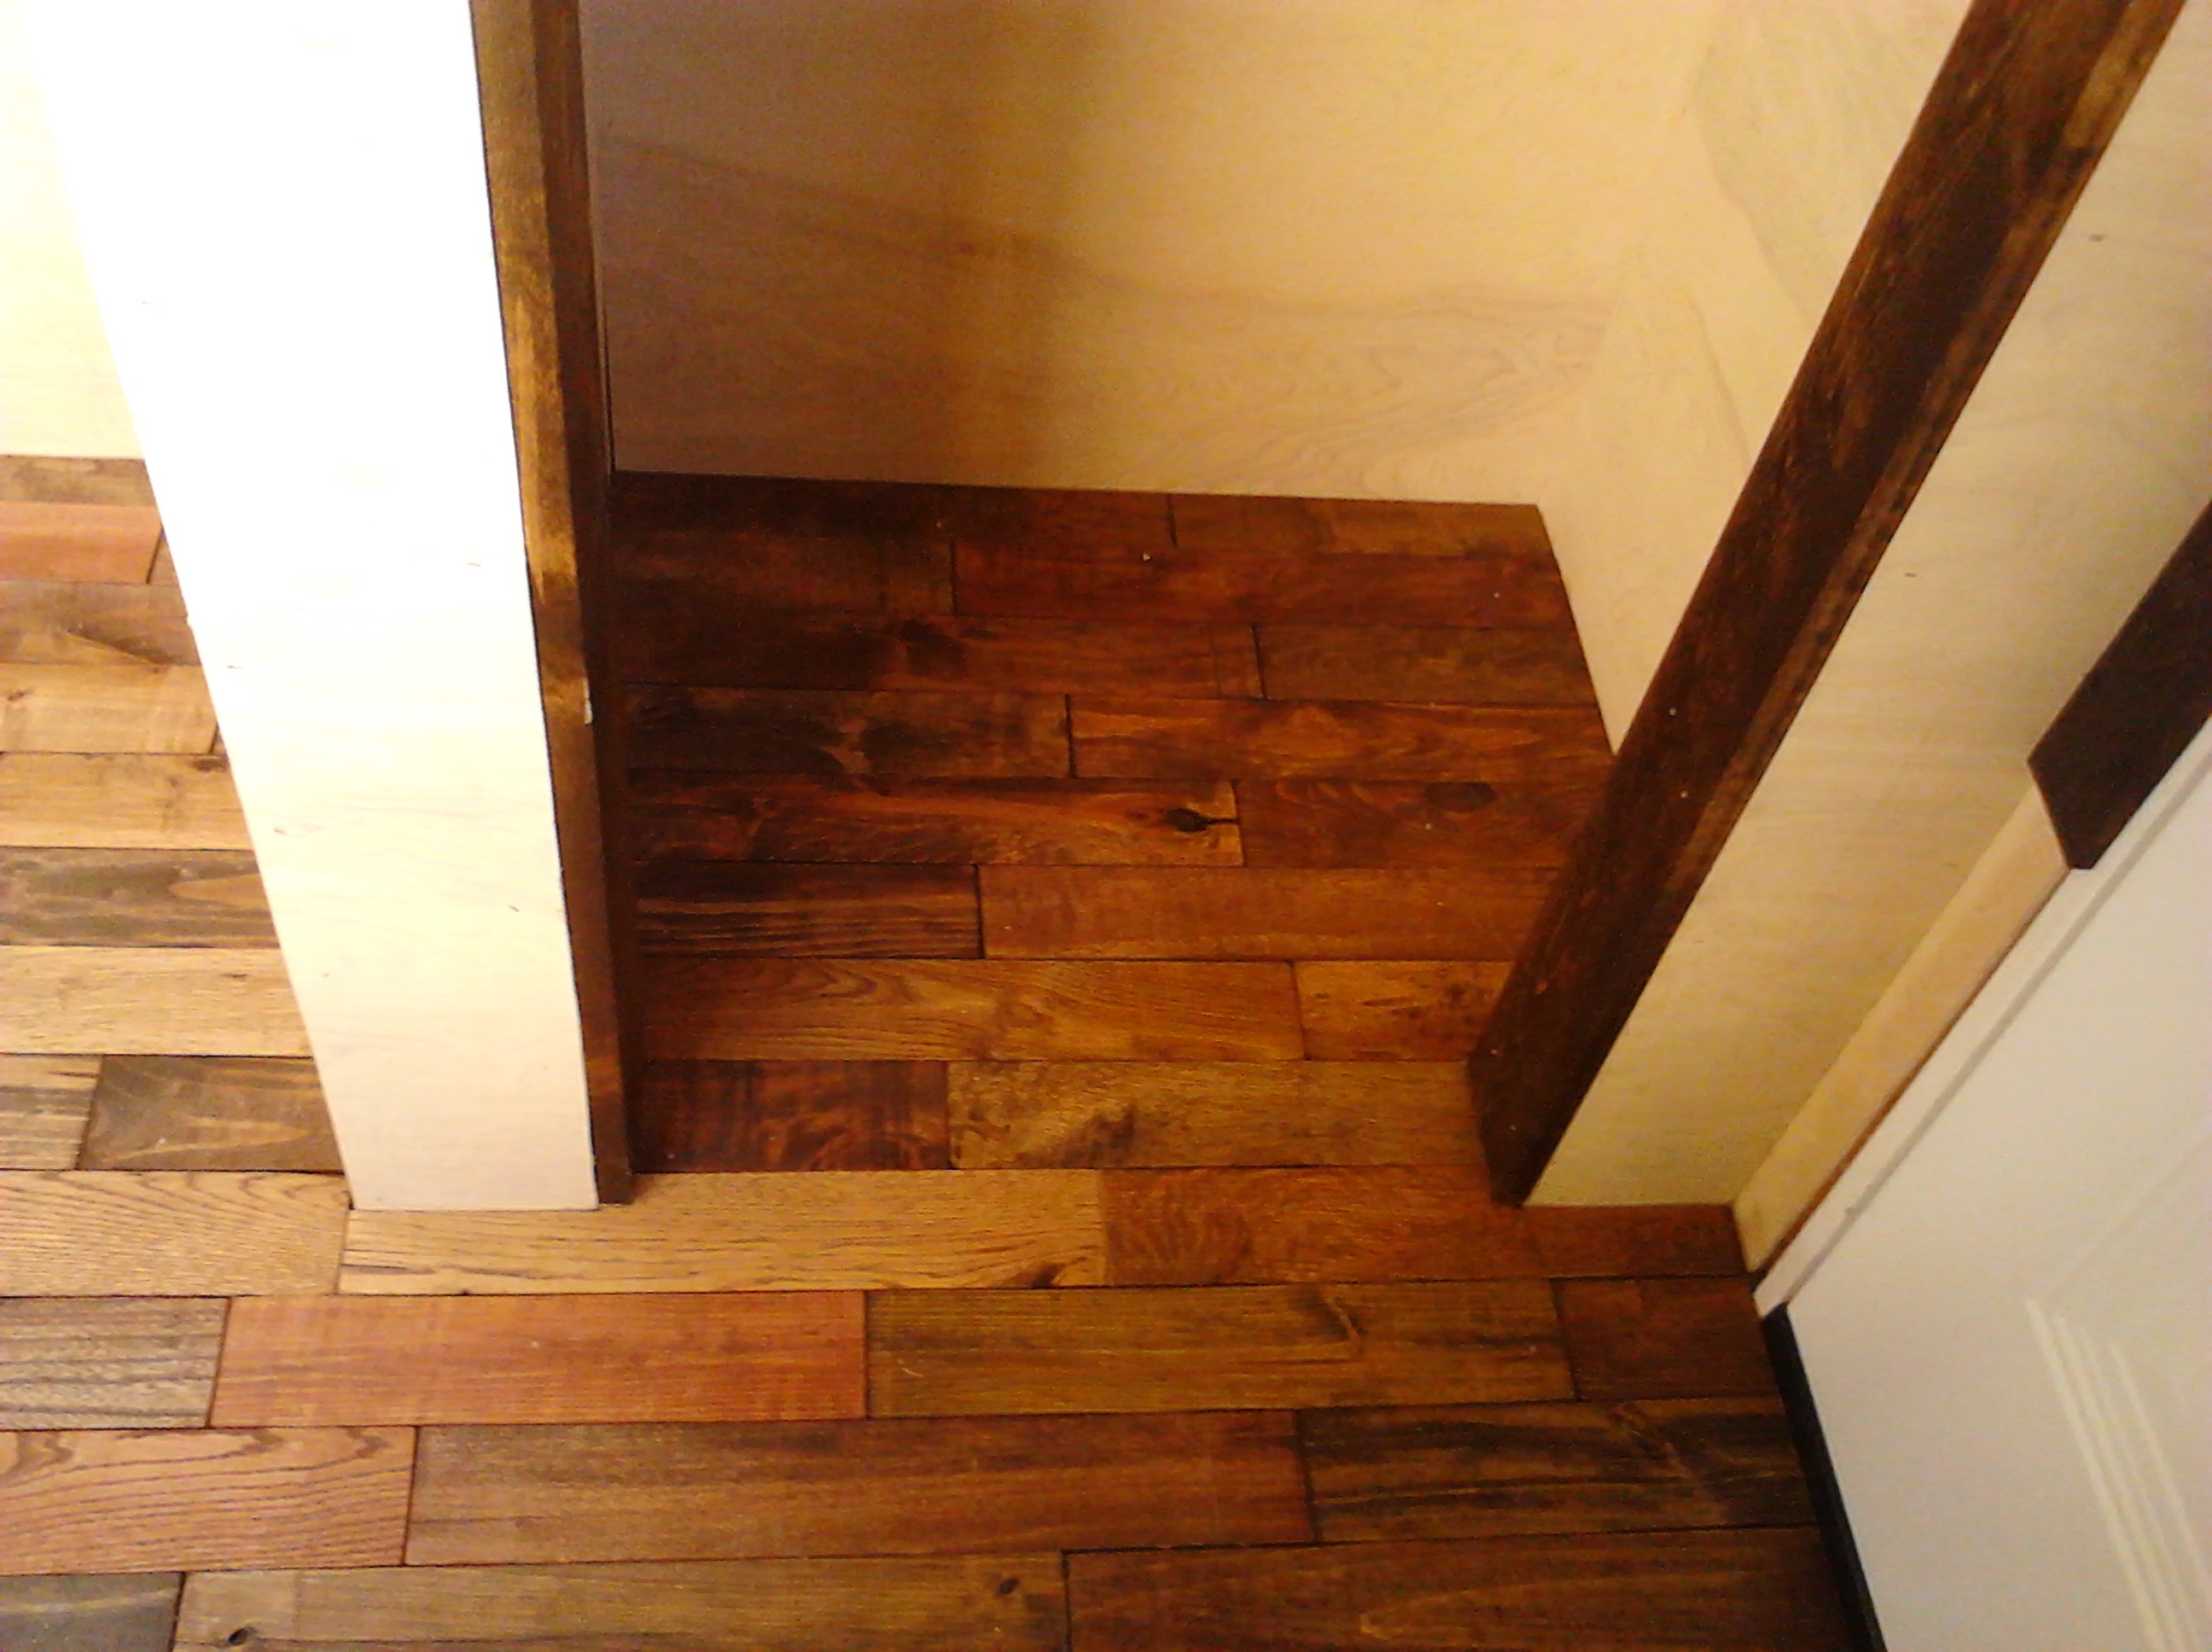
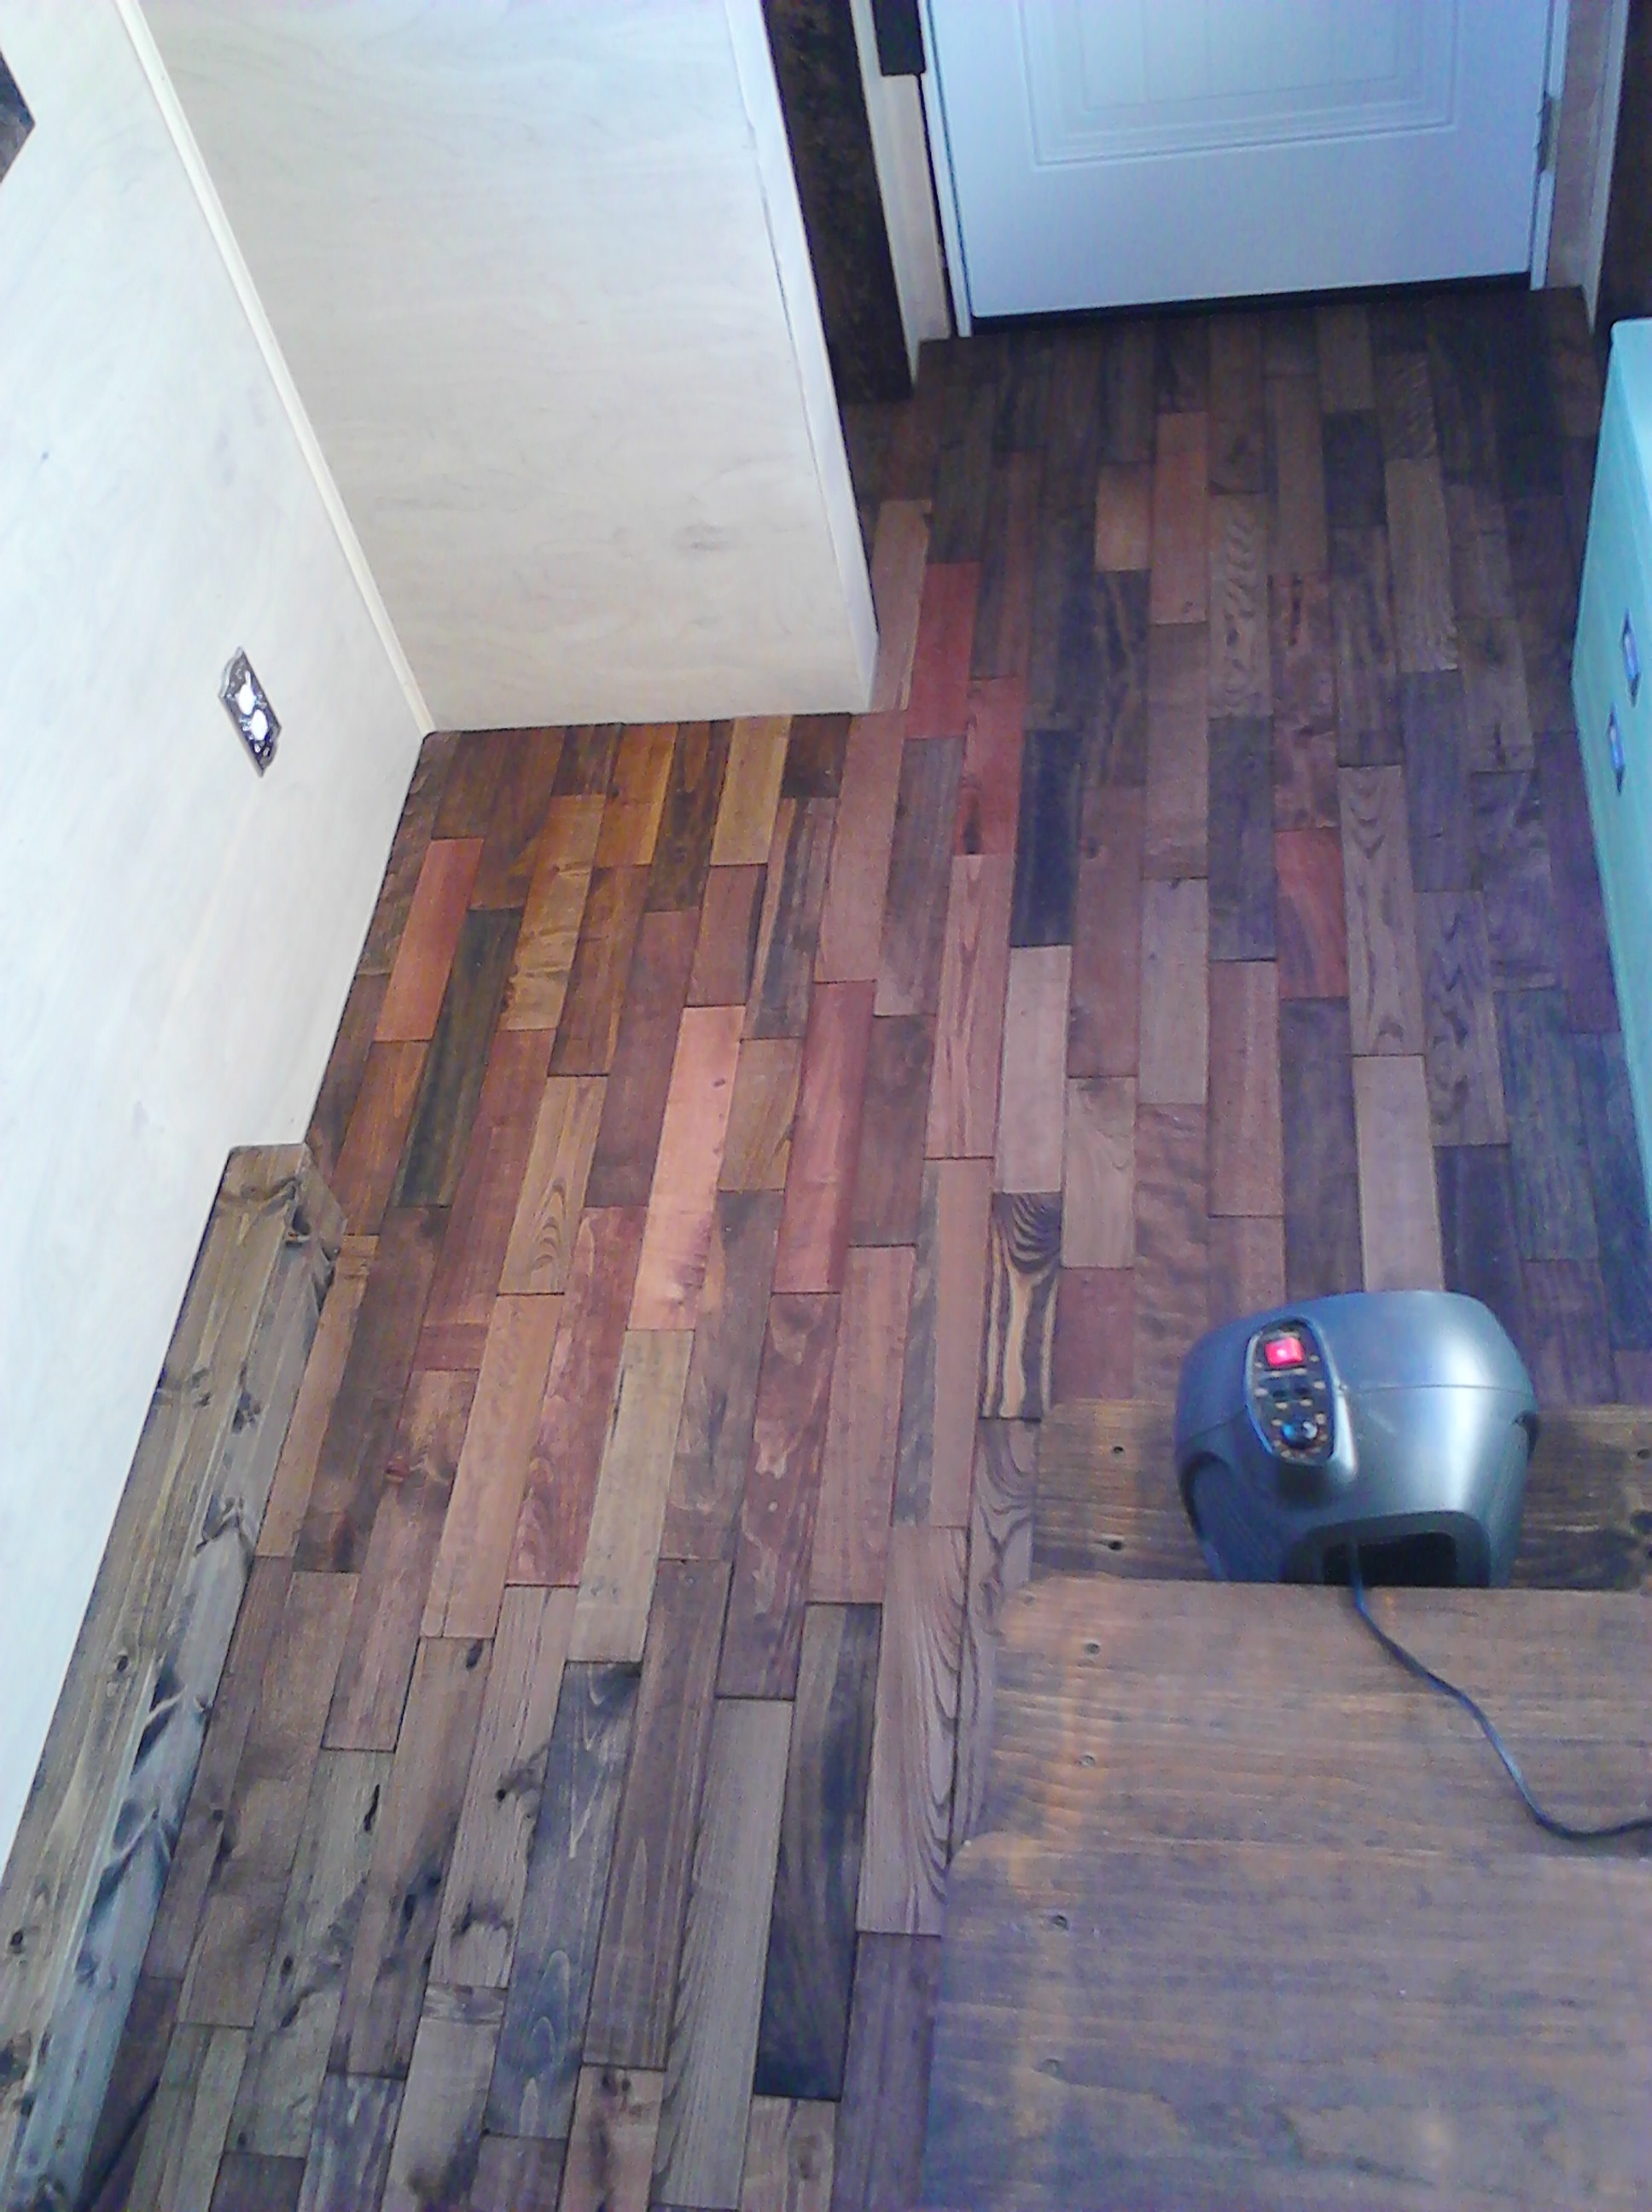
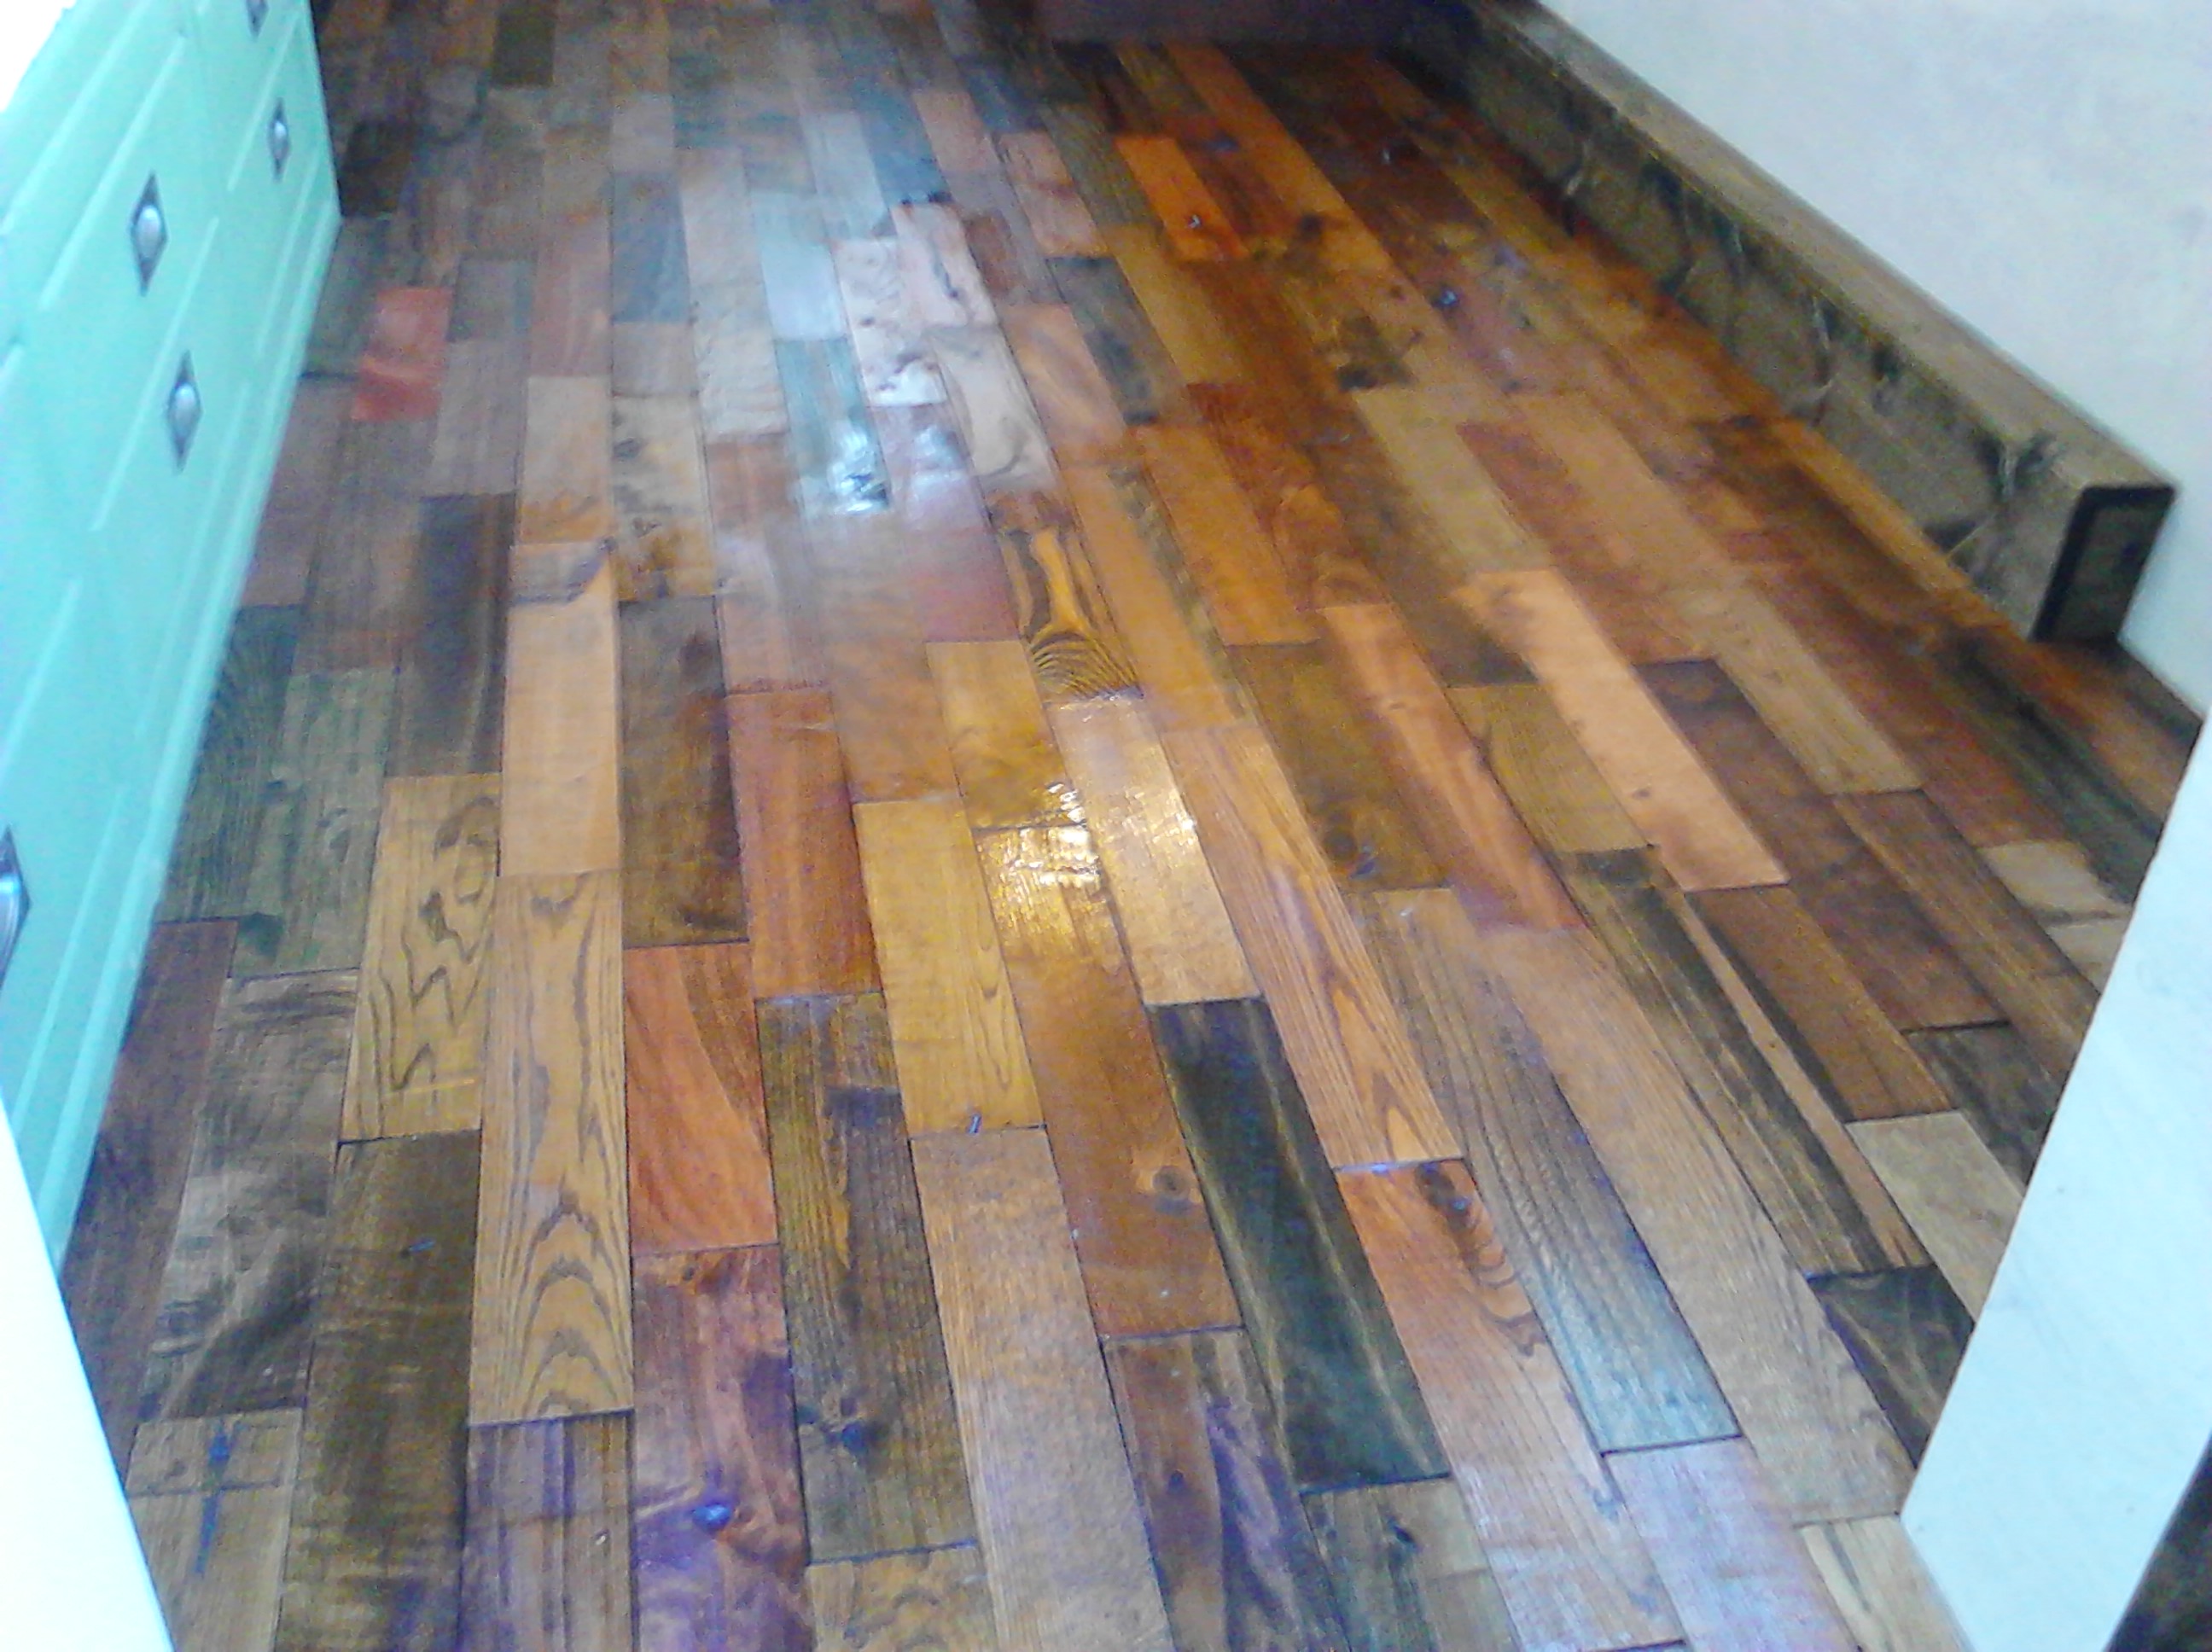
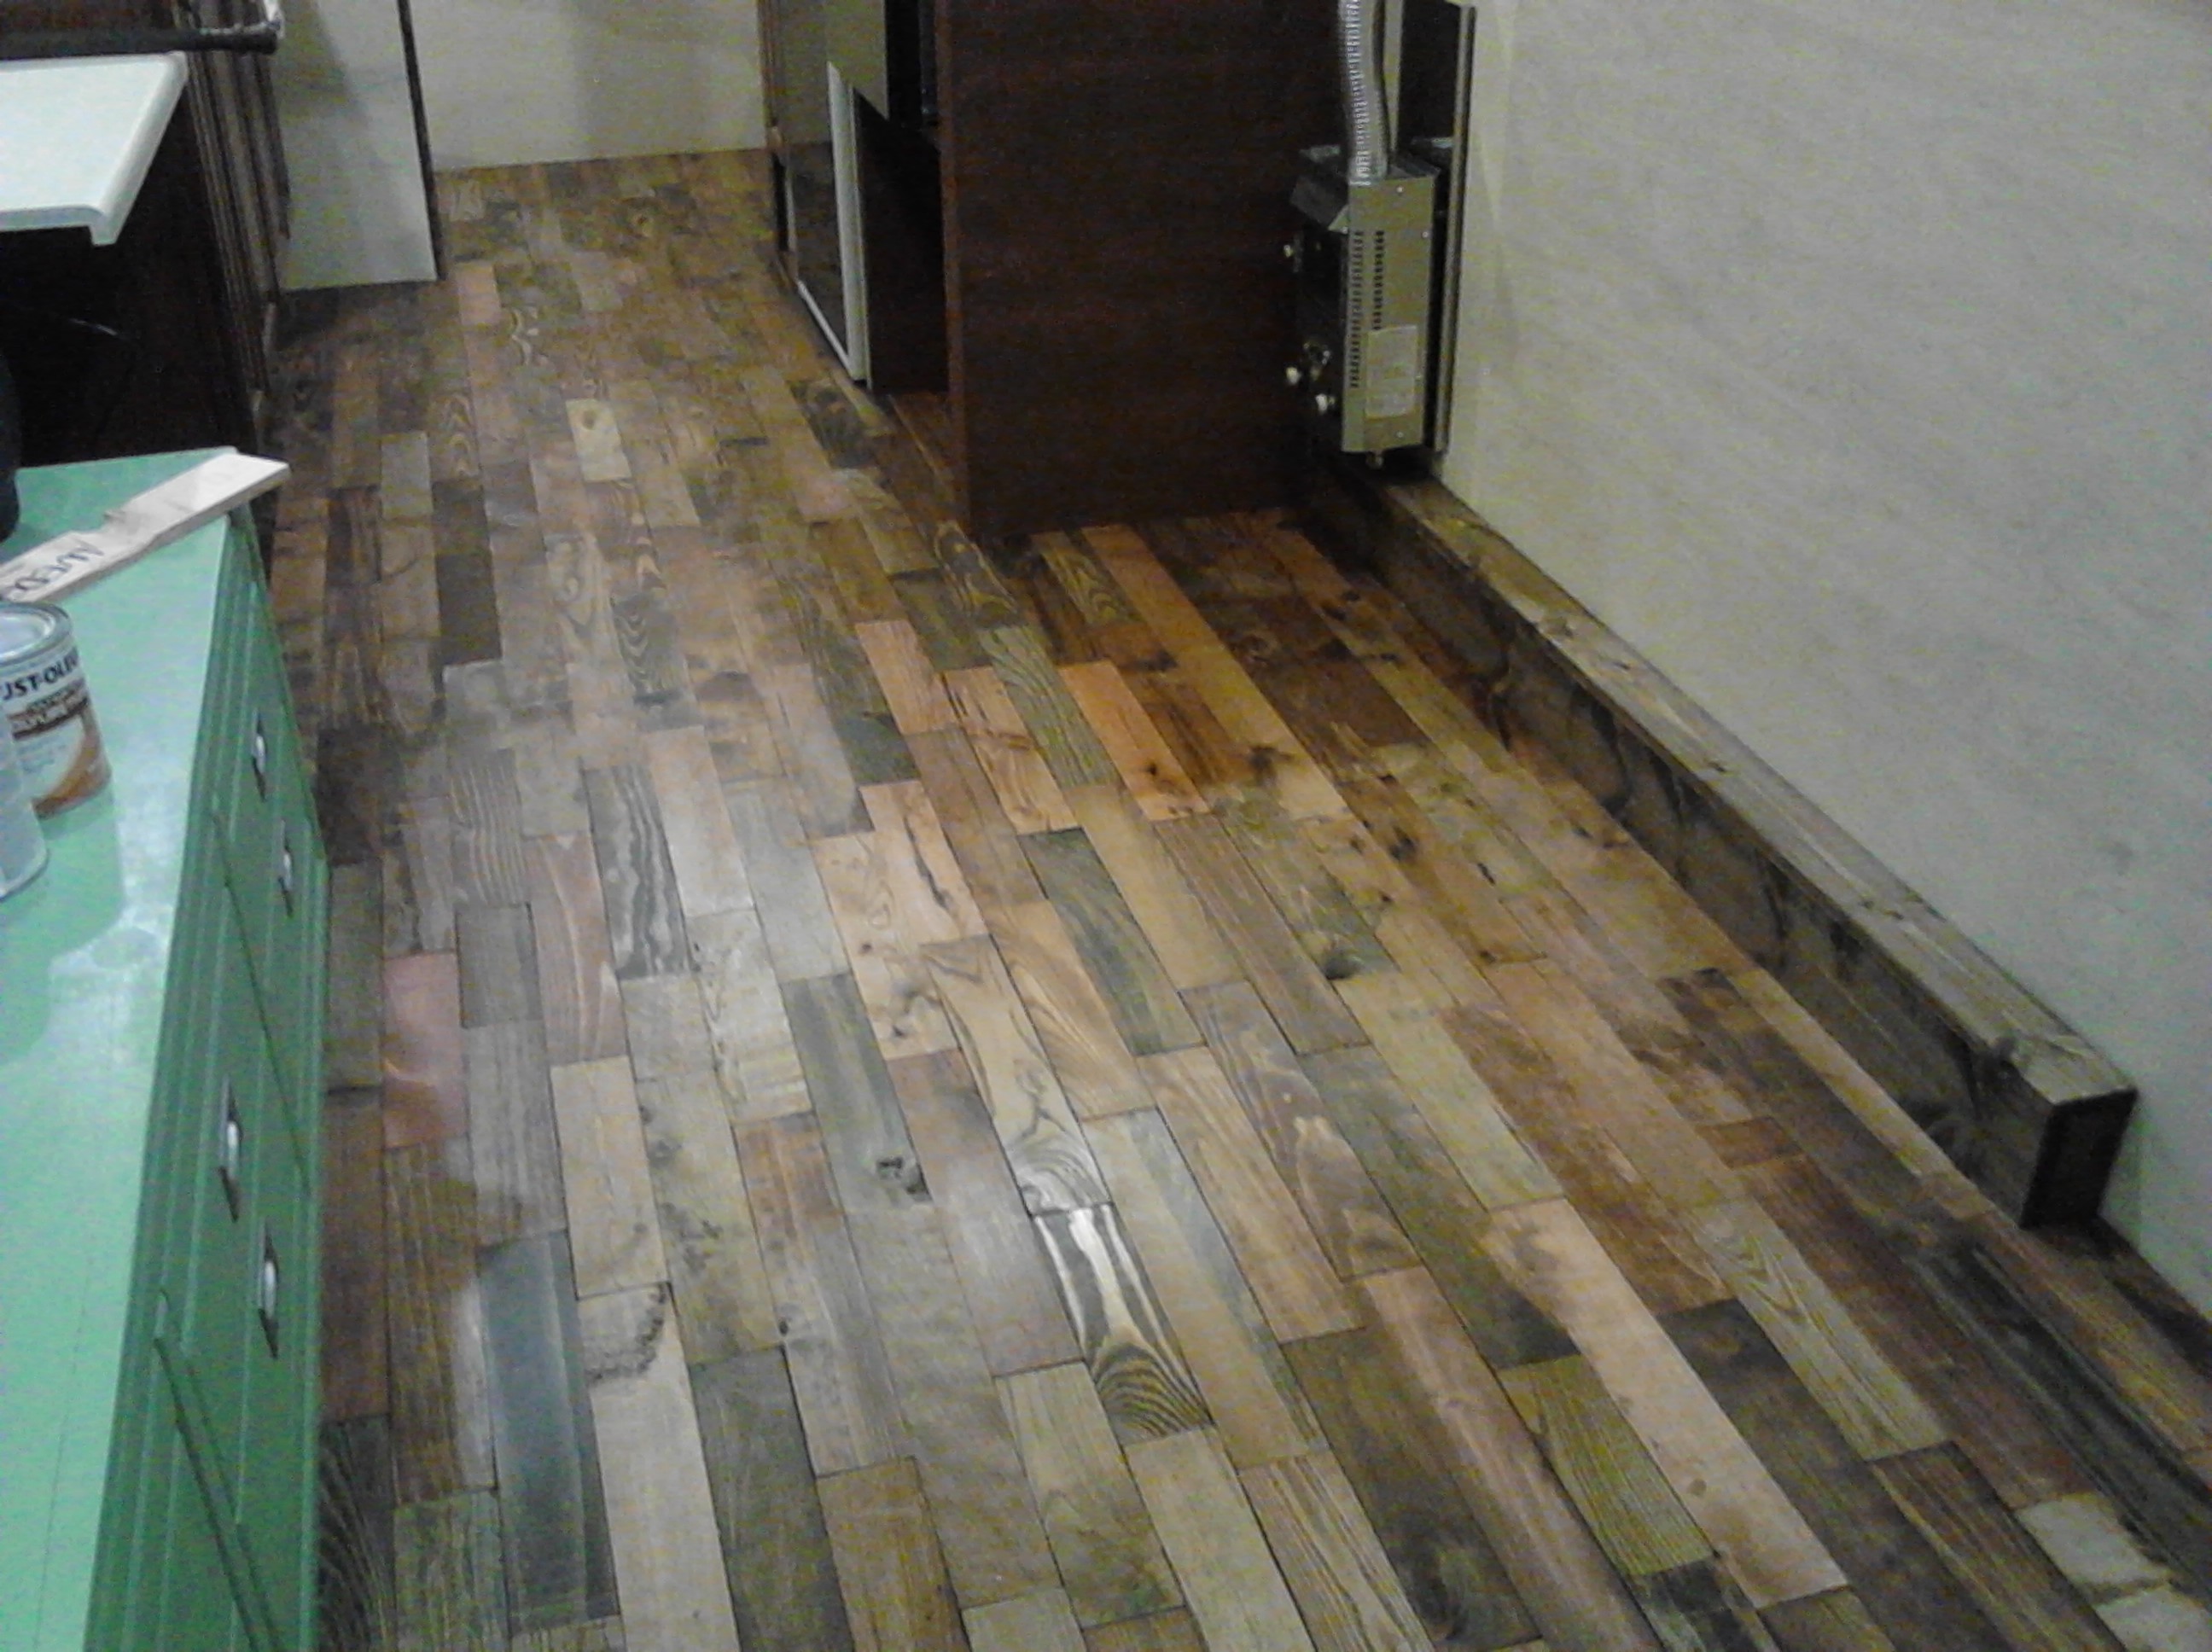
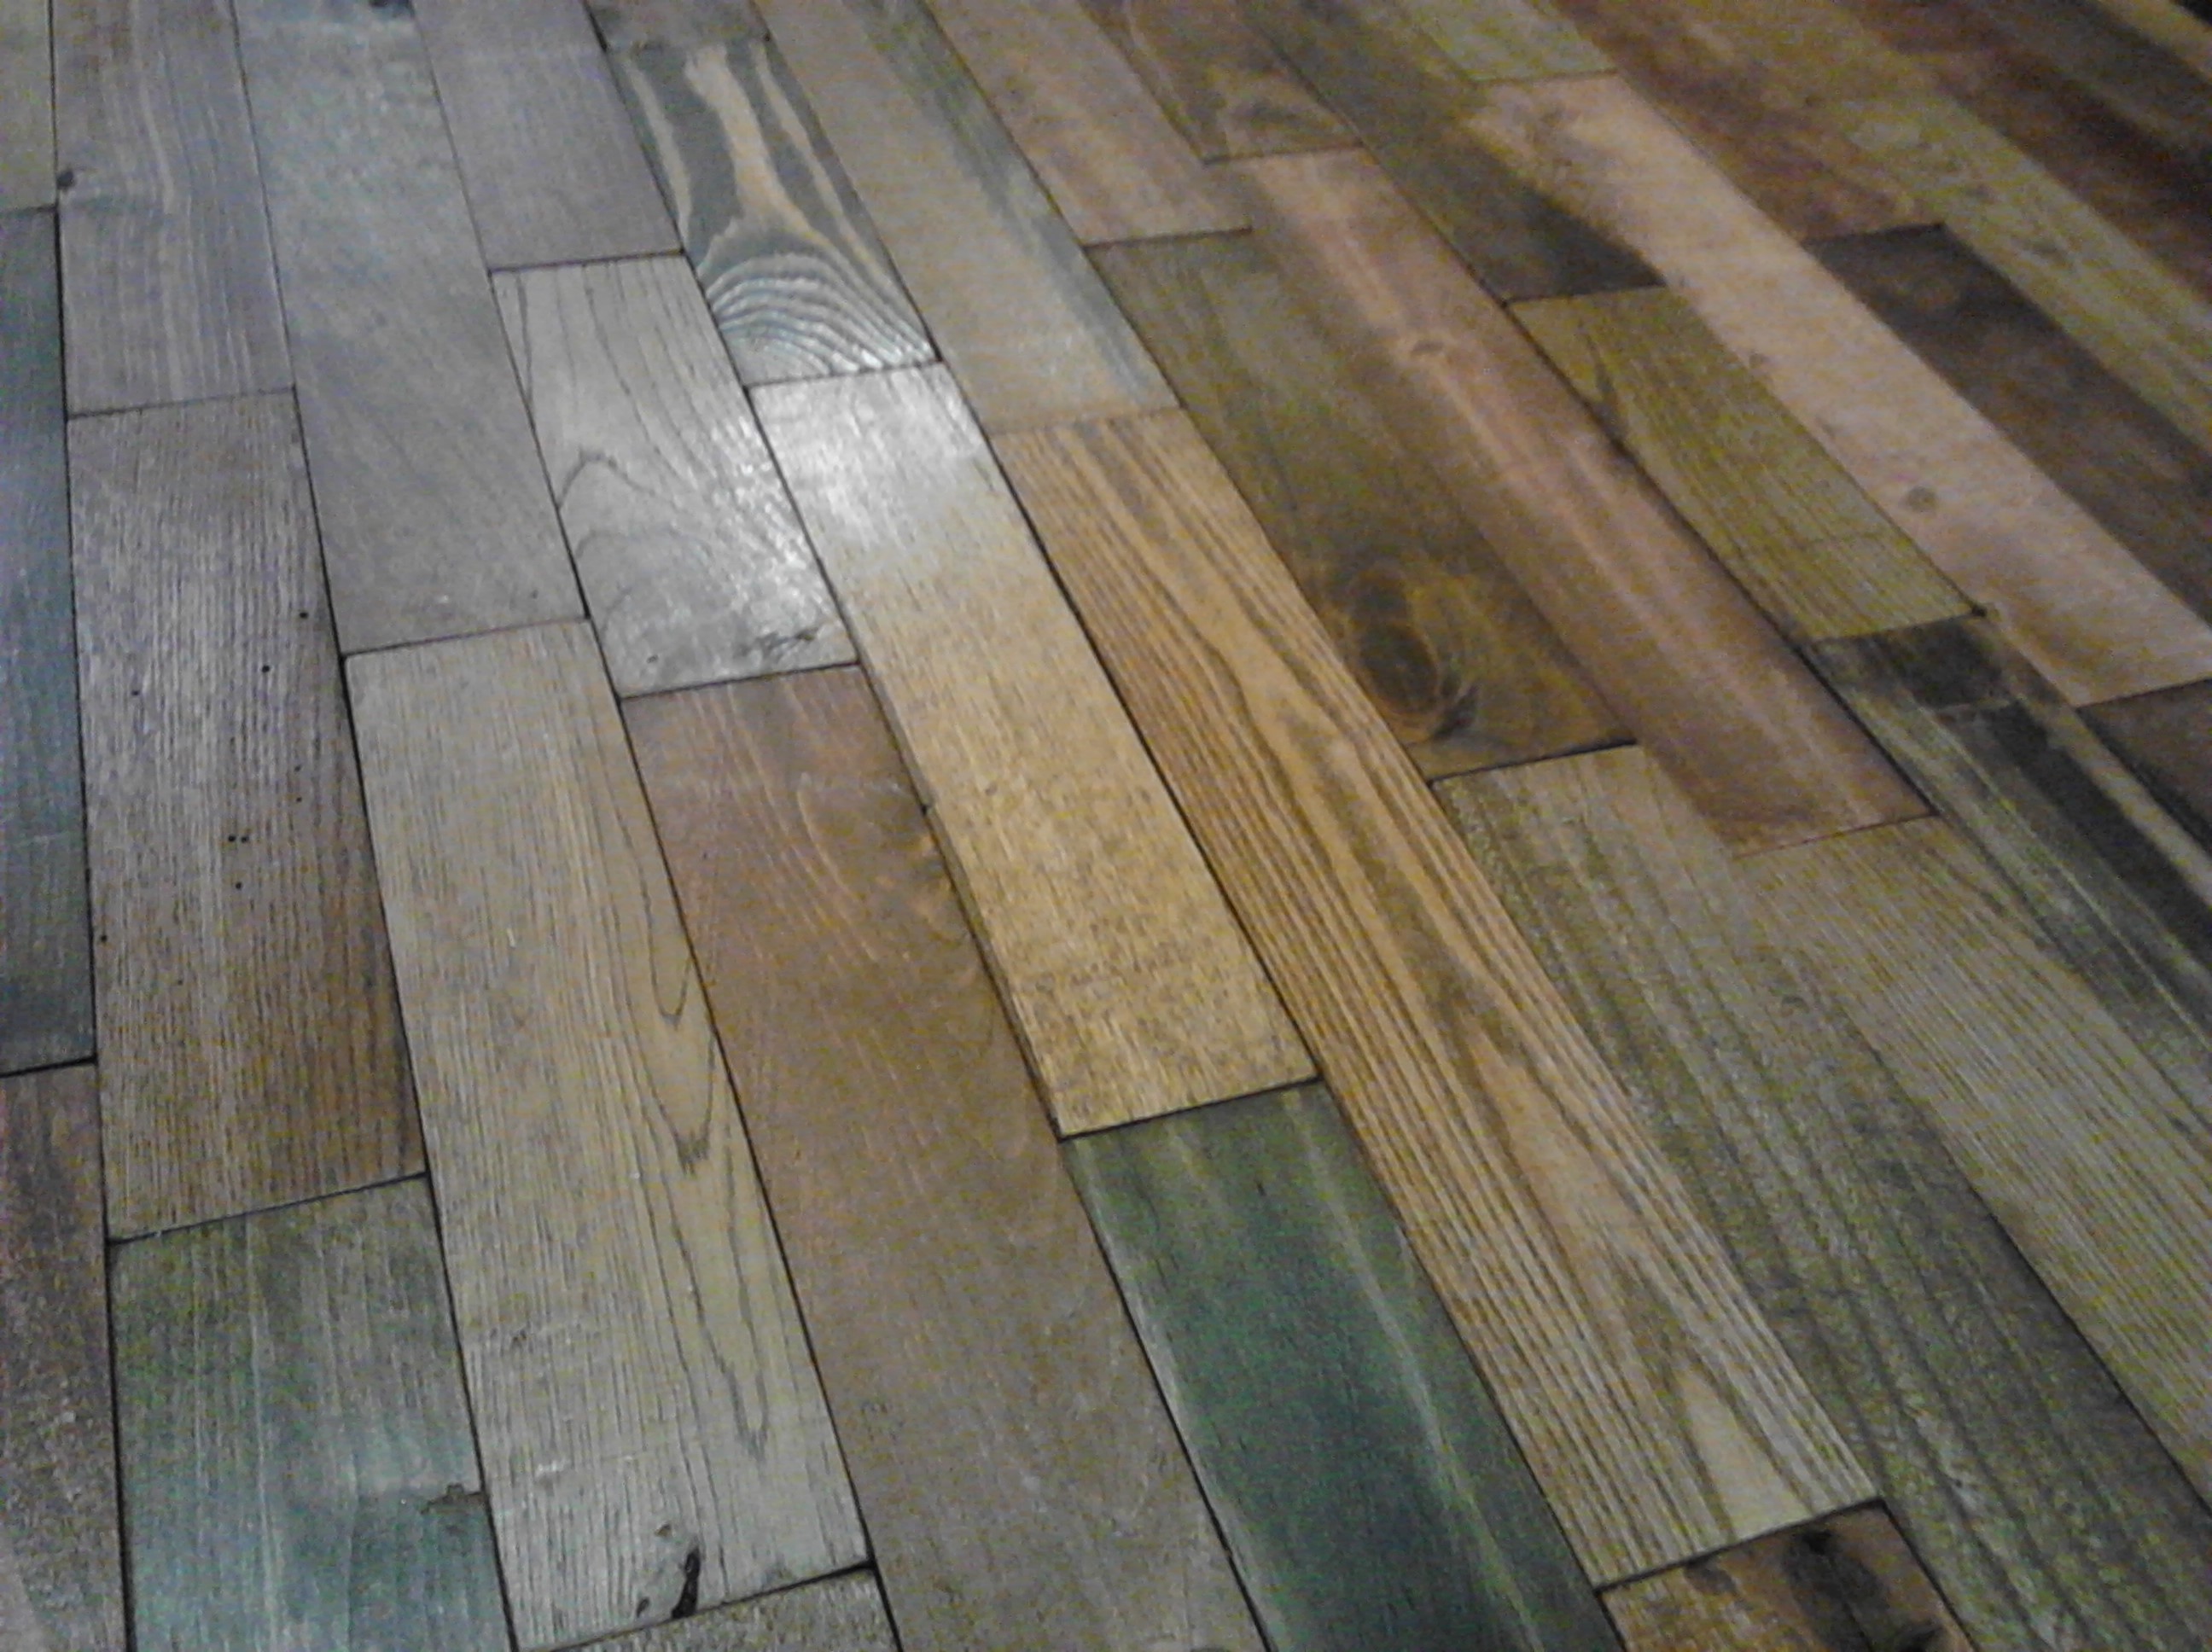
This is mostly going to be about the super awesome floor (because, well, it’s super awesome). In all seriousness, let me backtrack for those not familiar with the master plan. I originally wanted to use old pallets for practically everything I could think of (cabinets, flooring, trim, siding, etc.). After a ton of work to use said pallets as interior window trim, the vote was to just use them for trim and flooring. Pallet use is controversial because many are treated with chemicals…simple solution is to check them for “HT” which means heat treated. Other stamps usually mean chemicals, but also keep in mind that a ton of pallets are just plain naked and fine to use as well. Another thing to keep an eye out for is where you get them (i.e. from stores that sell chemical stuff, you’ll probably bet that their used pallets had chemical containers and such on them). Avoid pallets with dubious stains as well. I could go on and on about what I learned from this process, but I’ll spare you unless you really want more detail. Heat treated or naked + planing 1/4 inch + sanding + stain + polyurethane = safe pallets pieces to use inside.
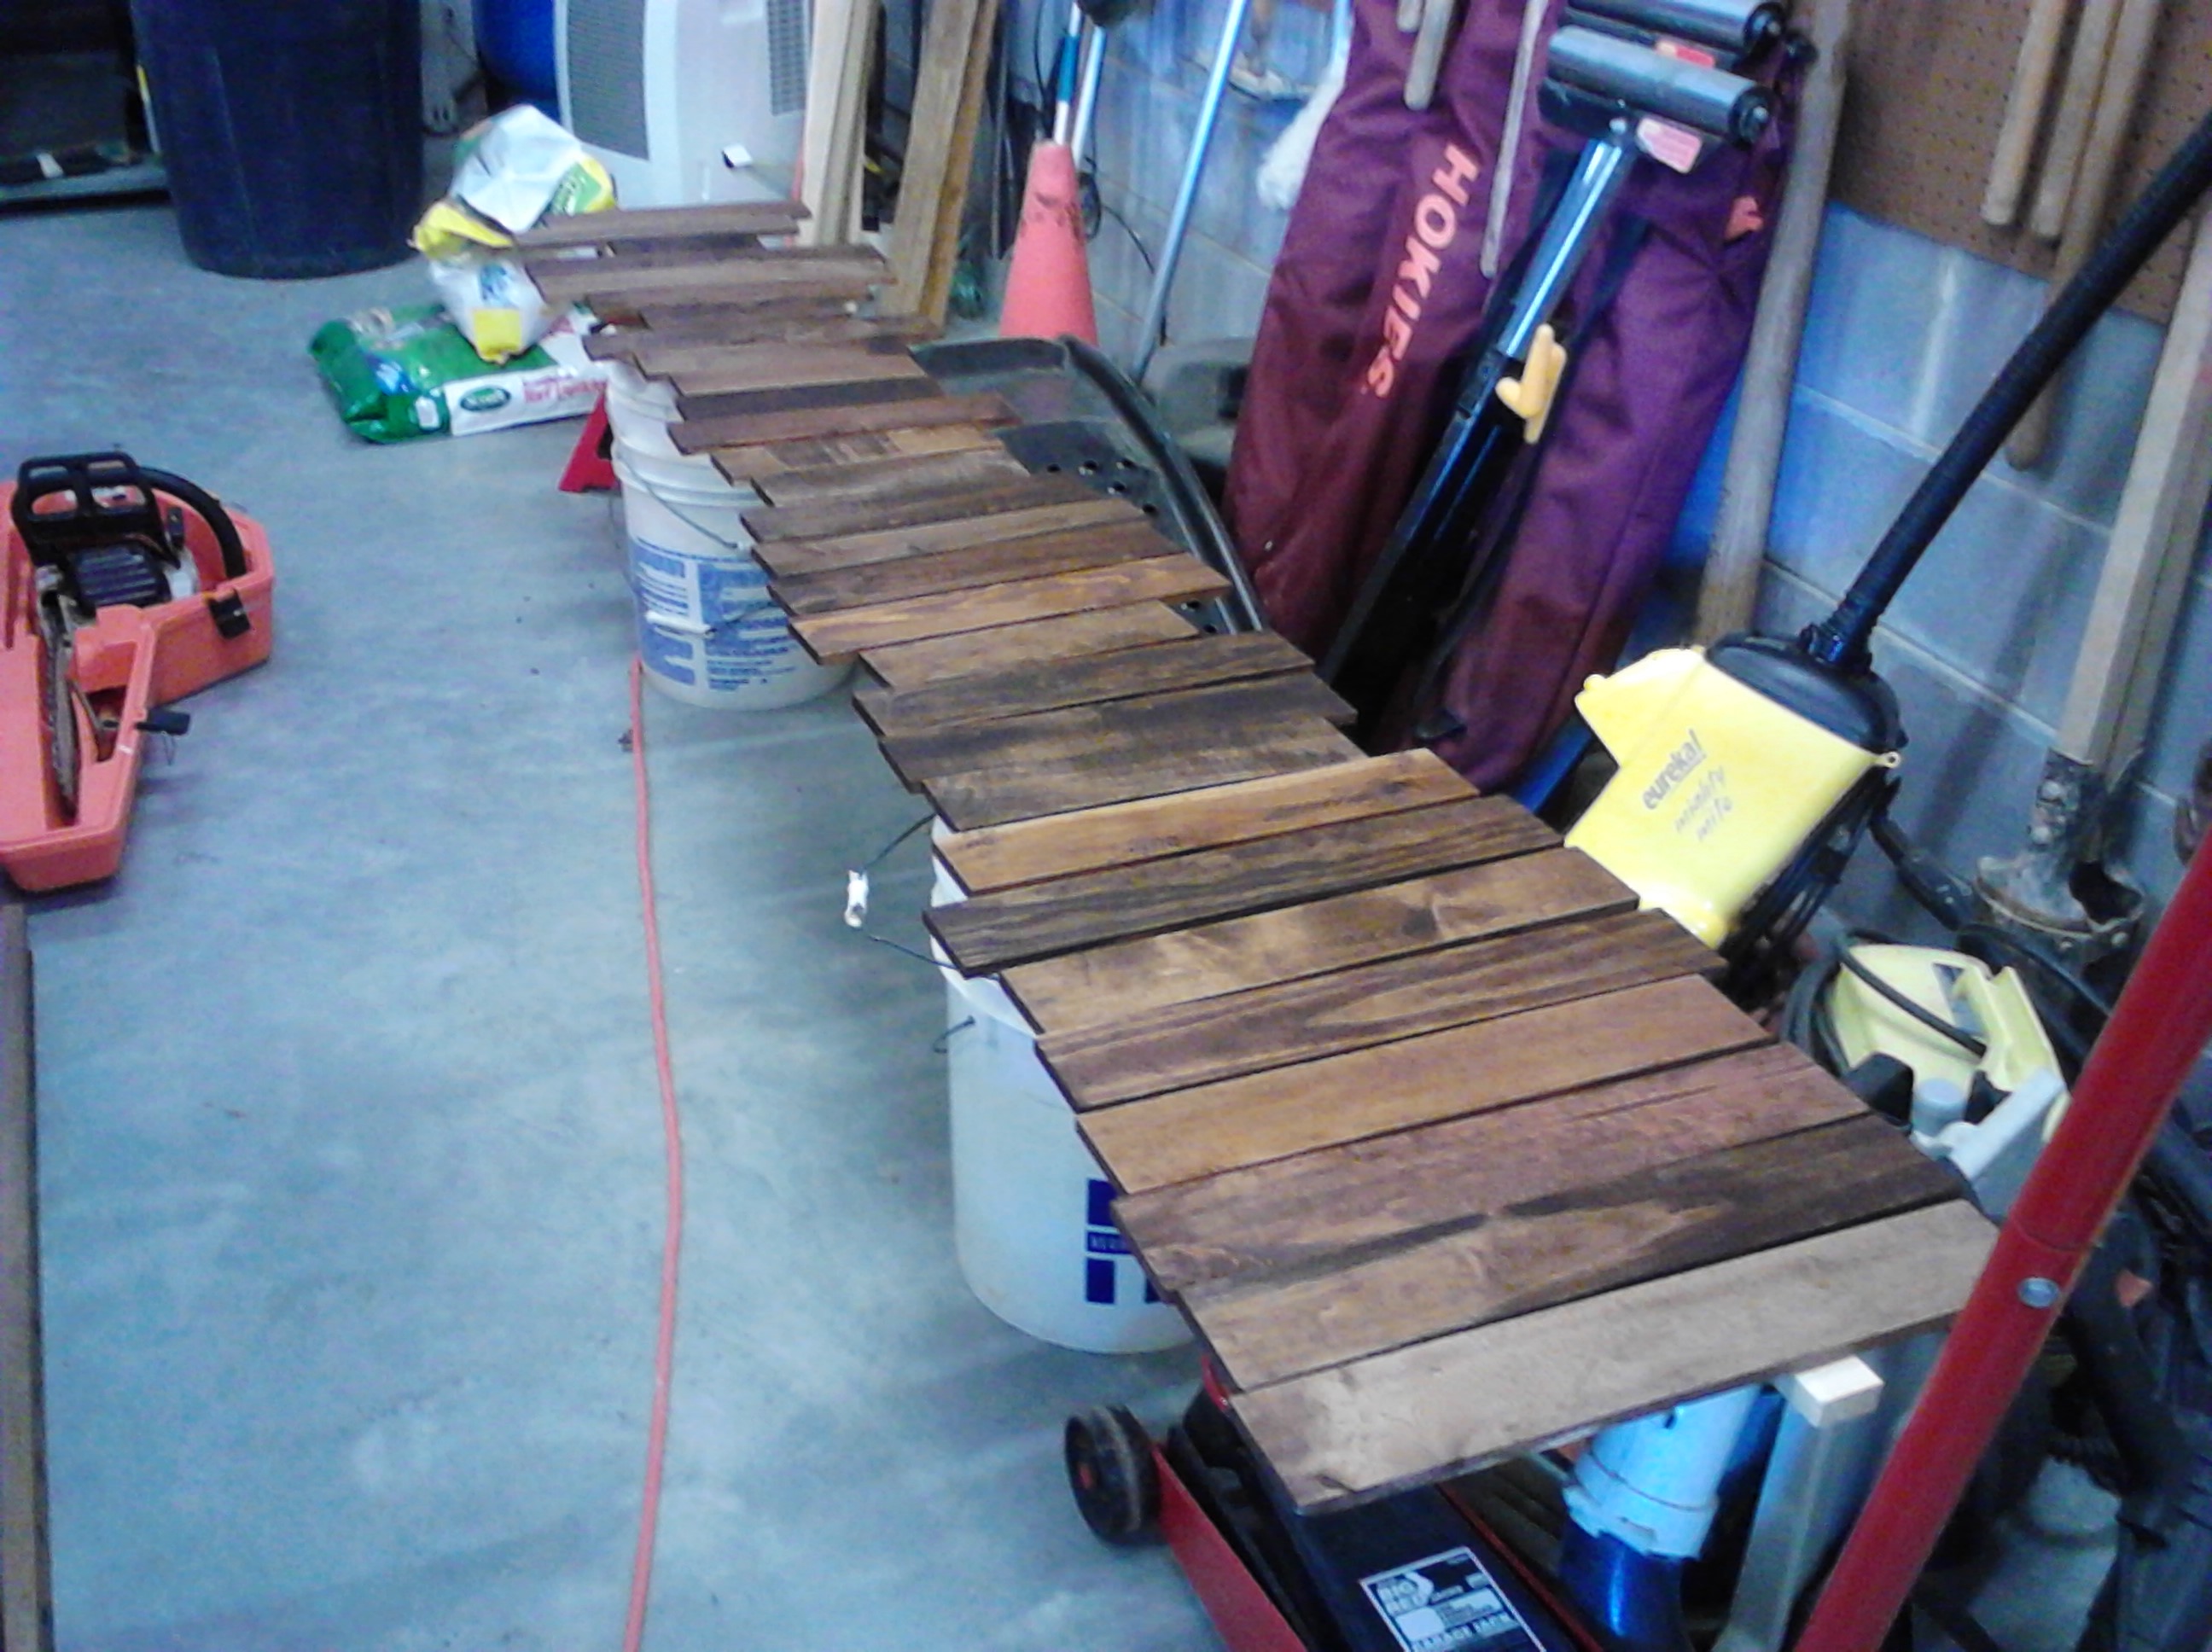
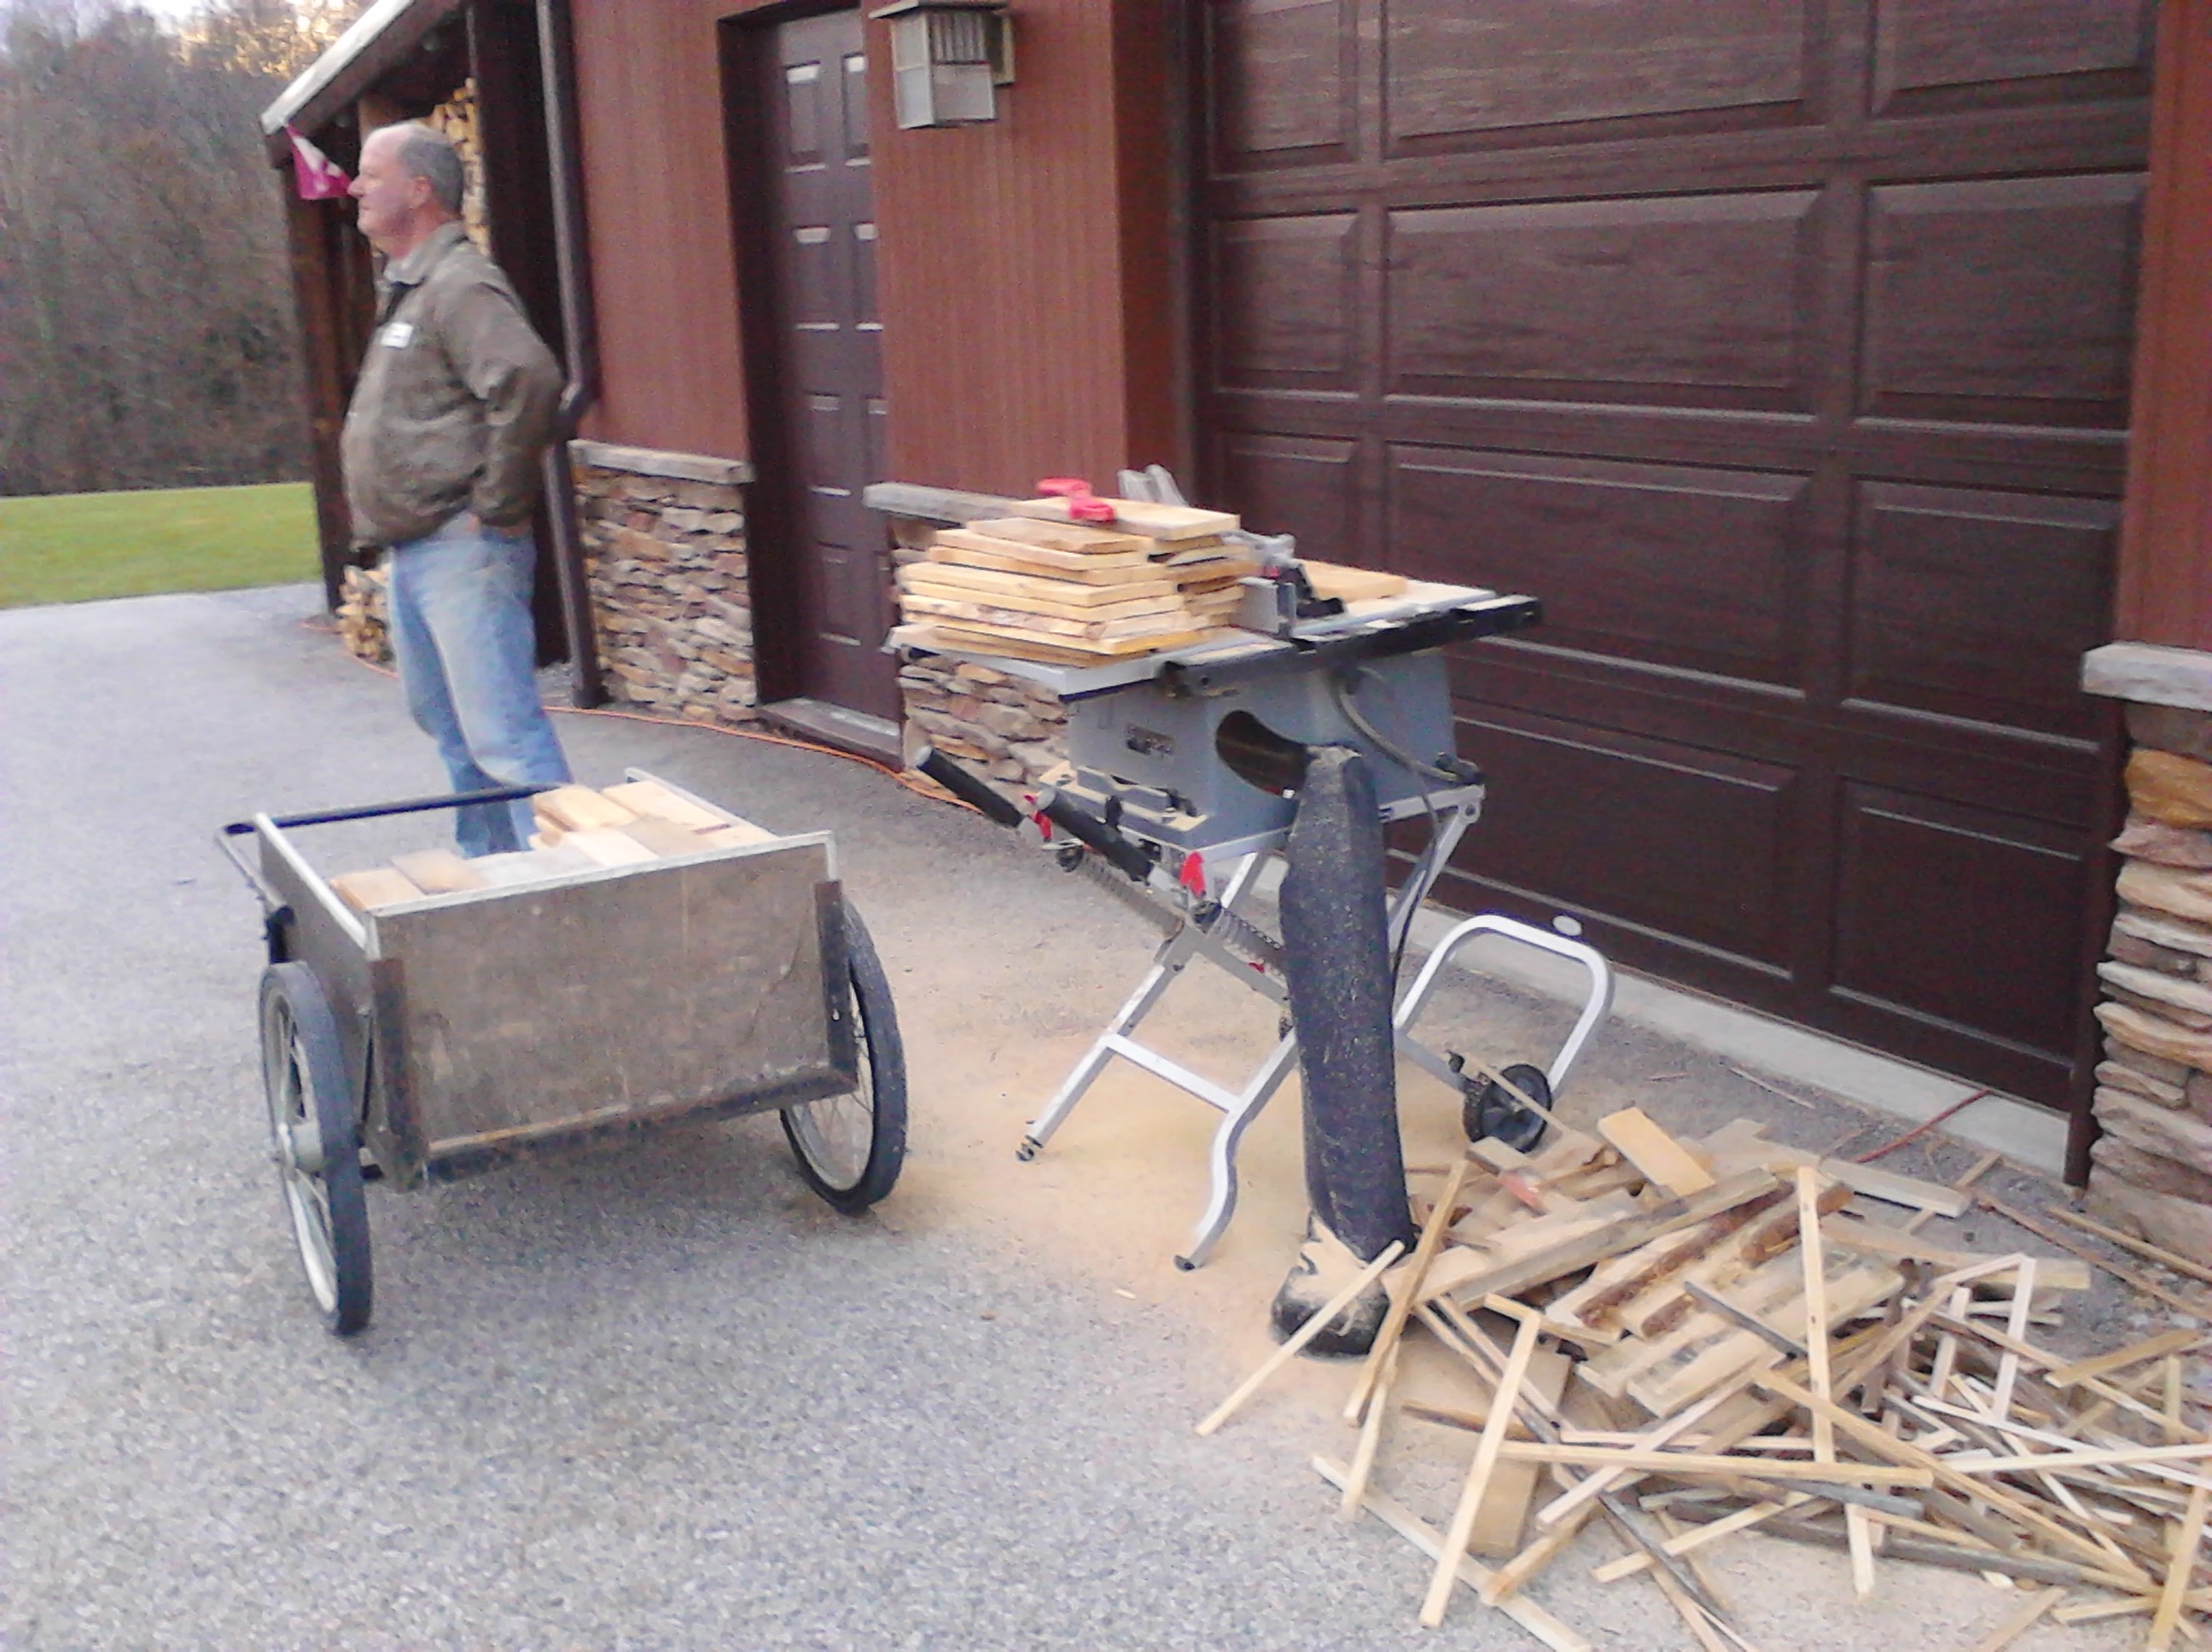
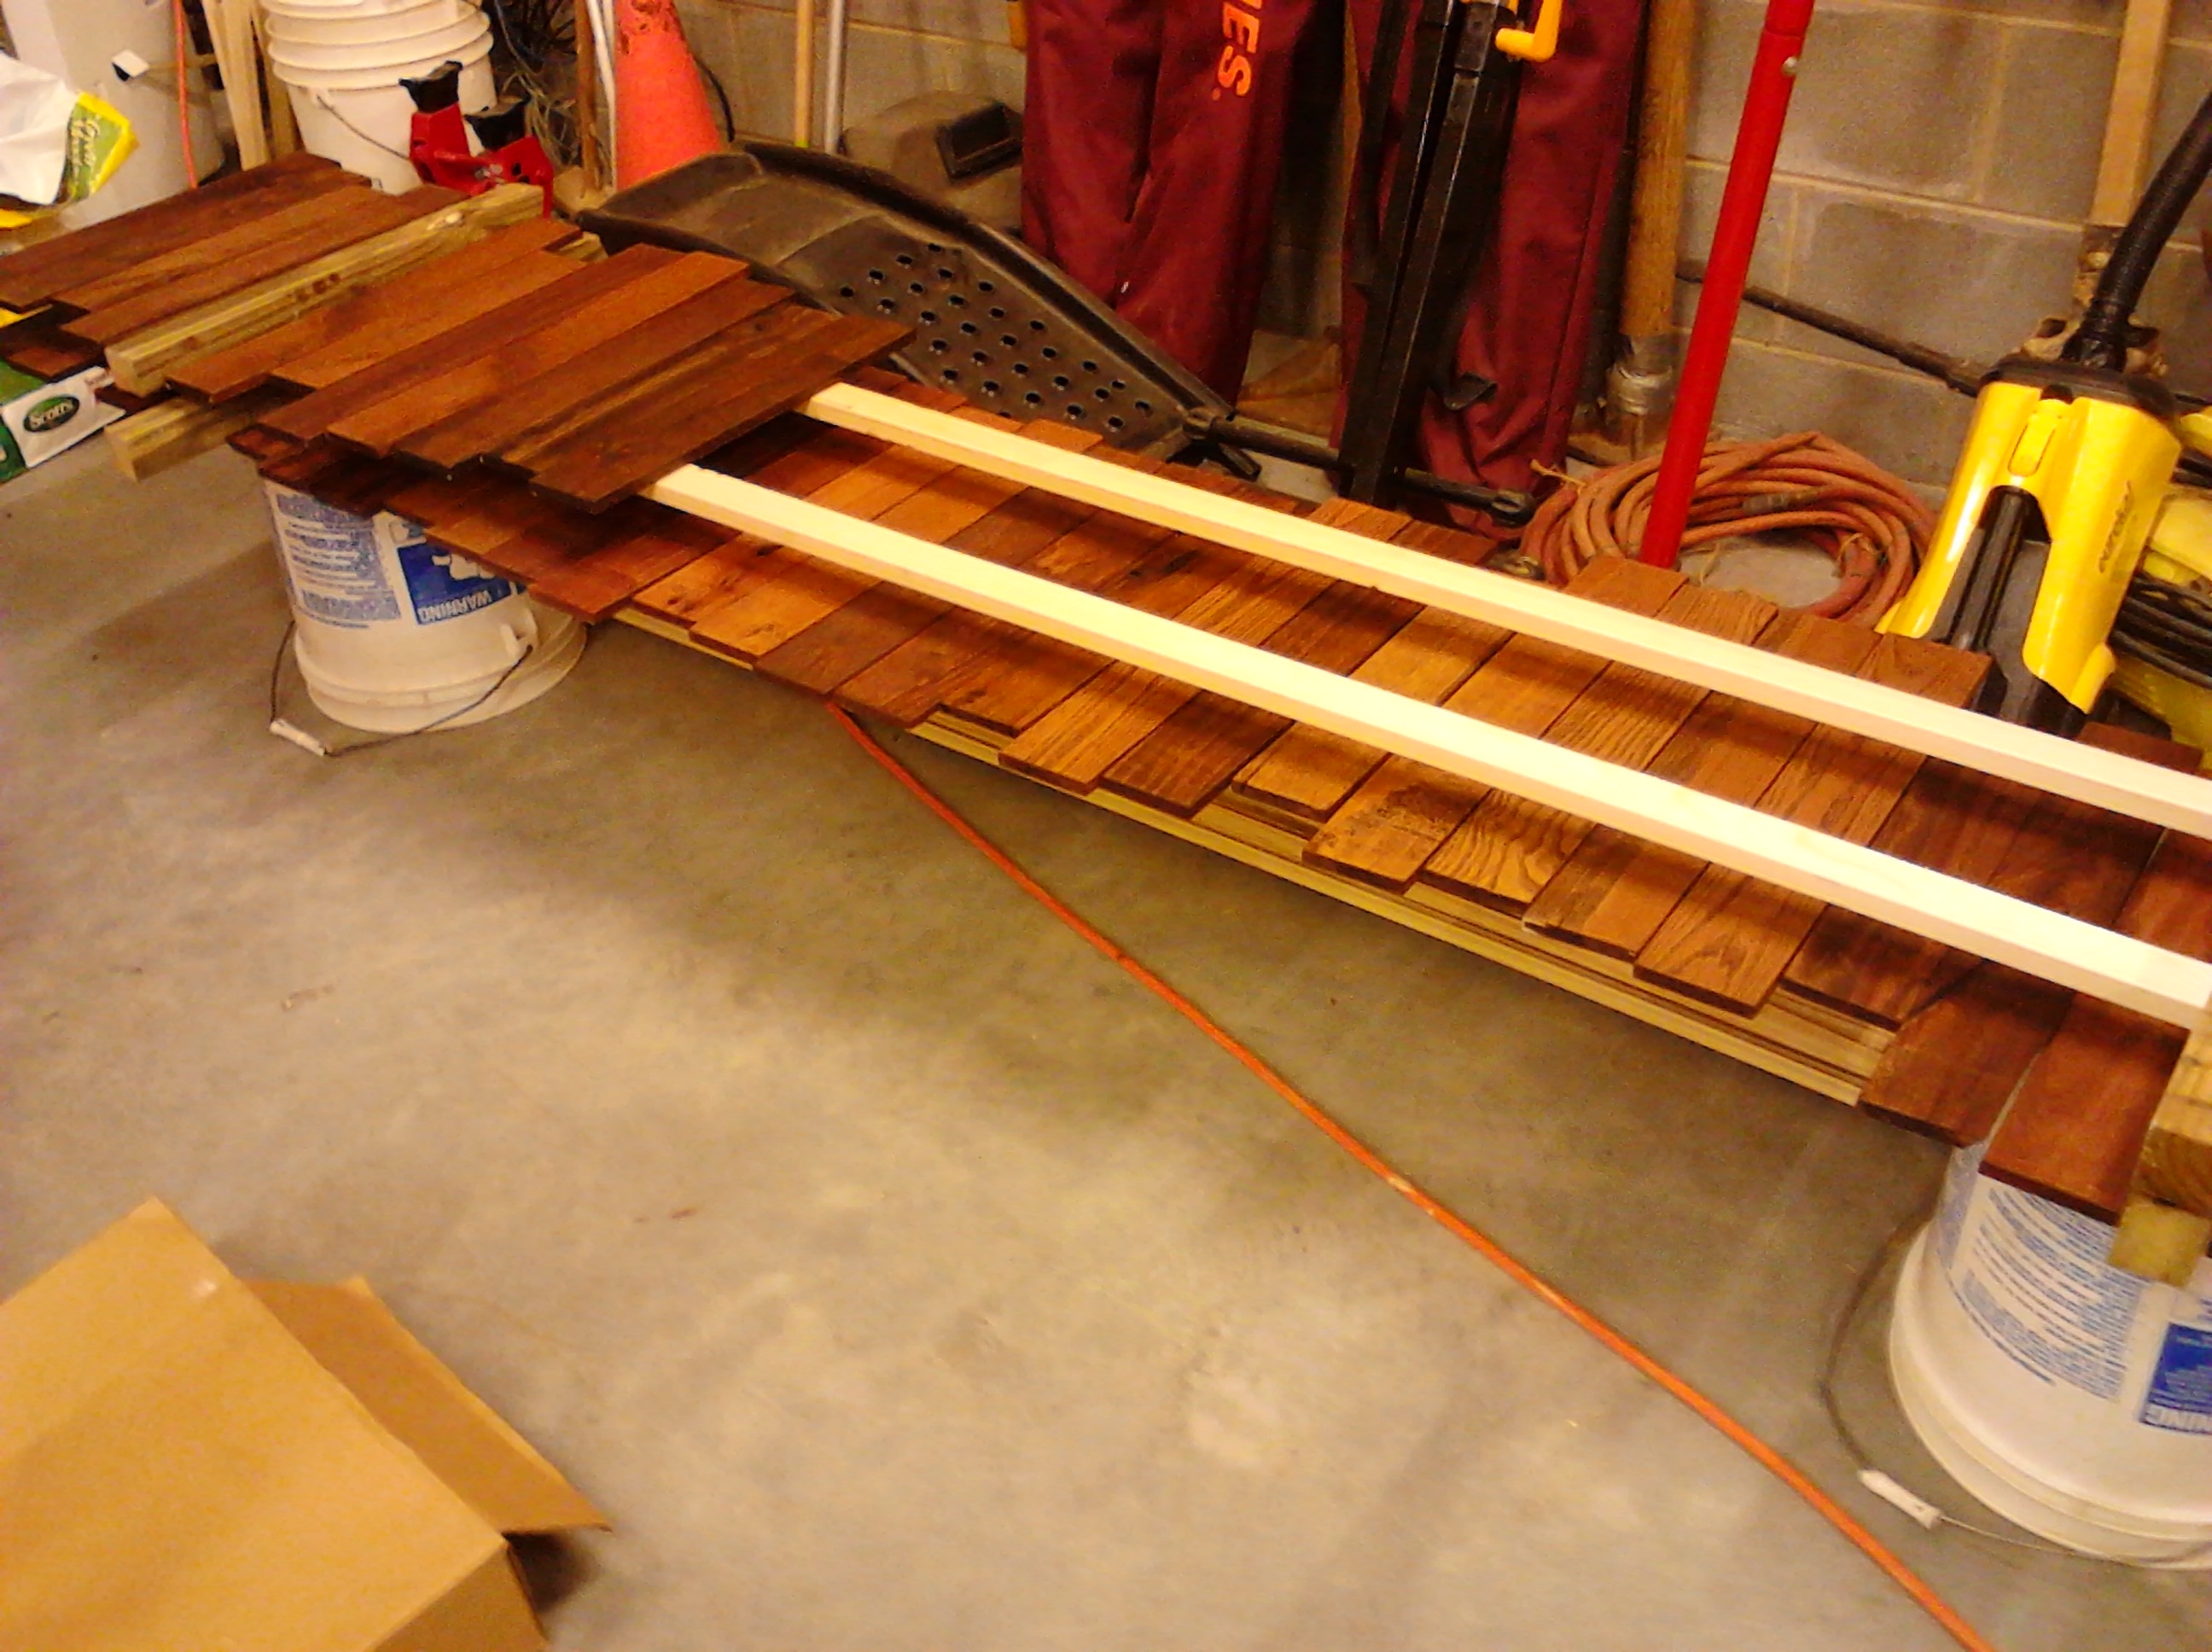
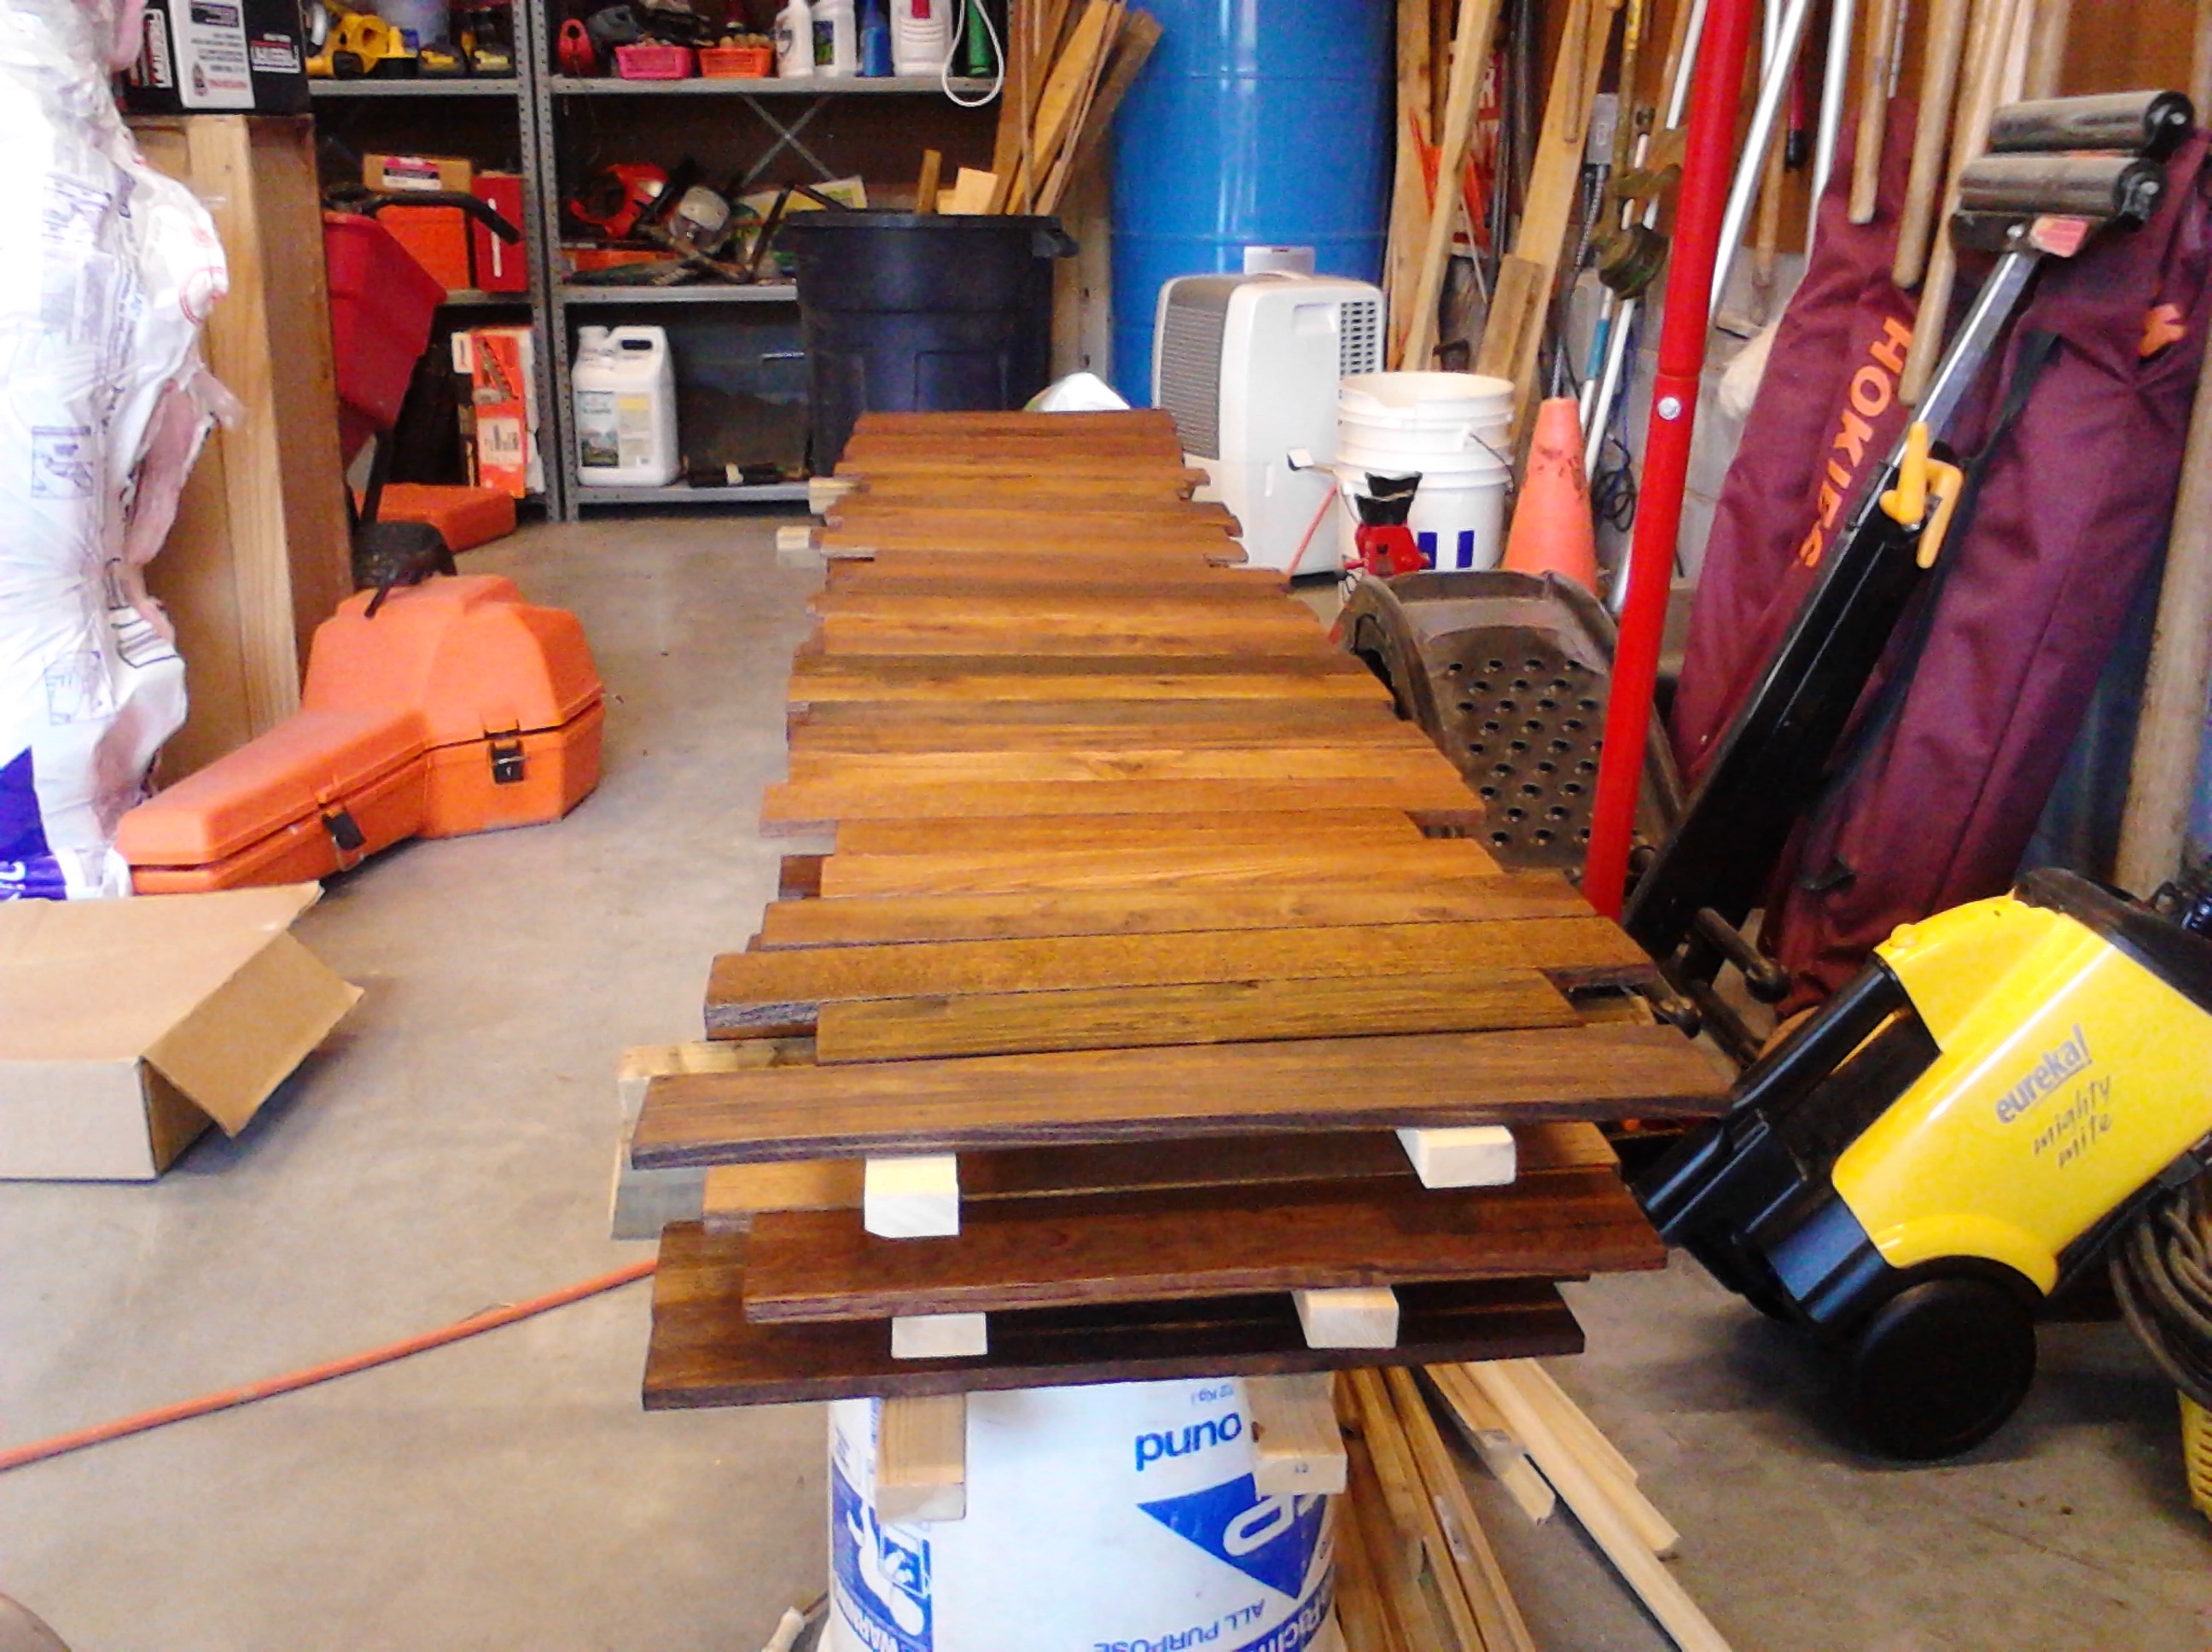
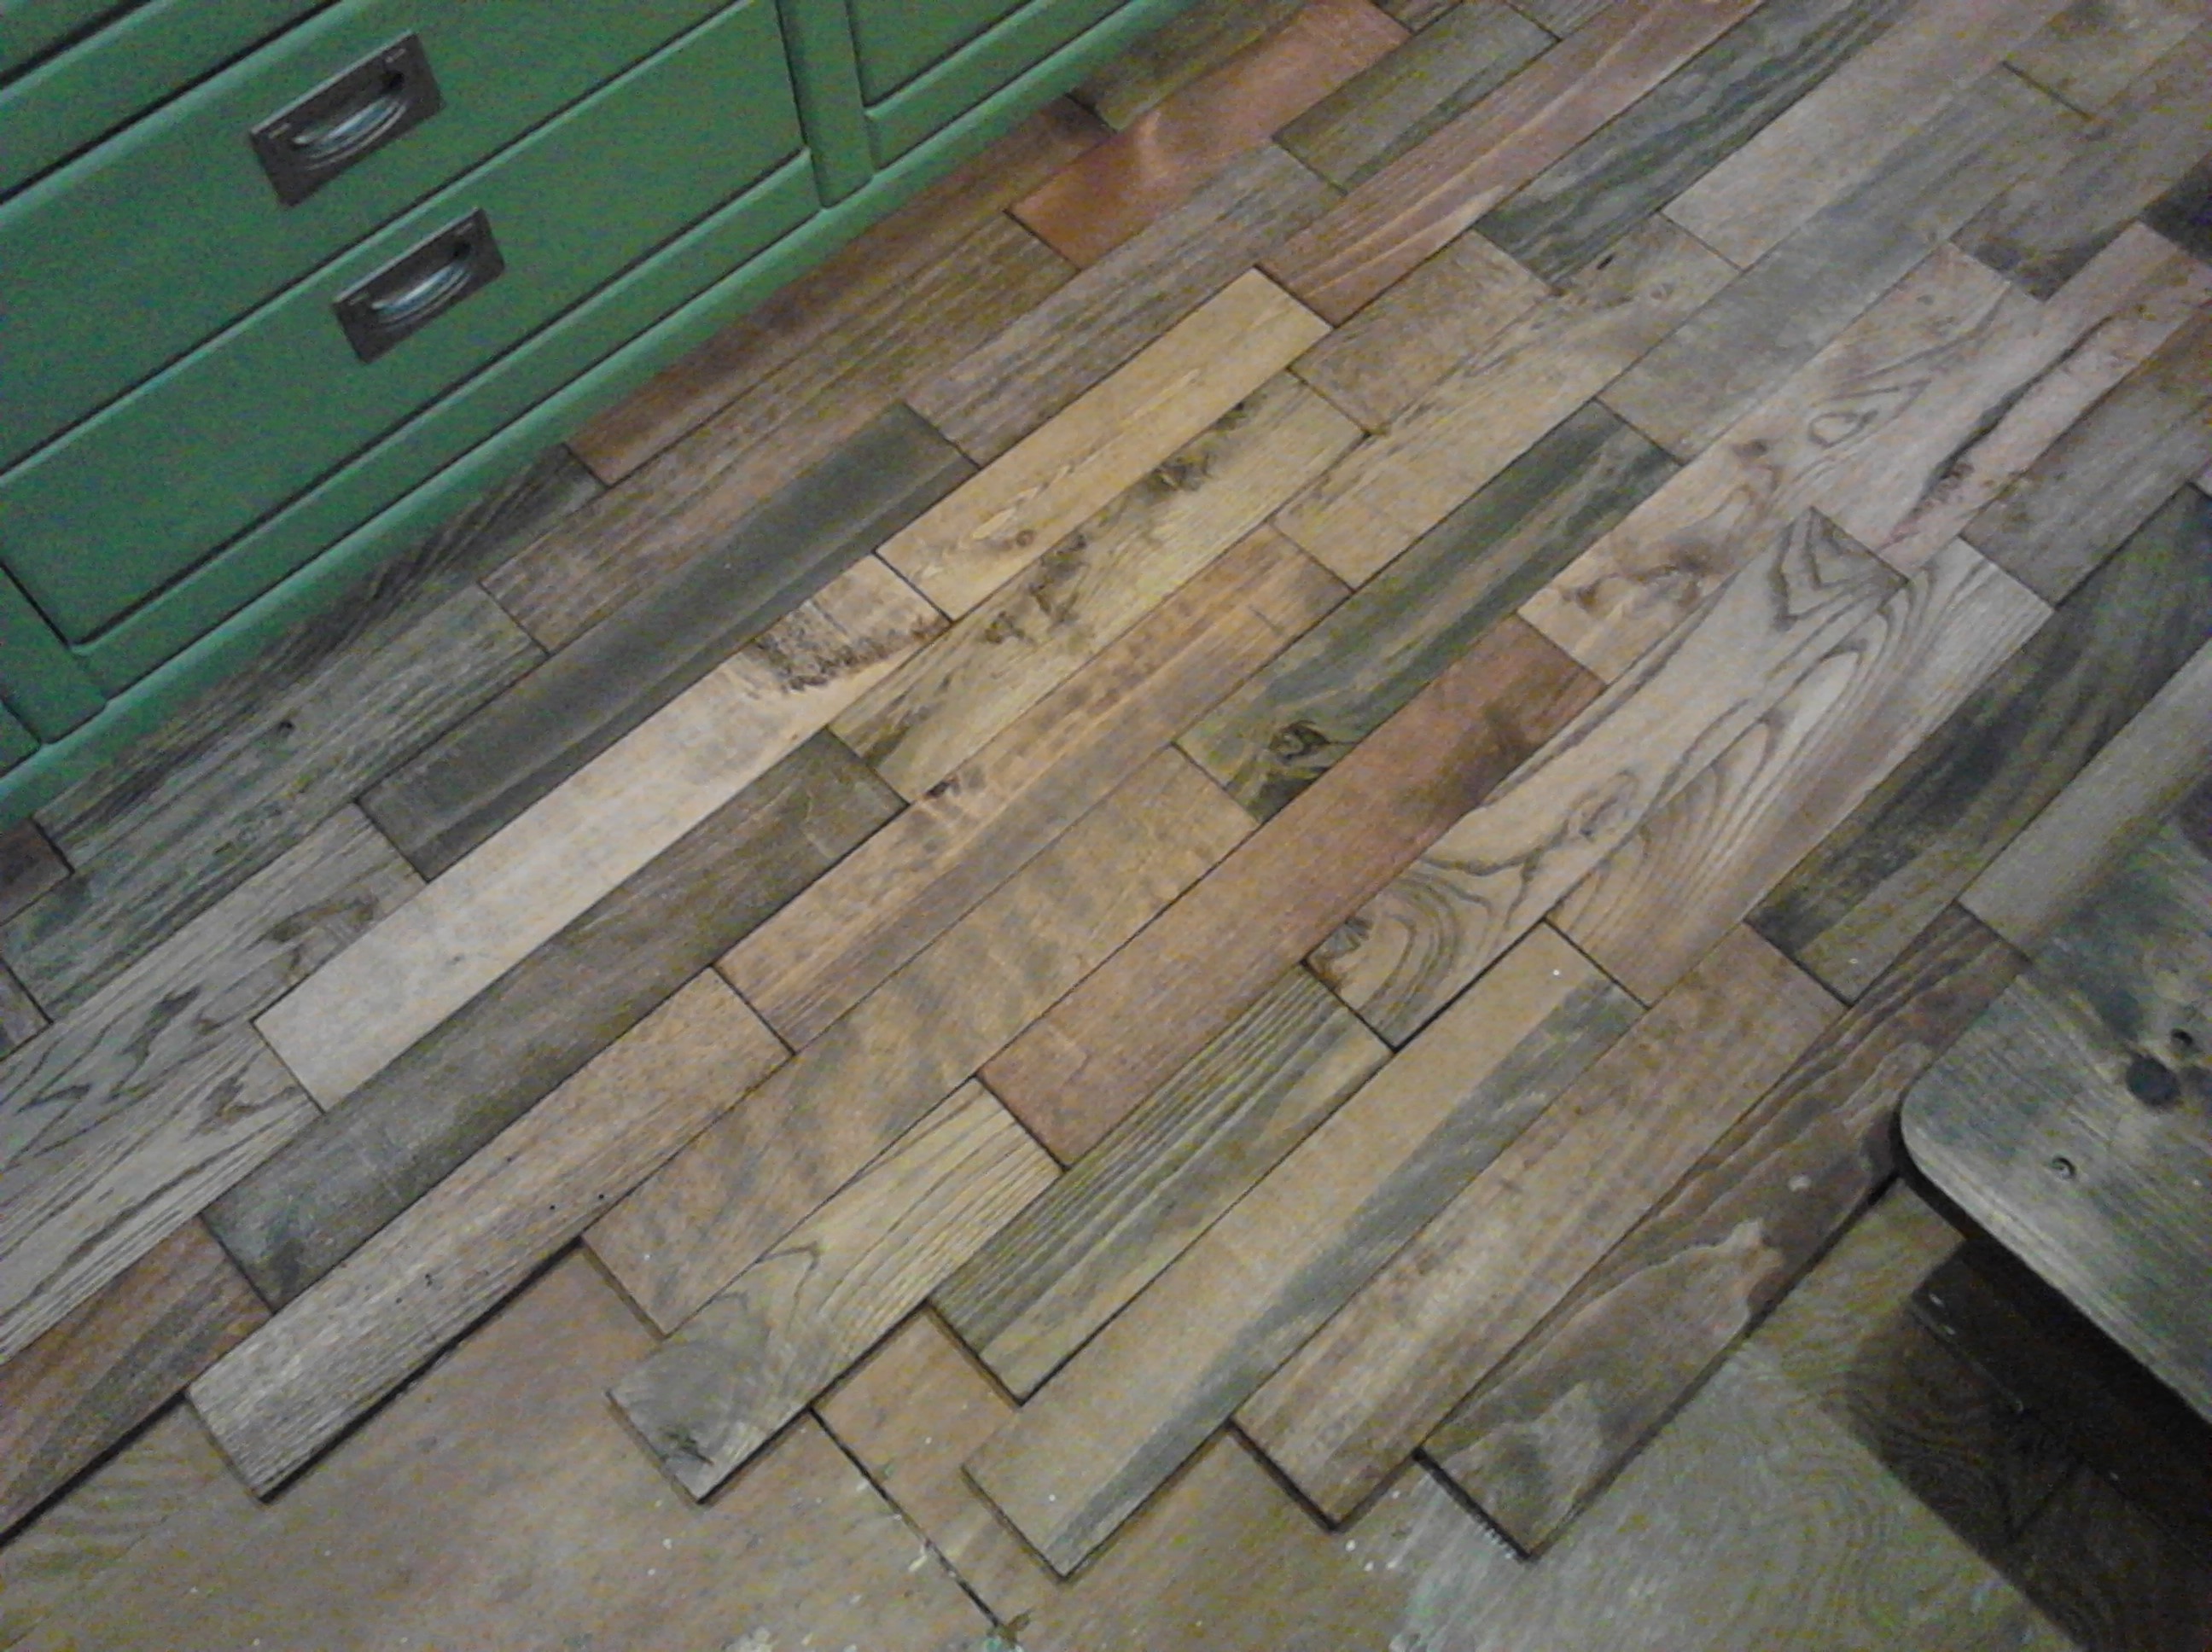
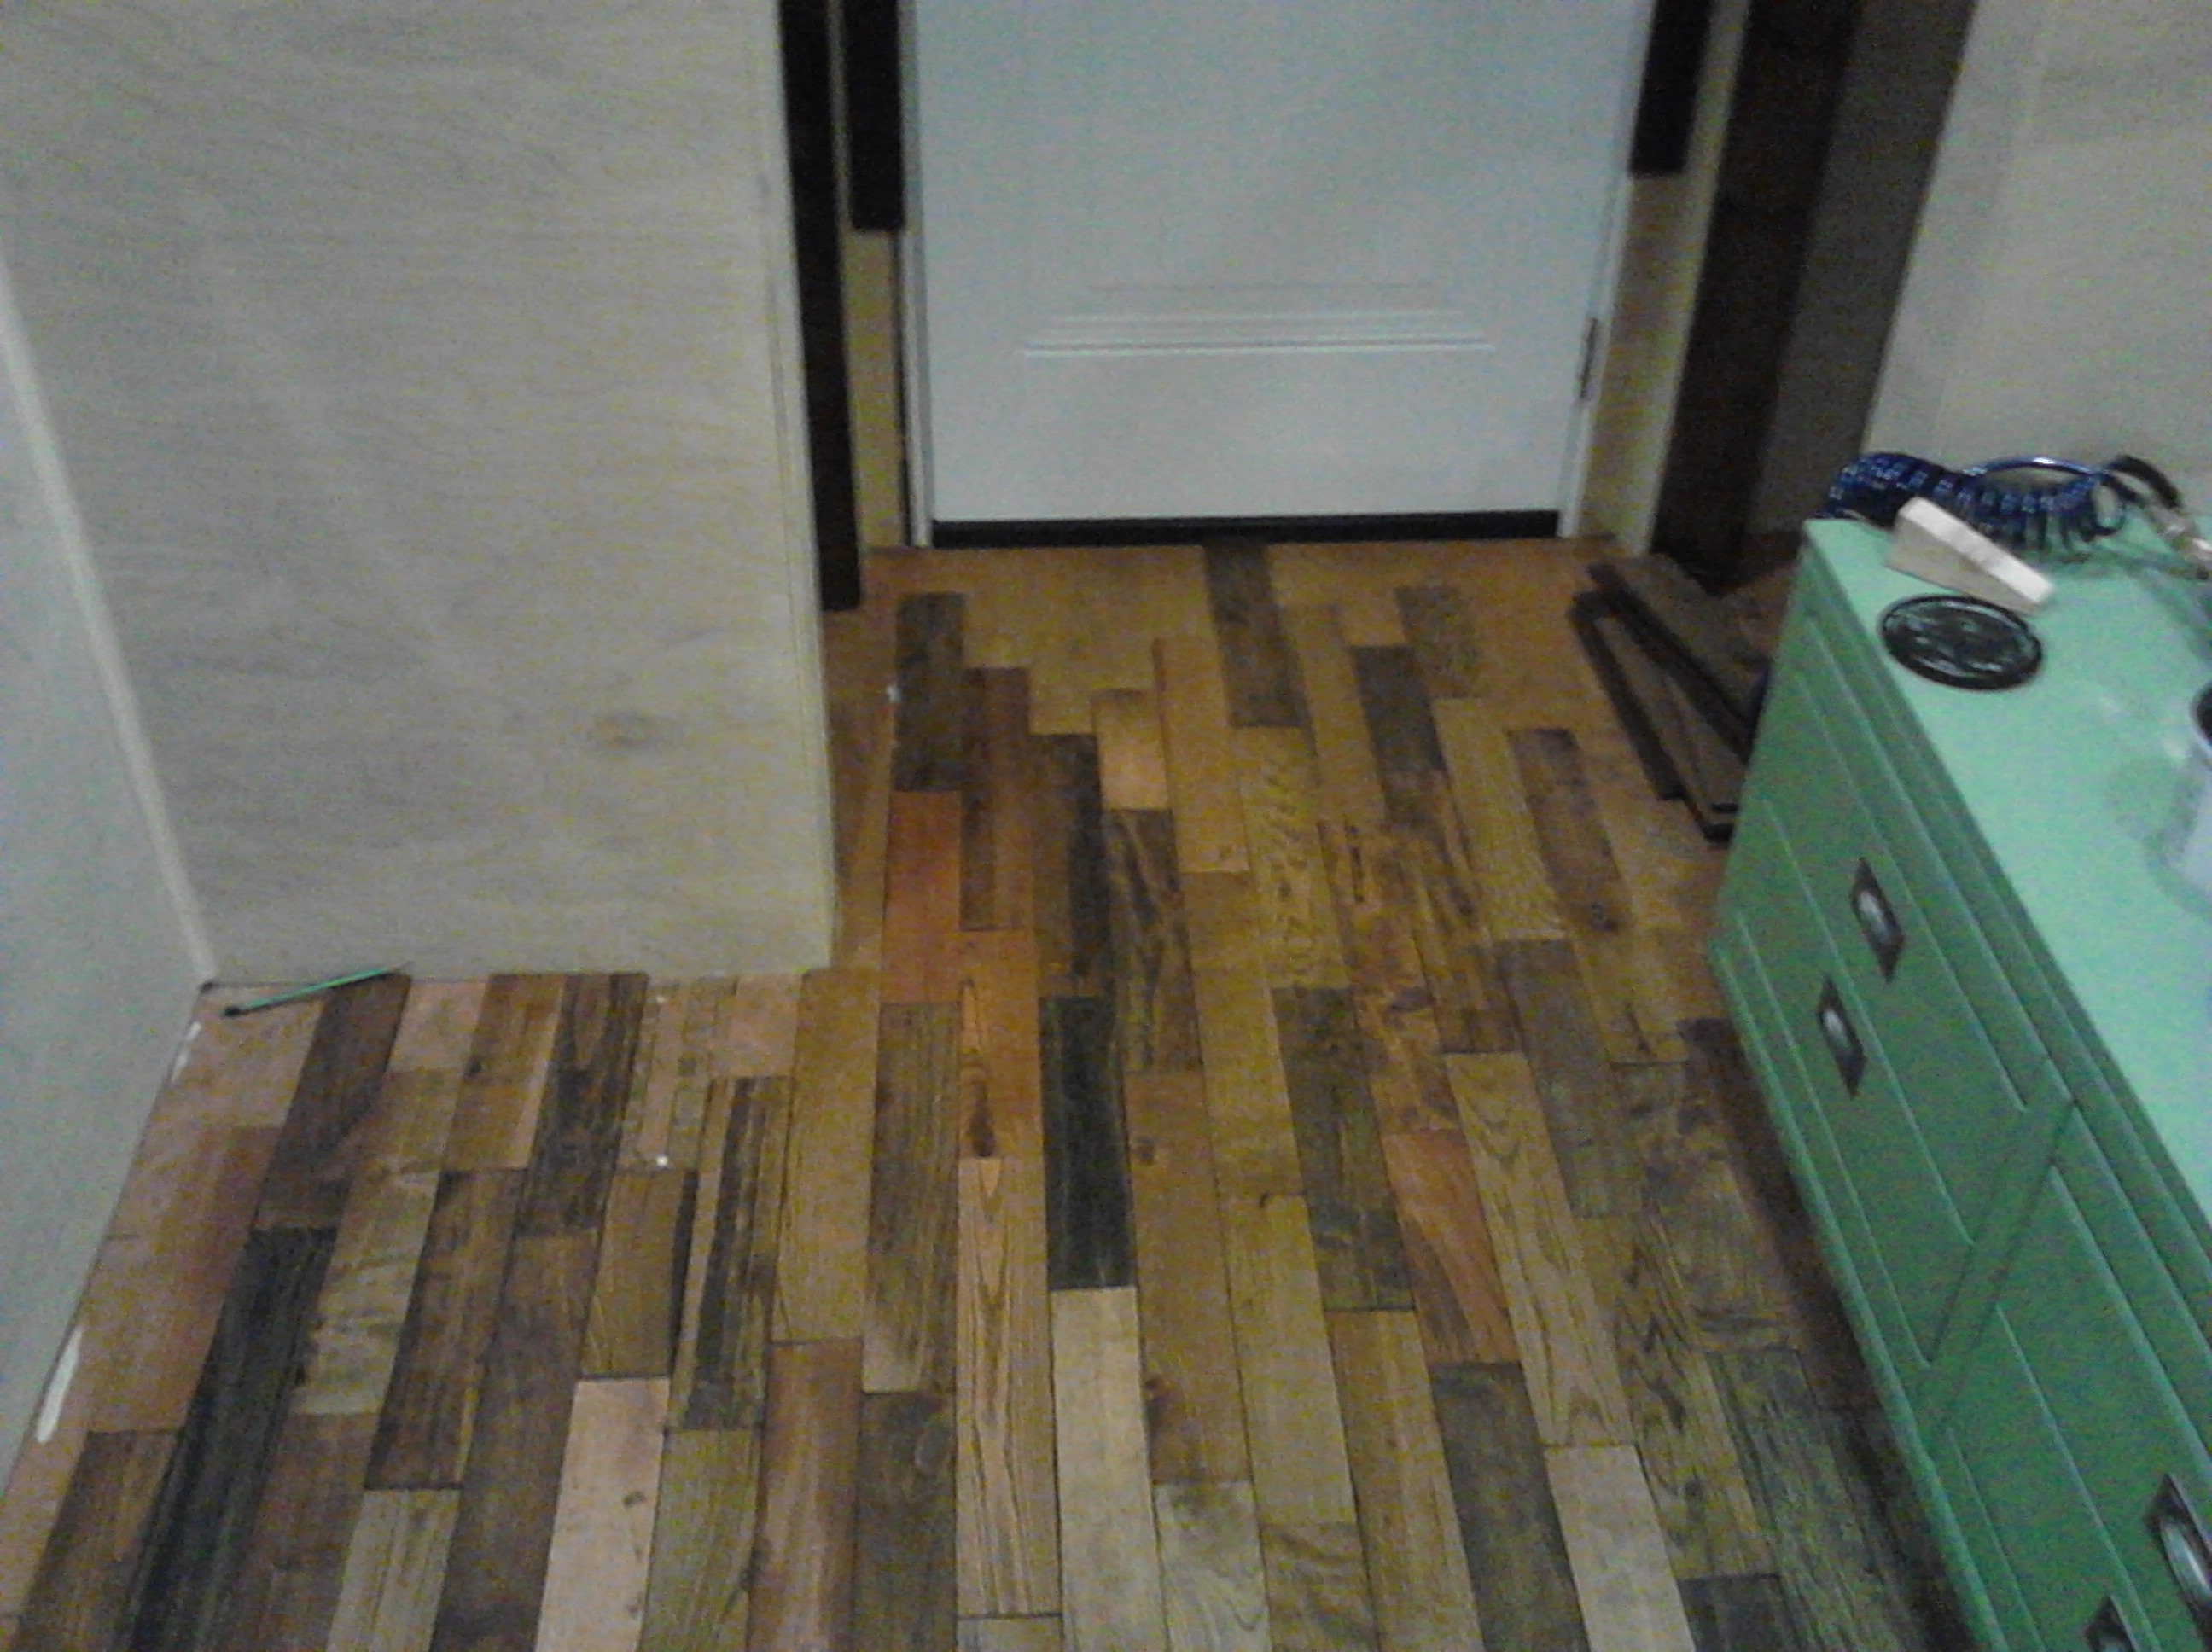
Anywho, the process for turning a pallet into flooring is actually really painful – sort pallets, deconstruct pallet, cut out sections with metal, rip down to same width, plane boards for thickness, sand smooth, apply stain to all sides (to seal it well), glue/nail to floor, apply polyurethane coats. Dad found some really great eco-friendly glue and water-based polyurethane and both worked quite well. I actually had to pry up one board that I split when nailing, and the glue was so strong that a layer of subfloor came up with it…whoops. I hope you enjoy the pictures! Tonight I put the final coat of poly on the floor so tomorrow I should have some final shots I can post.


Leave a reply to Olivia Cancel reply