
Let’s get into the wonderfully simple art of creating a sourdough starter. That bubbling, tangy mixture is the heart and soul behind amazing sourdough bread. While it can seem daunting at first, creating a sourdough starter from scratch doesn’t have to be complicated.
What Is Sourdough Starter?
At its core, a sourdough starter is a living colony of wild yeasts and lactic acid bacteria. These tiny microbes happily munch away on a flour and water mix, creating that iconic sourdough tang while giving the dough an airy, robust rise. It’s like a micro baked ecosystem thriving right on your kitchen counter!
Cultivating a starter from scratch captures the spirit of classic, patient home baking. With some straightforward care and time, you’ll be rewarded with a vigorously bubbling starter ready to create nourishing, artisan sourdough masterpieces.
Simple Starter Ingredients
Let’s keep things simple by using just a couple everyday pantry staples:
- Flour – Trusty all-purpose, hearty whole wheat, or a pleasant blend. Each flour lends its own delicious signature flavor notes. We highly recommend using unbleached flour.
- Water – Pure, simple water to hydrate our microbial baking buddies. We highly recommend using purified, non-chlorinated water.
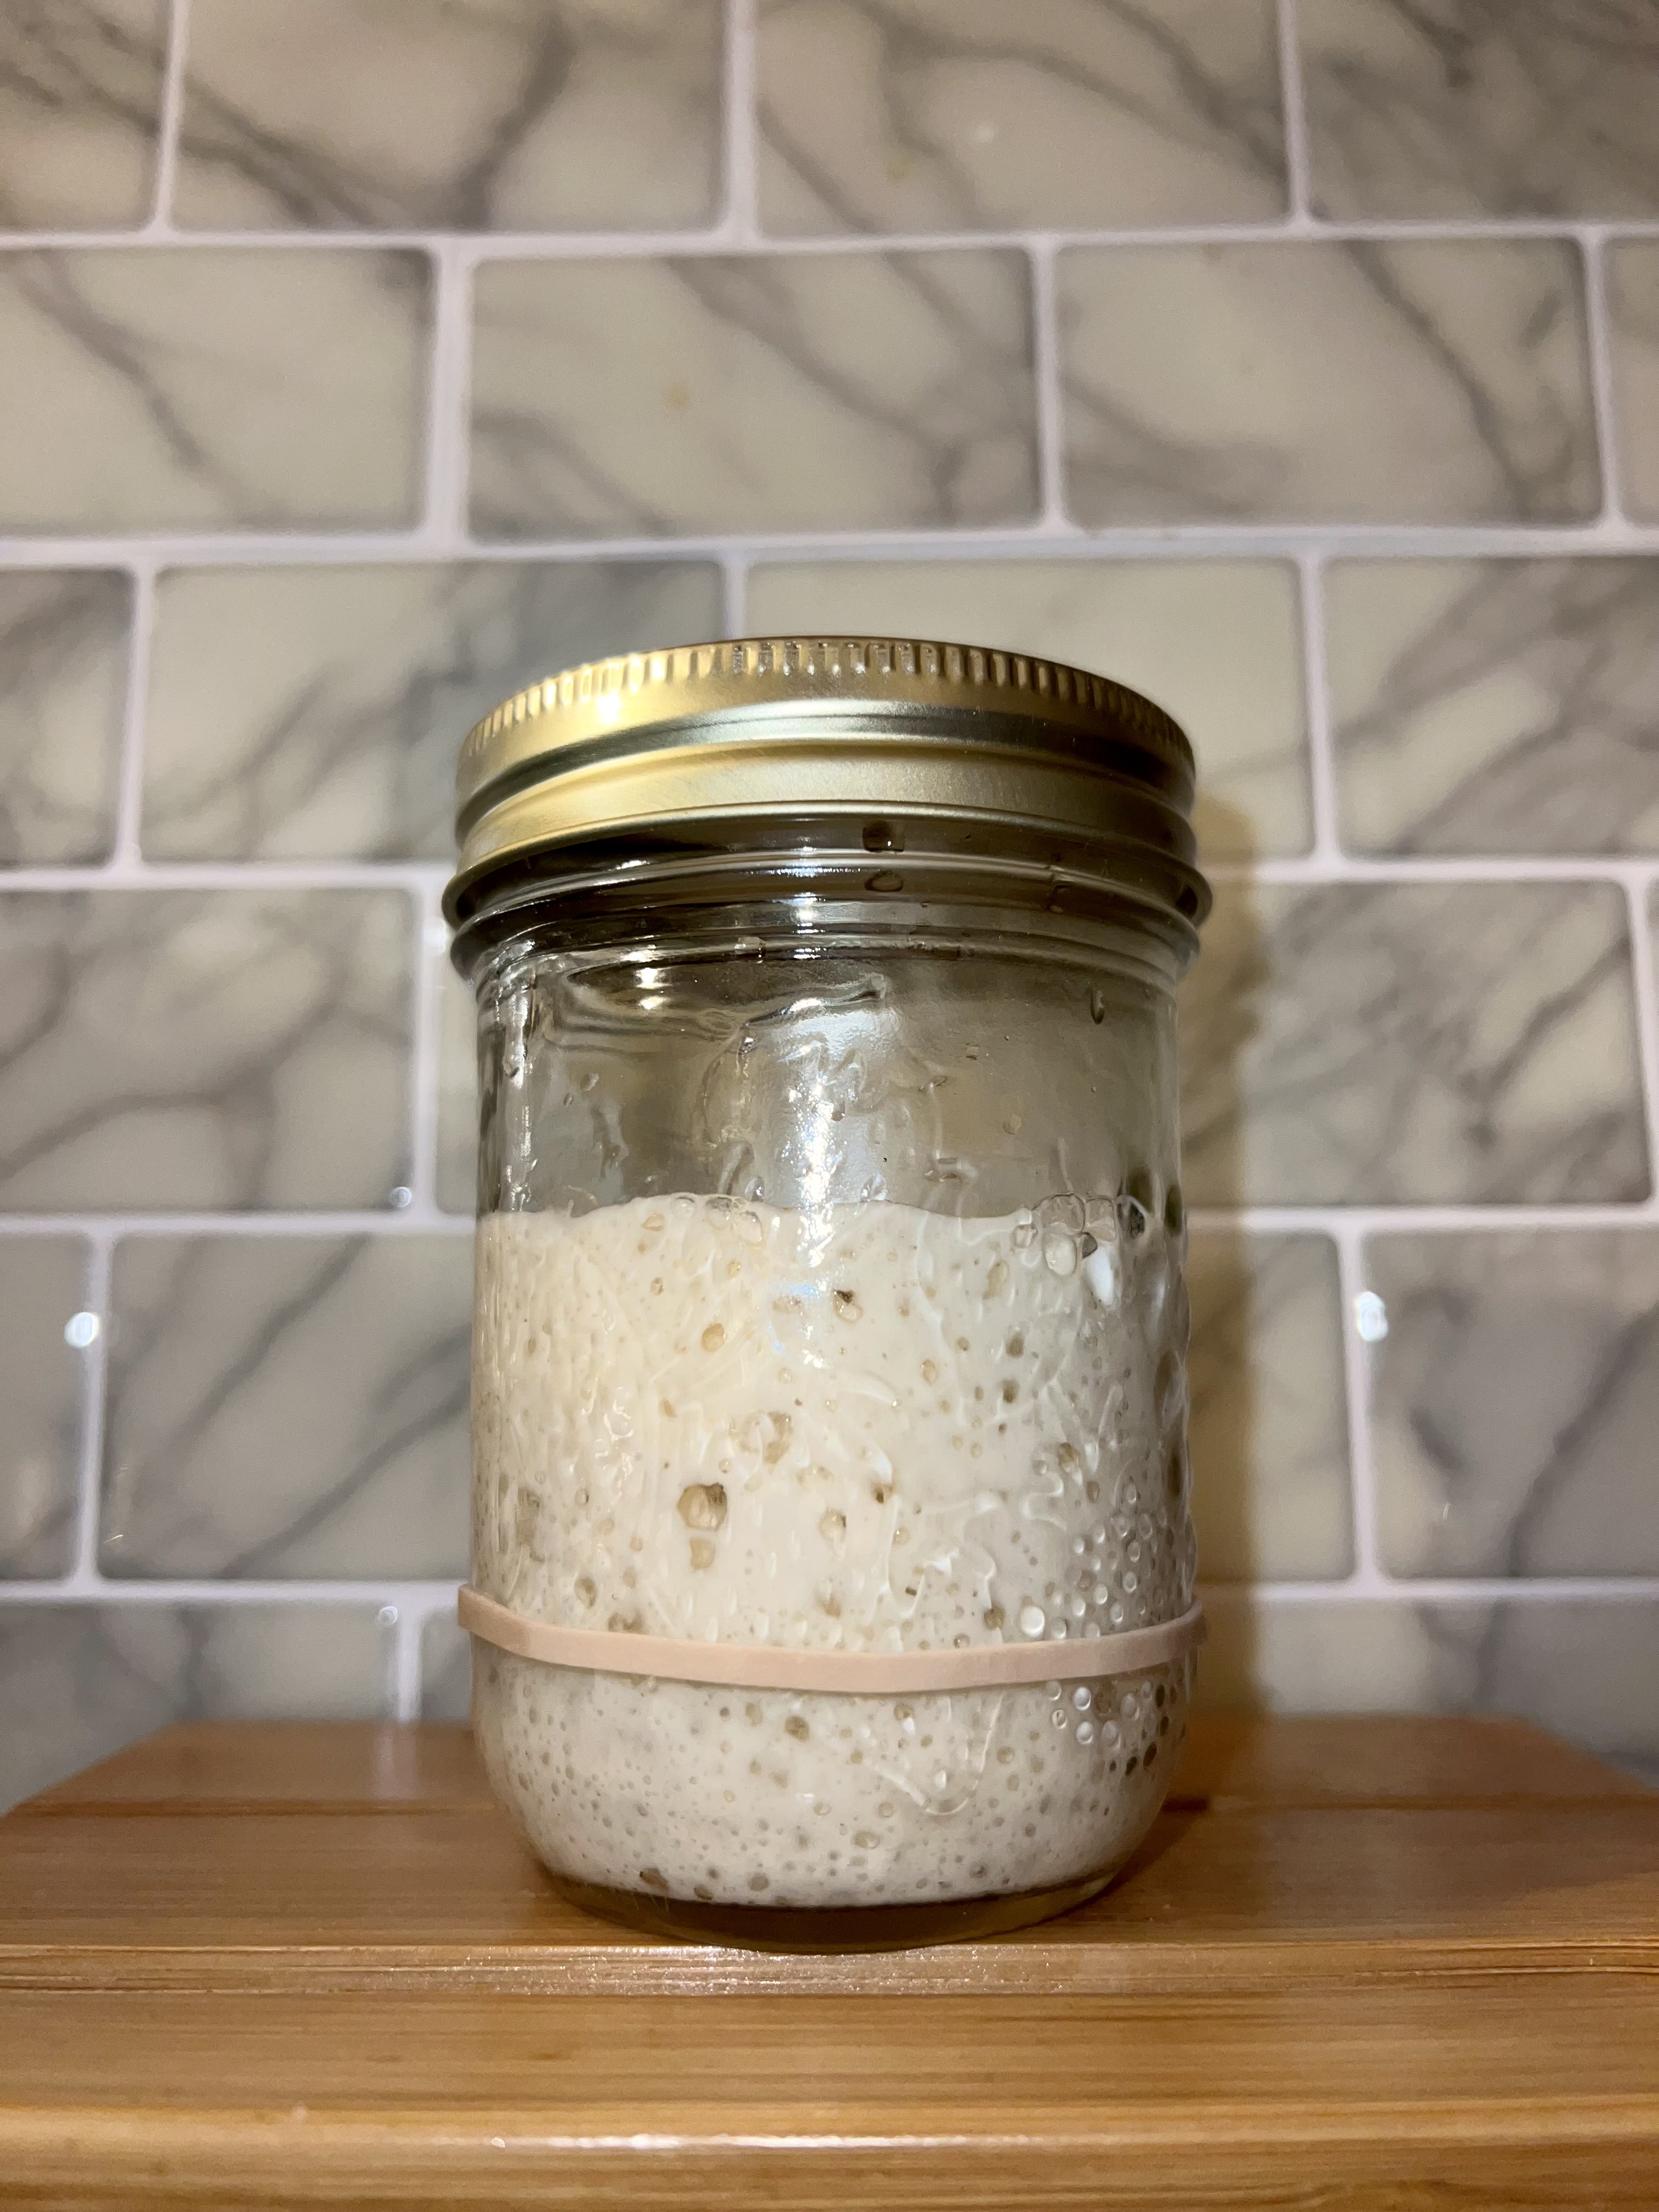
- Lidded jar – Glass is preferred, but food-grade plastic will work as well. A stoneware crock is fabulous too. The container needs to have a loose-fitting lid.
No fancy gadgets or outlandish ingredients required here. We’re using the timeless, wholesome combo of flour and water that’s been sustaining bakers for ages.
Creating Your Starter Step-by-Step
Okay, let’s get those hands dirty and bring this bubbling beauty to life:
Day 1: In a clean jar, mix 1/2 cup flour with 1/2 cup water. Cover and let it hang out for 24 hours at room temp.
Day 2: Check out those first few bubbles starting to party! Discard half of the mixture. Then give your starter another 1/2 cup flour and 1/2 cup water, stir together, and let it hang out another 24 hours.
Day 3-7: Repeat the discard/flour/water feeding routine every 12 hours. More bubbles will joyfully greet you along with a pleasantly sour aroma – signs your starter is getting lively!
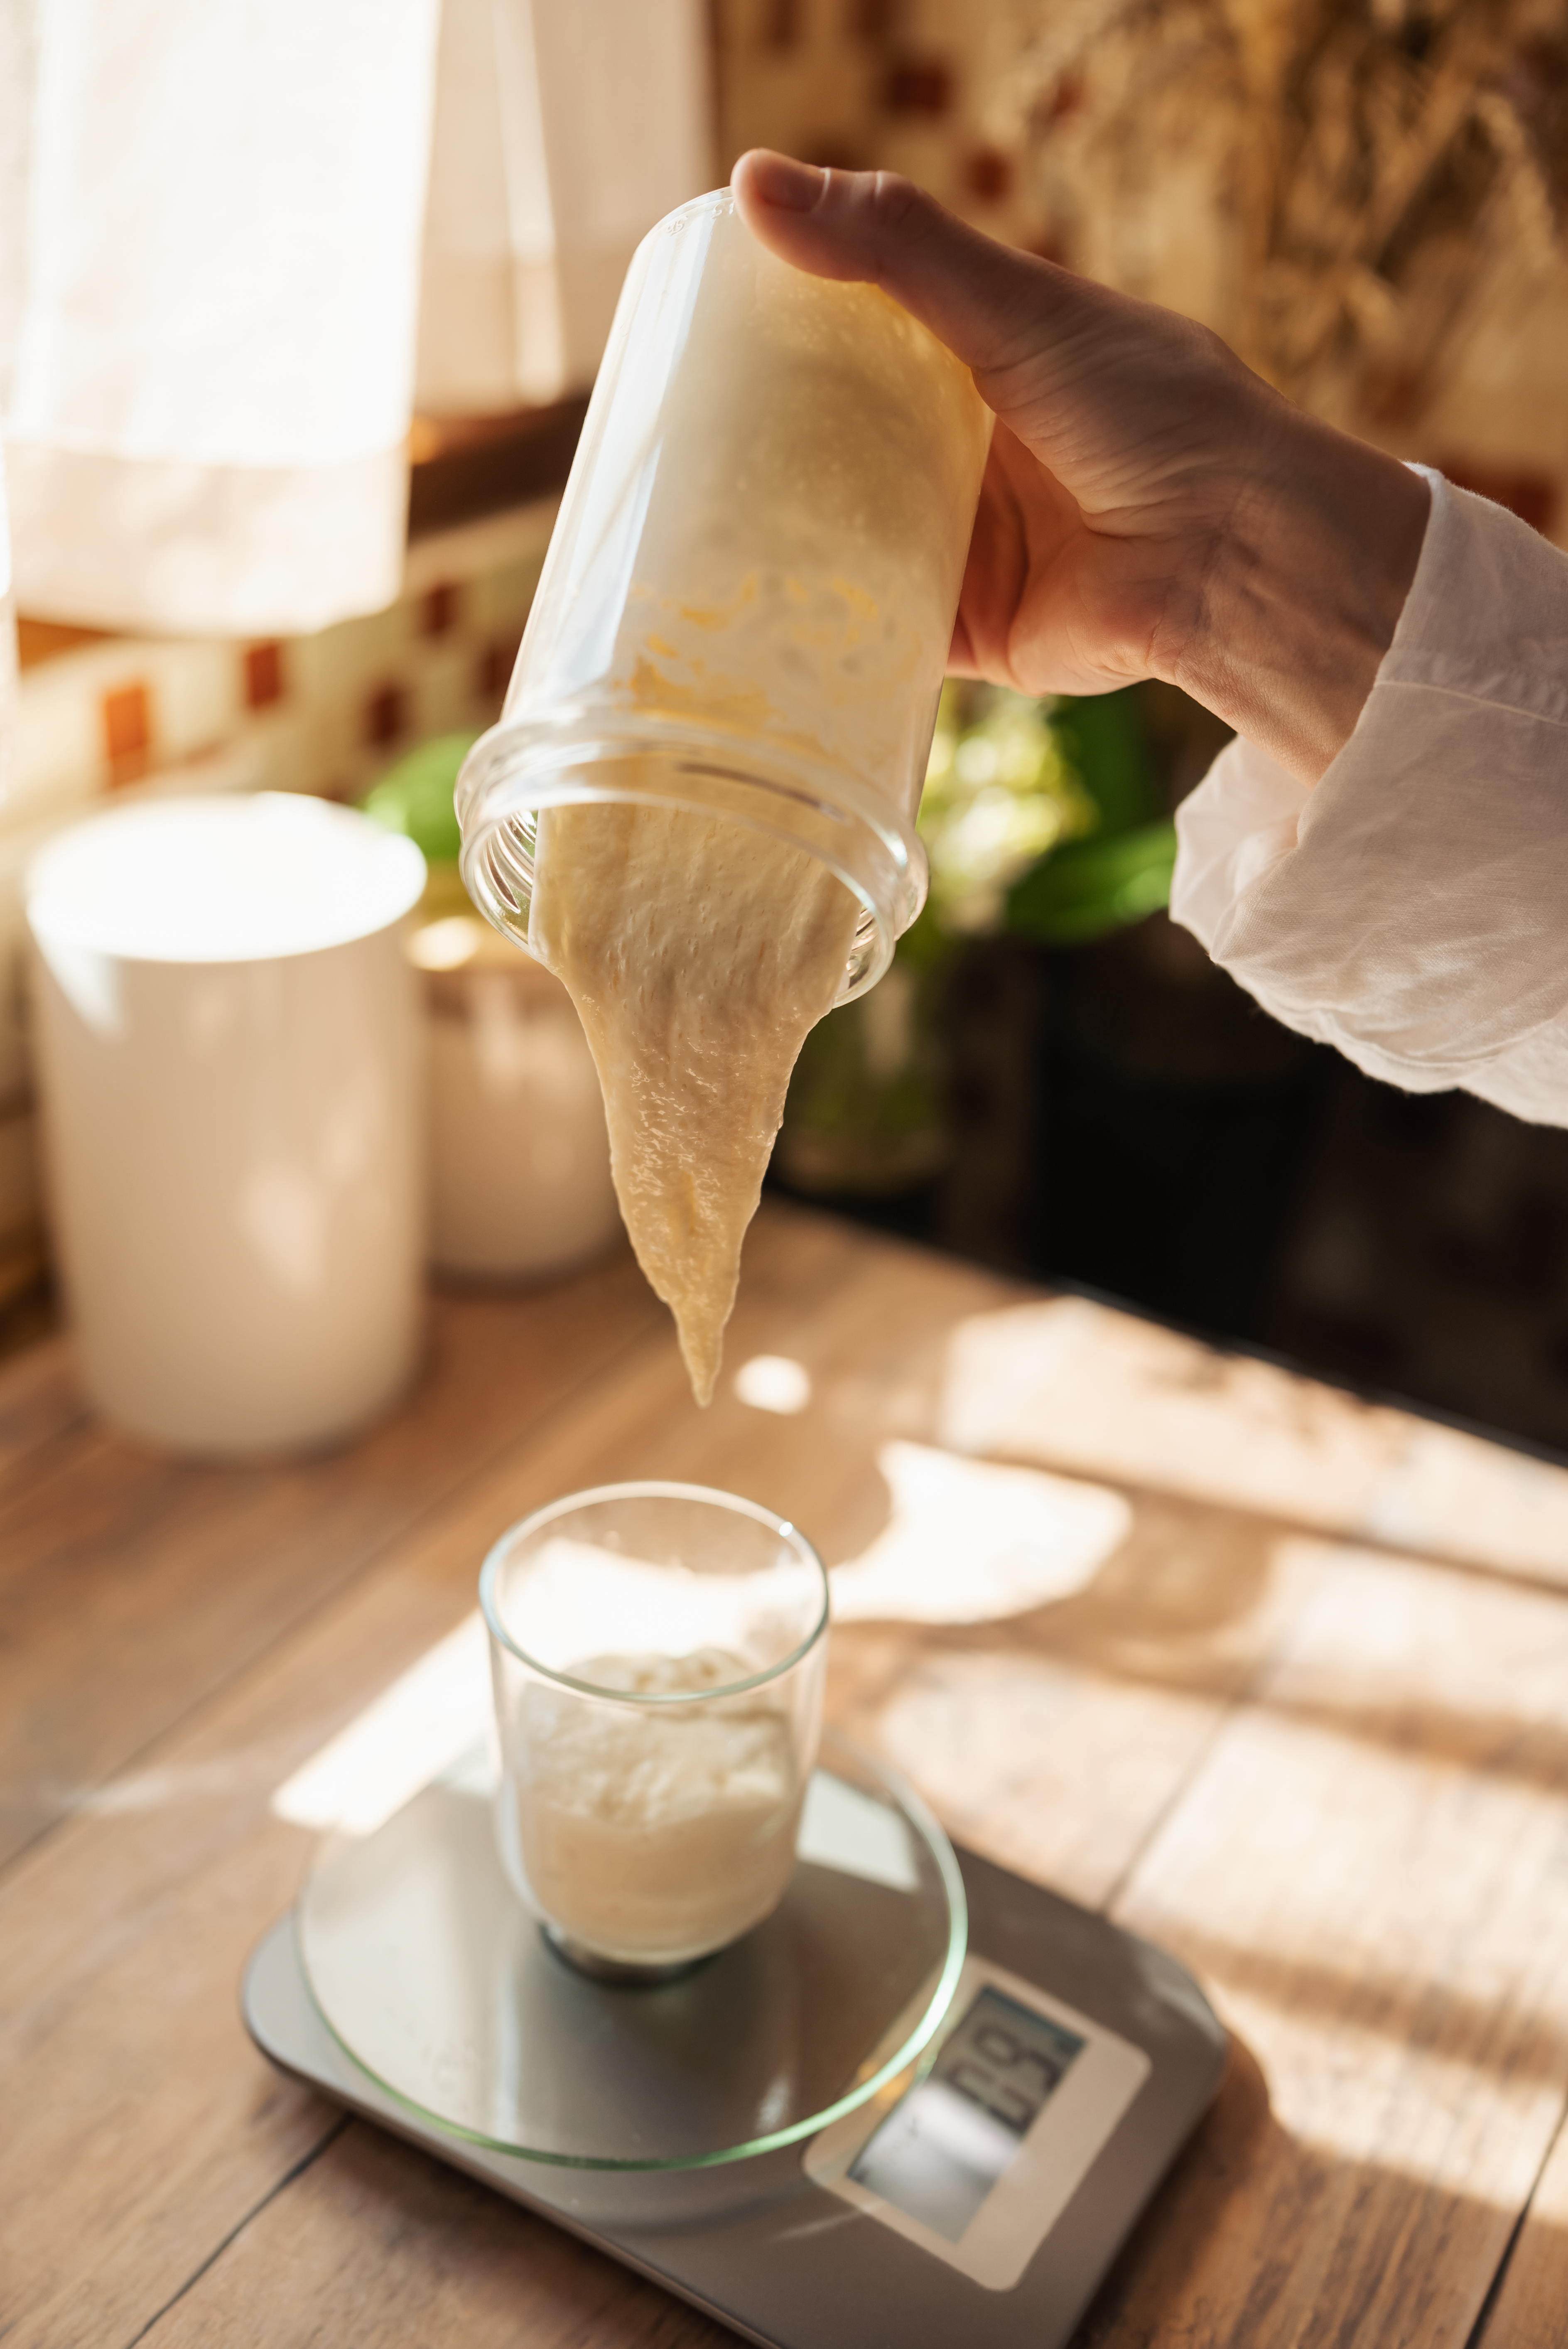
Once your starter reaches a glorious spongy texture and distinct sour fragrance, it’ll be ready to make some amazing sourdough creations. This process usually takes 5-10 days, unfolding at a slow but steady pace.
In this newborn phase, stay consistent with daily feedings. Your starter craves that regular flour nourishment to fully bloom and thrive. Settle into the simple feeding ritual and your starter will reward you.
What’s Wrong With My Starter?
Sometimes our starter babies just need a little extra TLC when hitting the occasional snag:
Stubborn lack of bubbles? No sweat, take a deep breath. Some starters wake up slower, especially in cooler kitchens. Try moving it to a warmer spot to gently nudge those sleepy yeasts. If still no luck after 2 weeks, start over fresh.
Funky, off-putting smells? A mild sour funk is par for the course, but any rotten or super offensive aromas mean it’s time to start from scratch with new flour and water.
Separating into layers? This just means it wants more frequent feedings. Give it a good stir to recombine before refeeding with flour and water.
Mysterious dark liquid on top? That’s just some naturally occurring “hooch.” Easily pour it off before refreshing your starter.
The starter journey is all about embracing a patient cadence while letting nature work its magic. By tending to your starter with consistent, nurturing care, you’ll soon have an energetic, bubbling pal ready to create amazing sourdough breads and treats.
